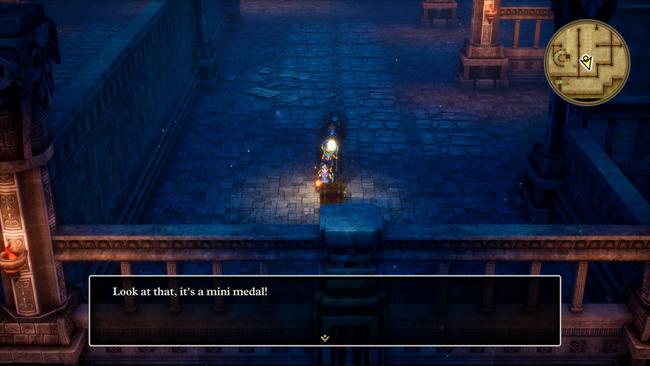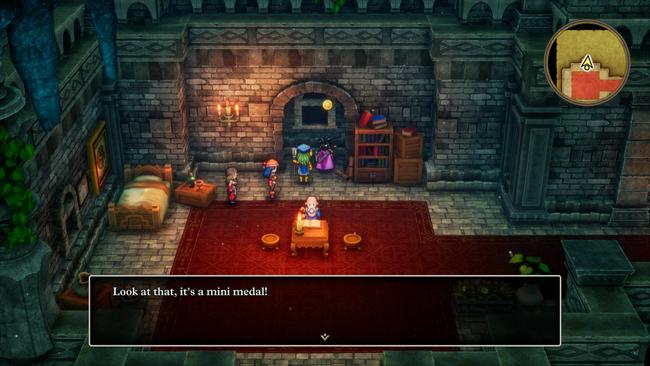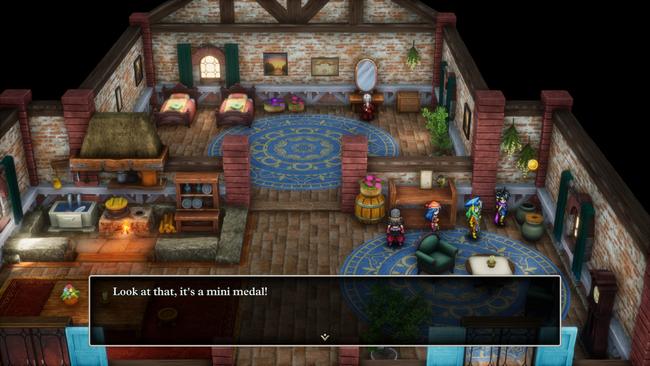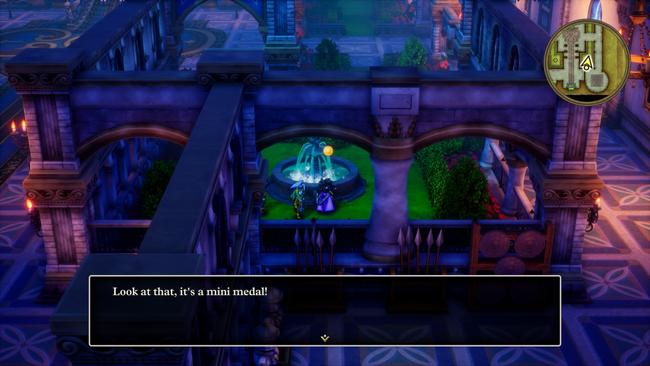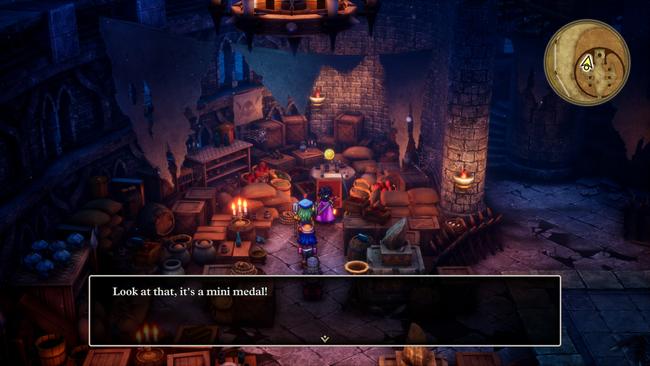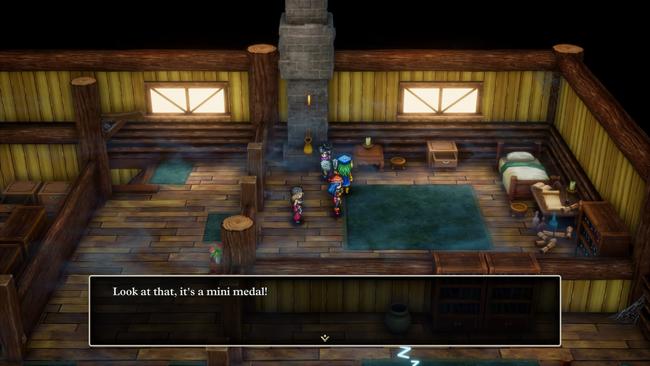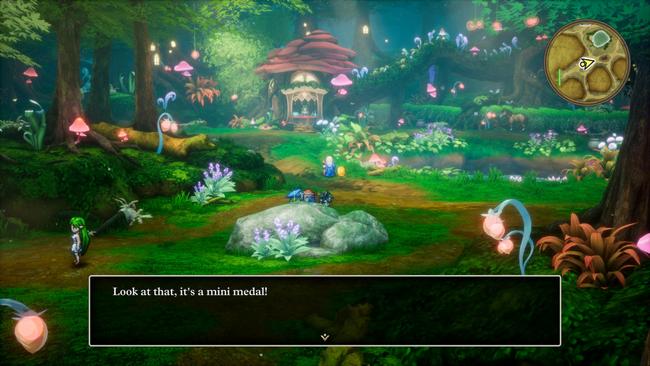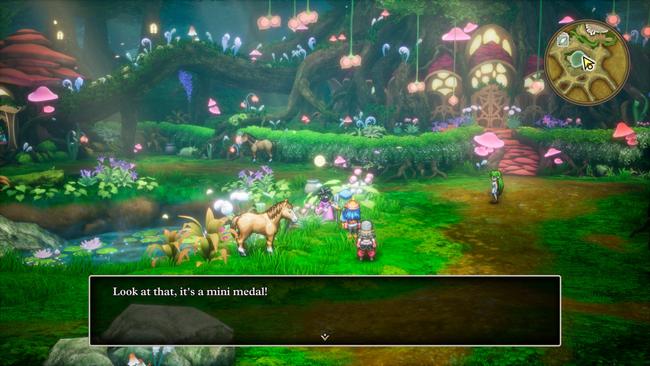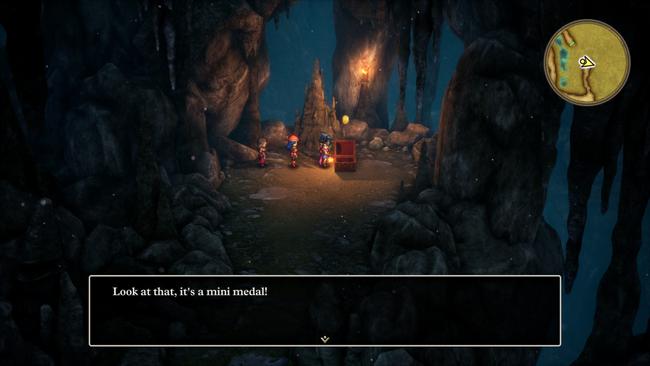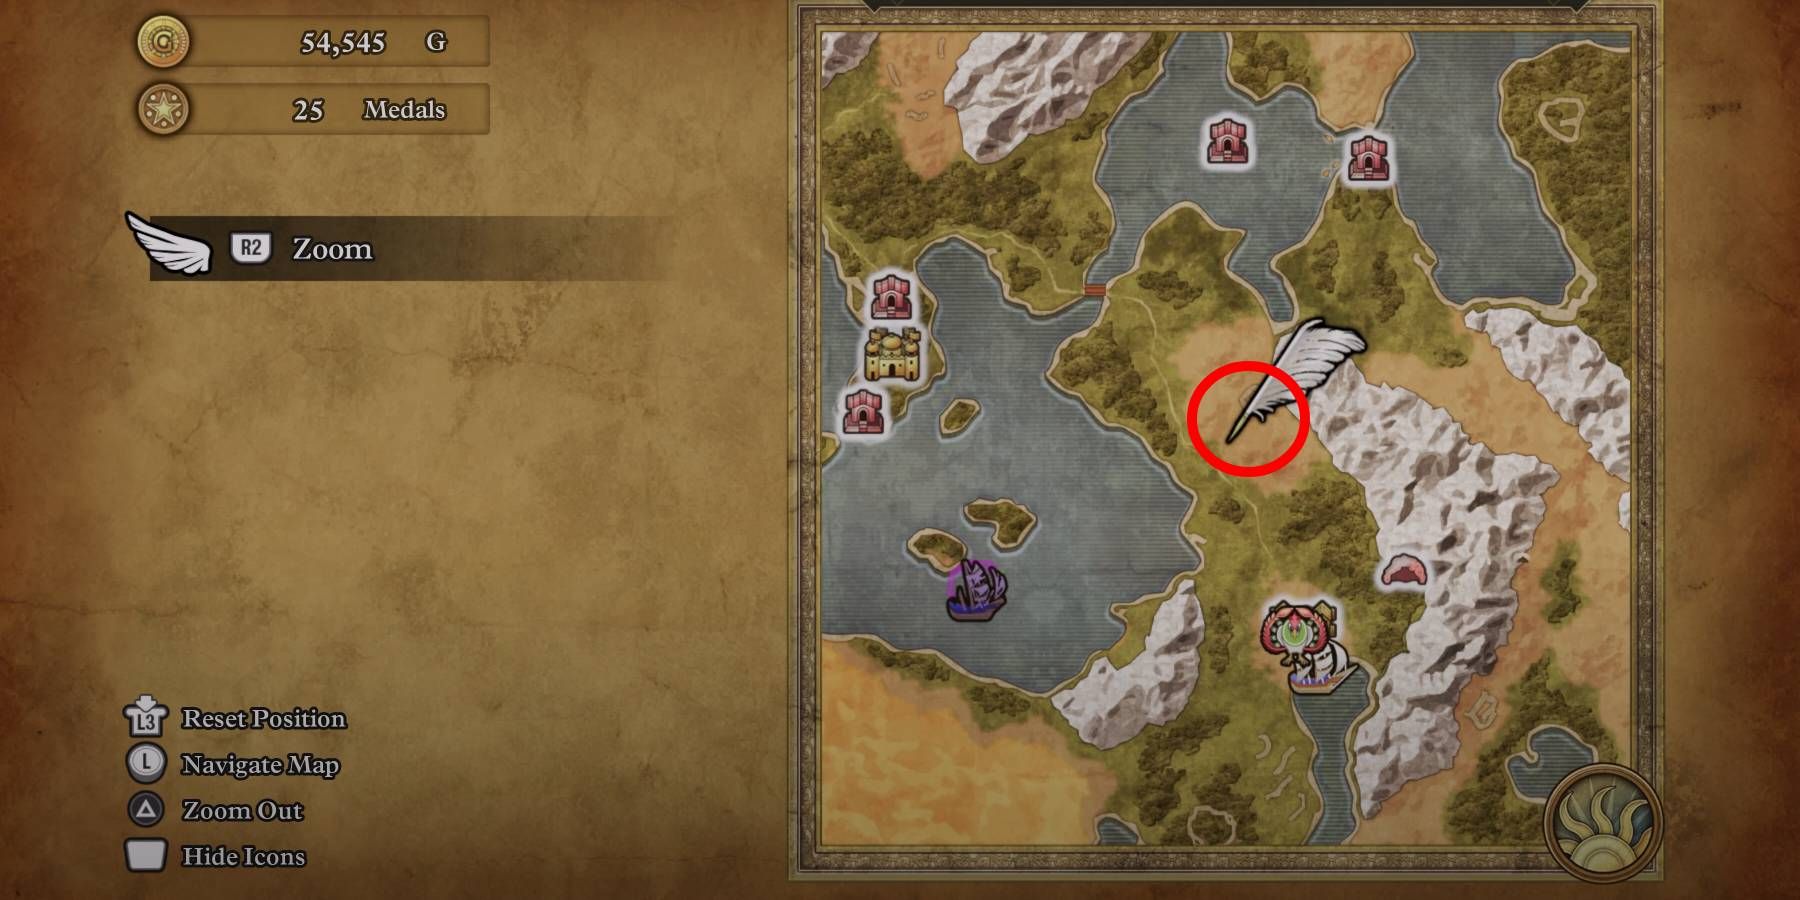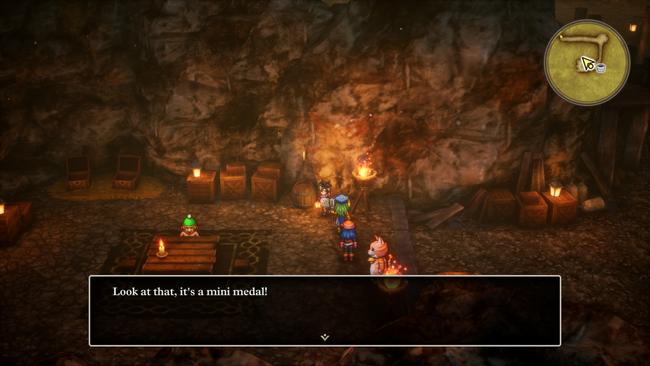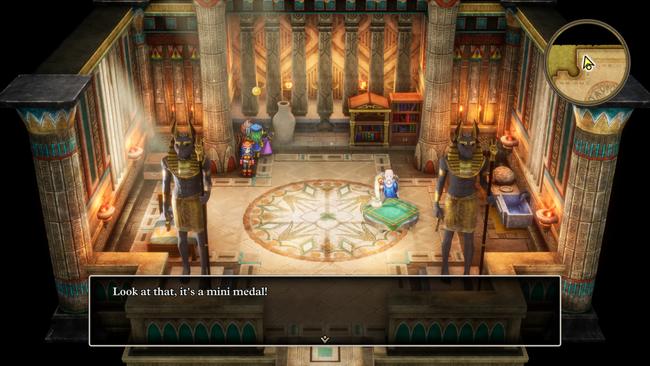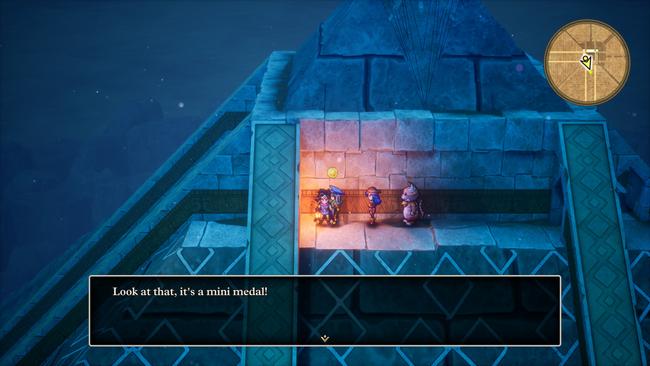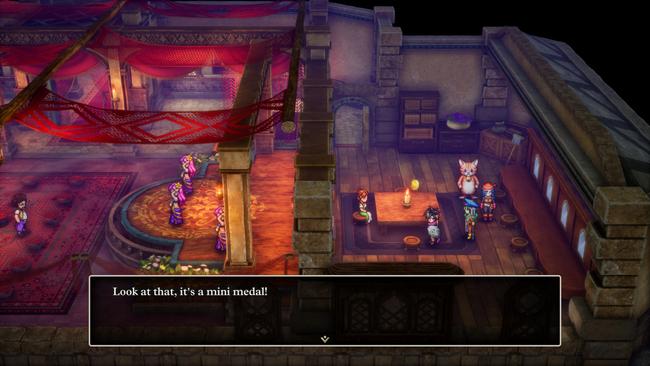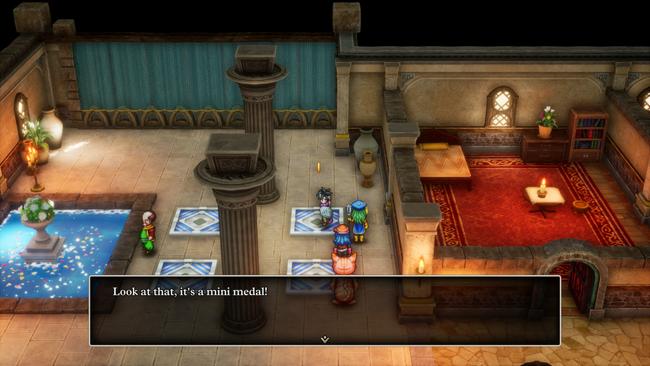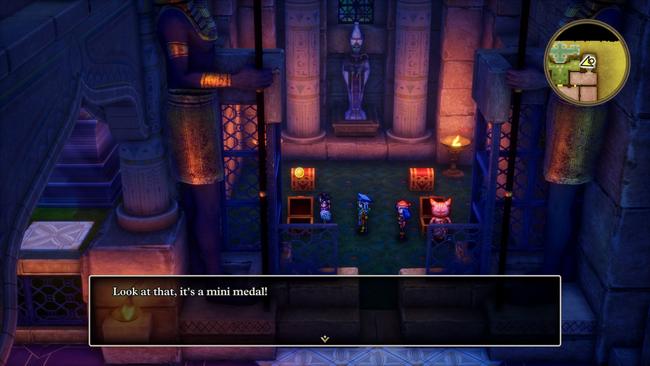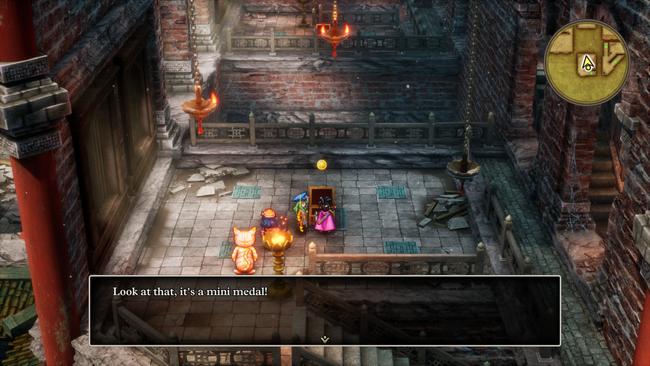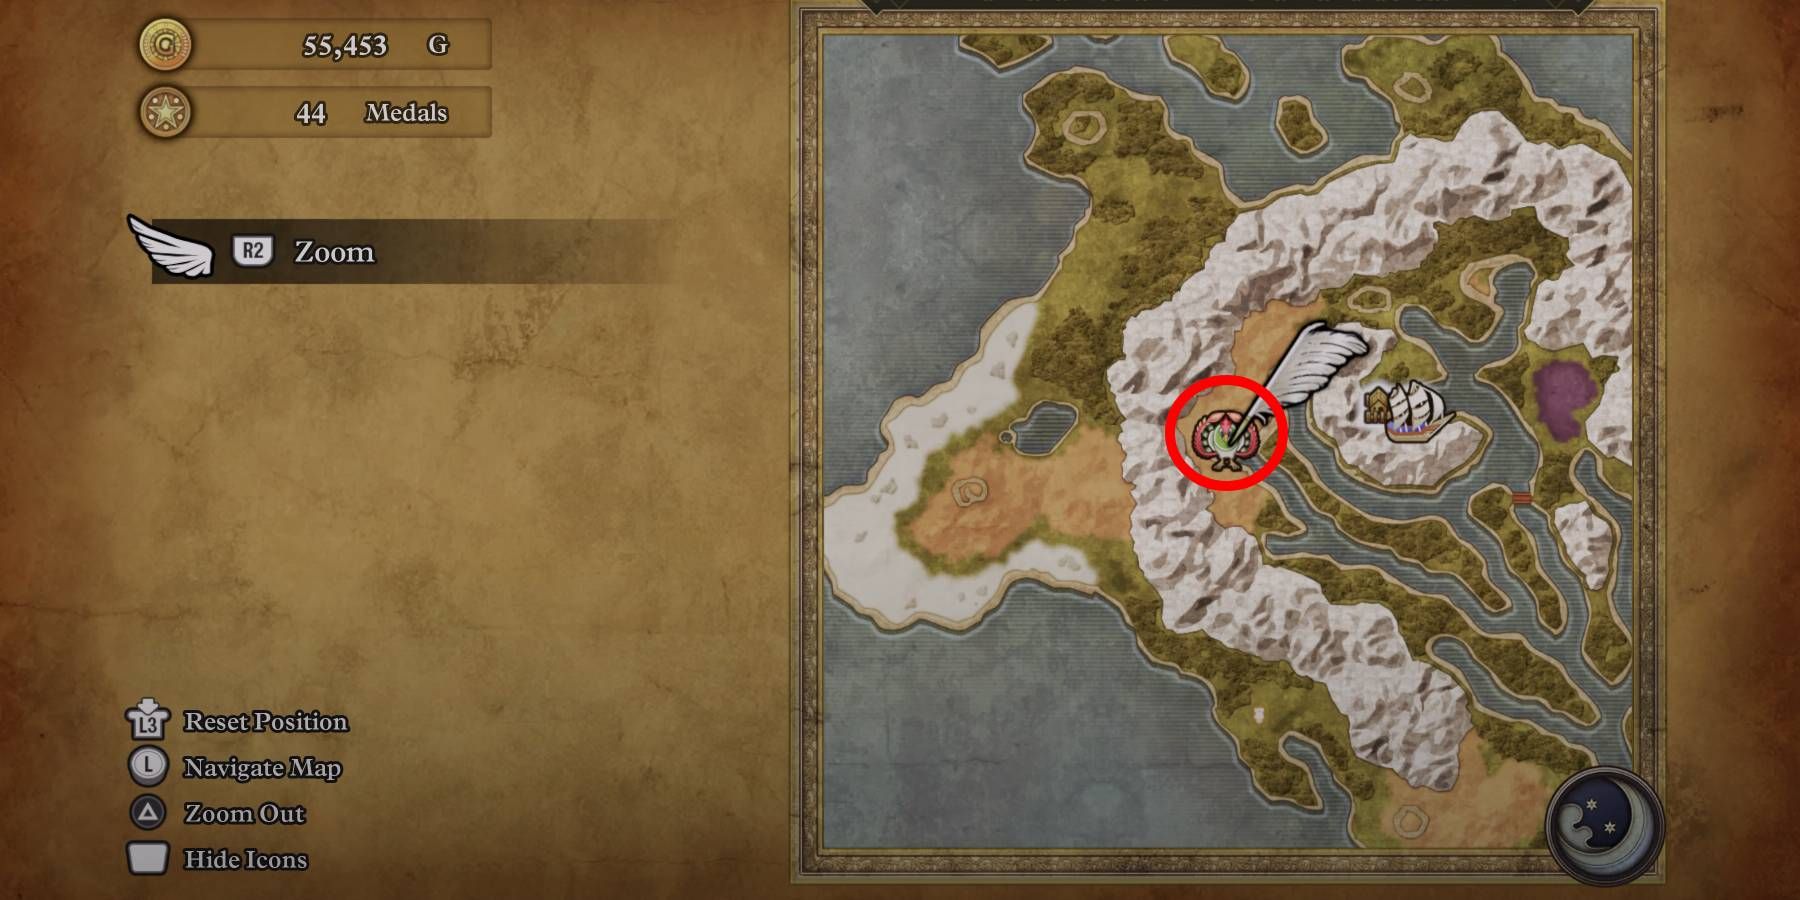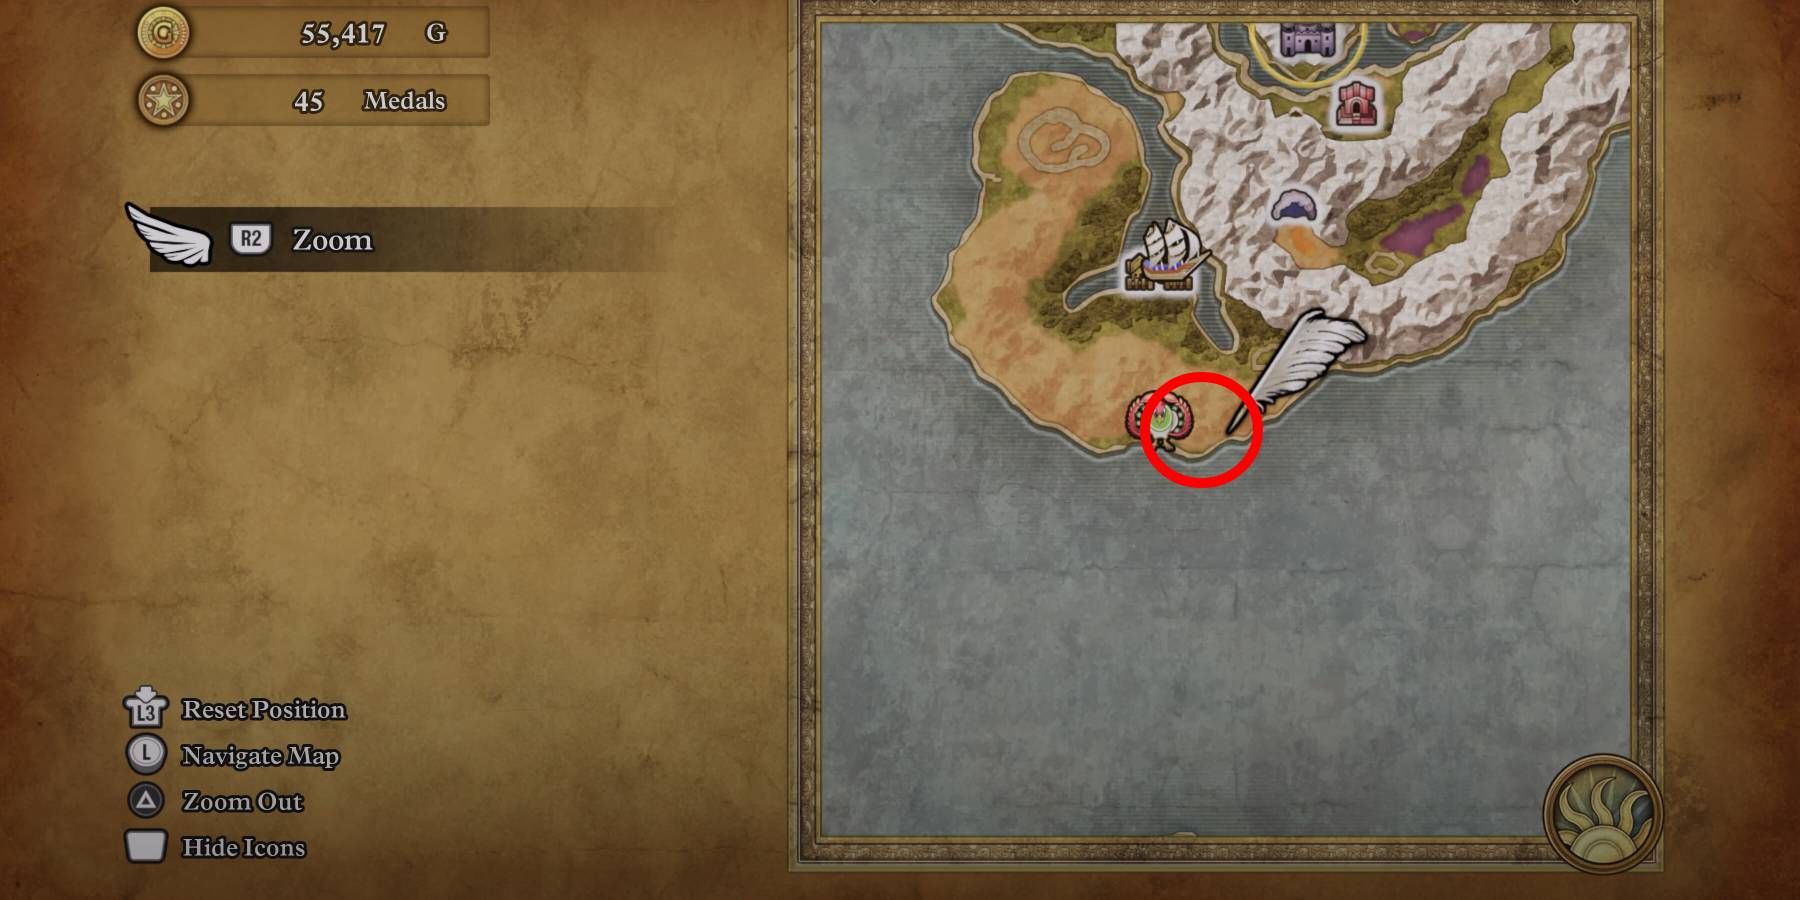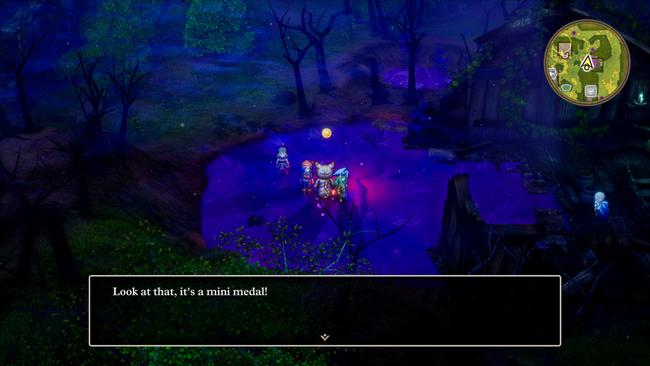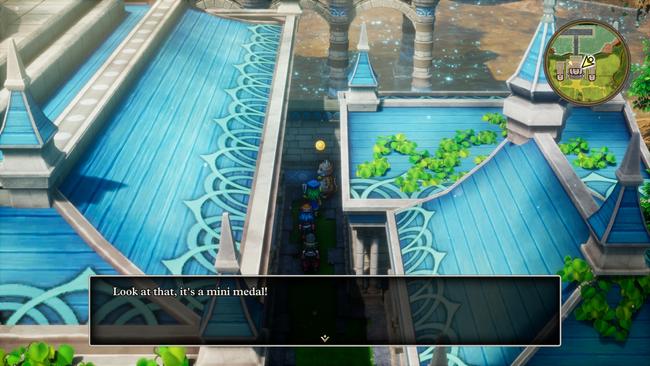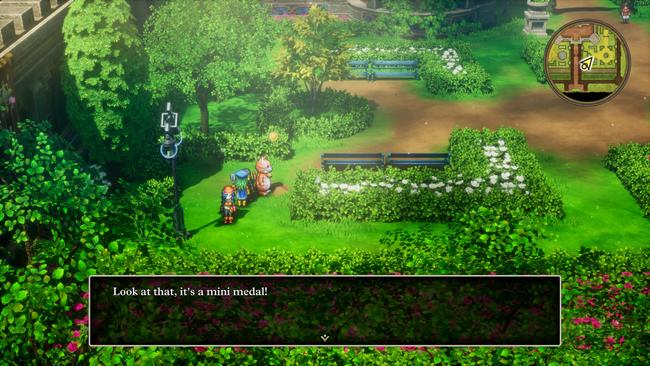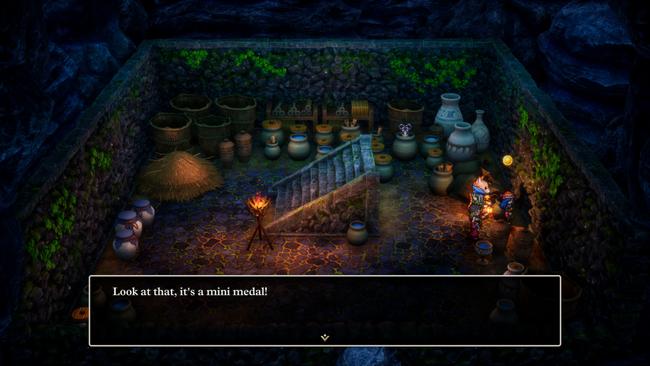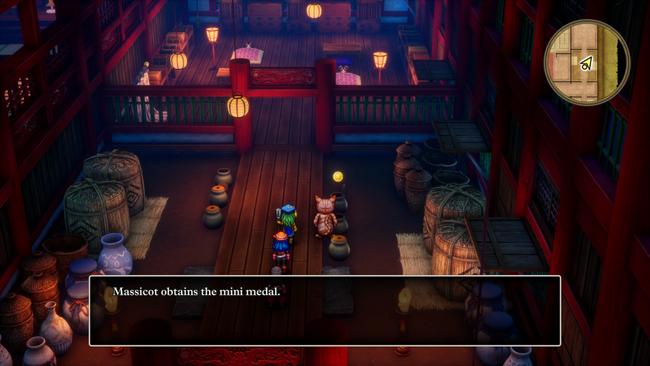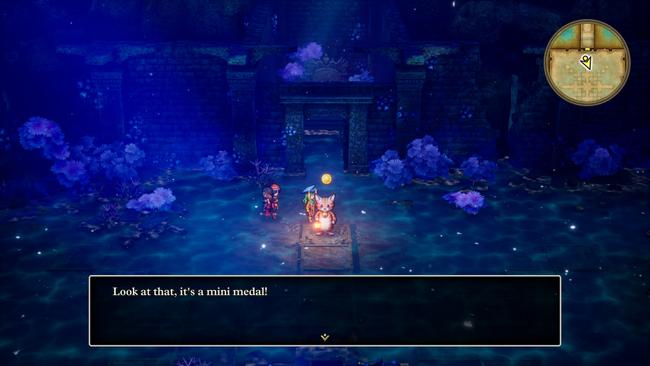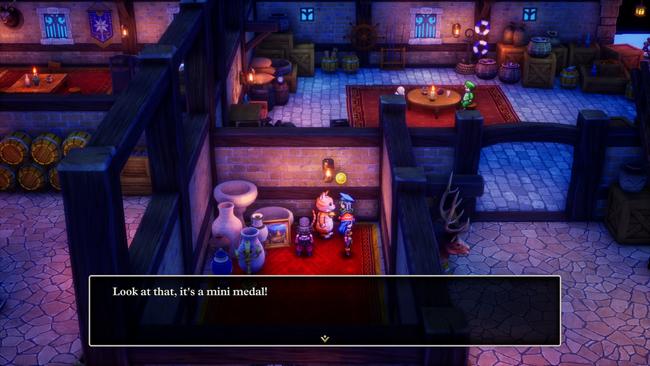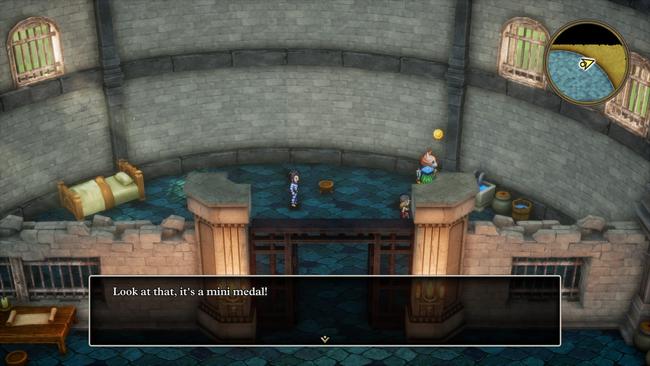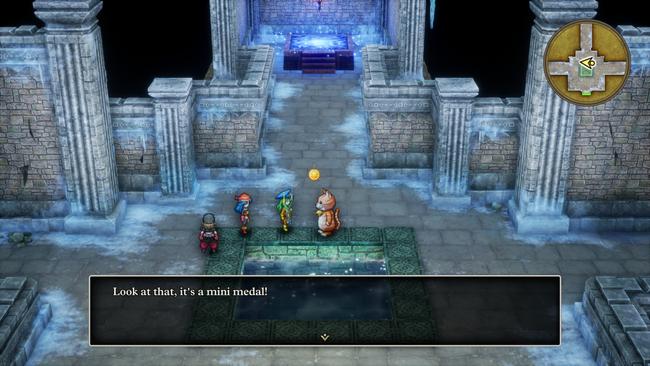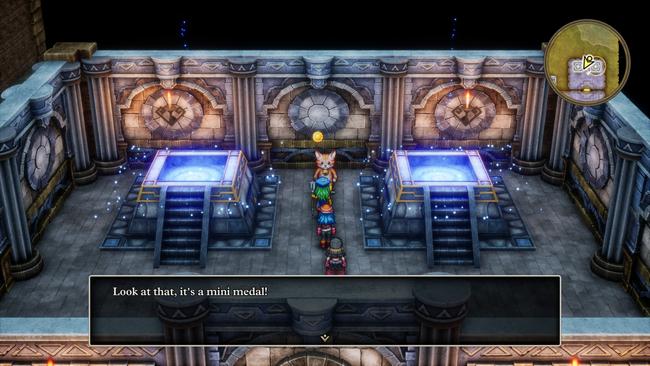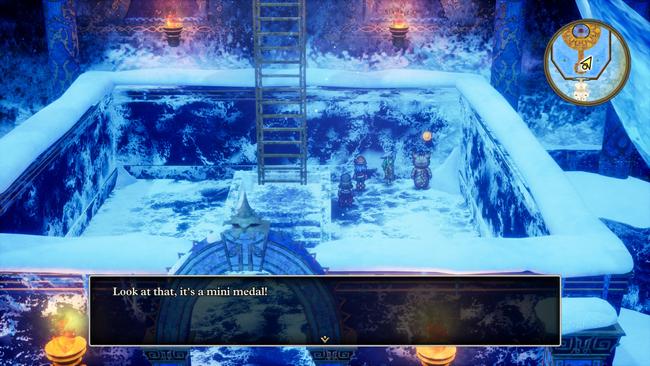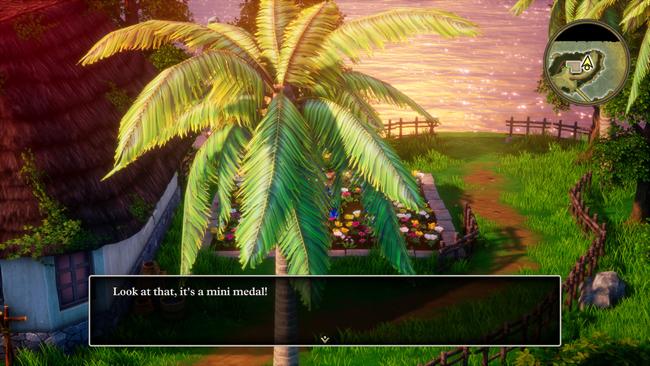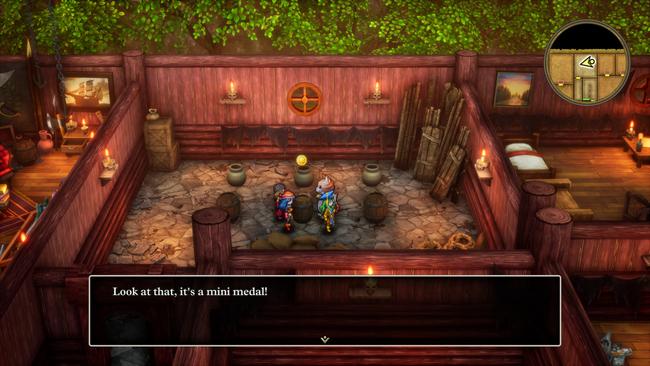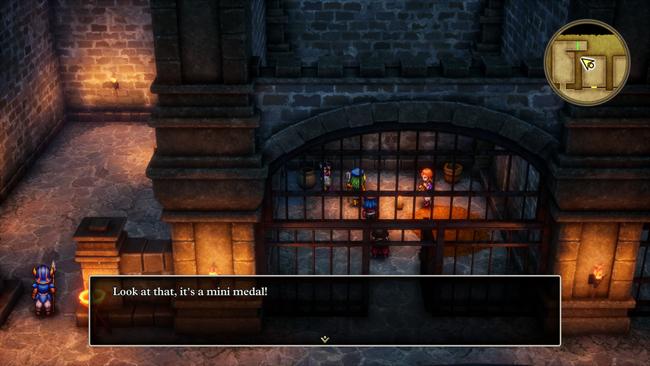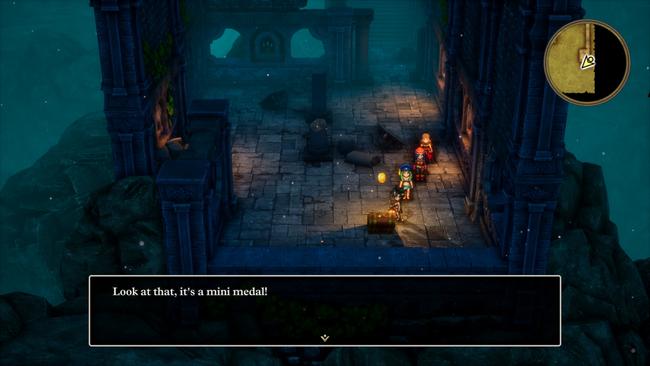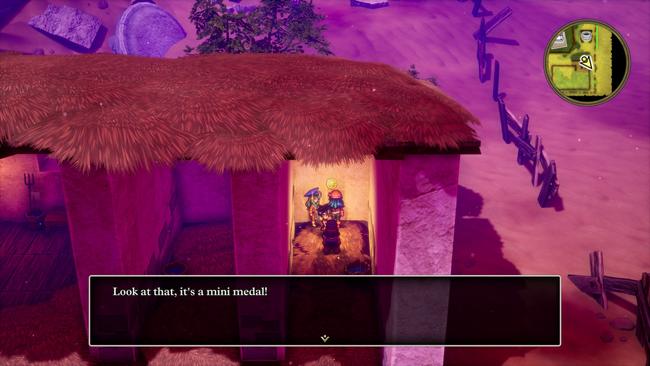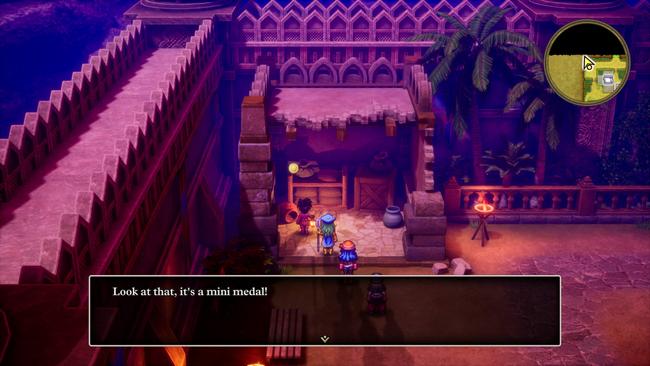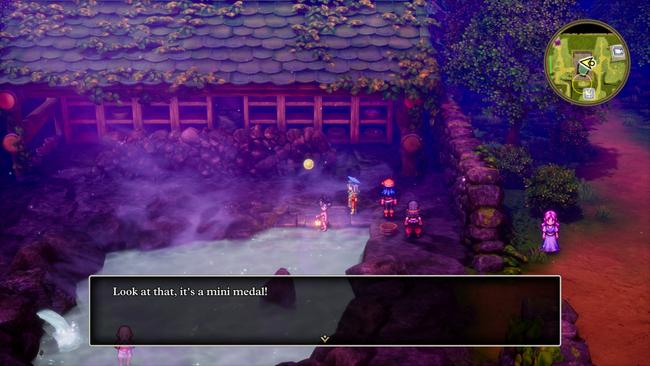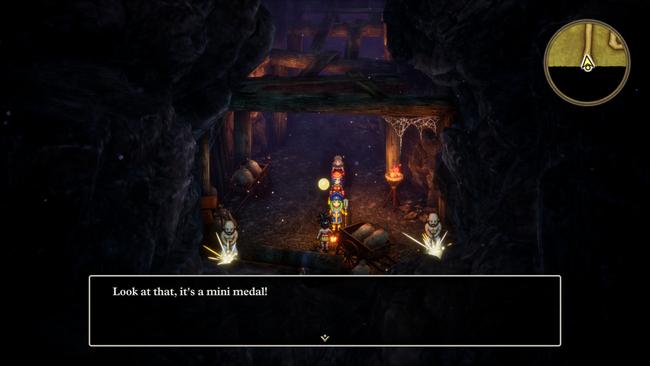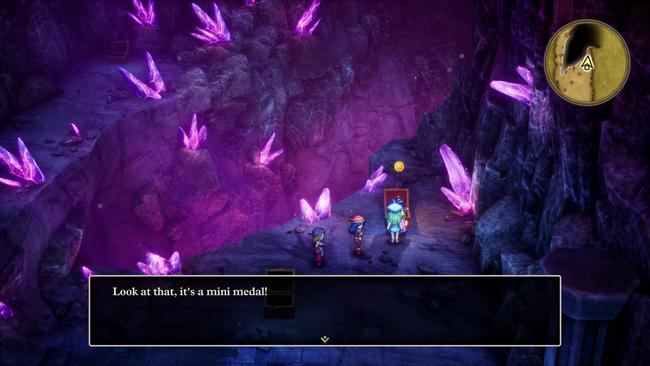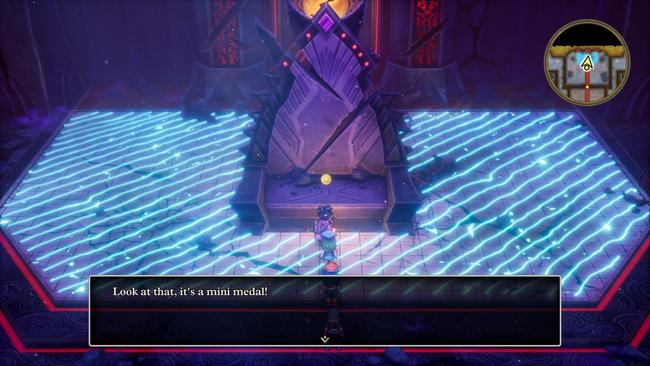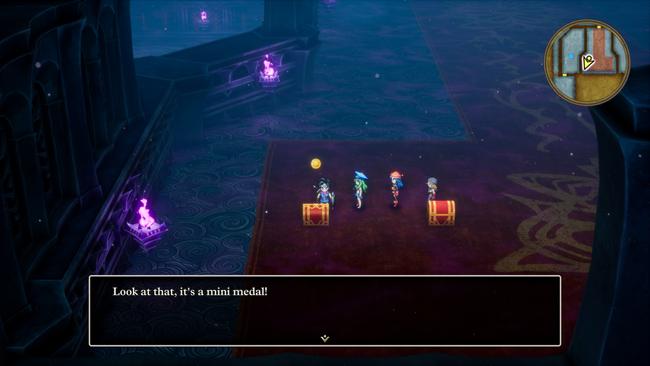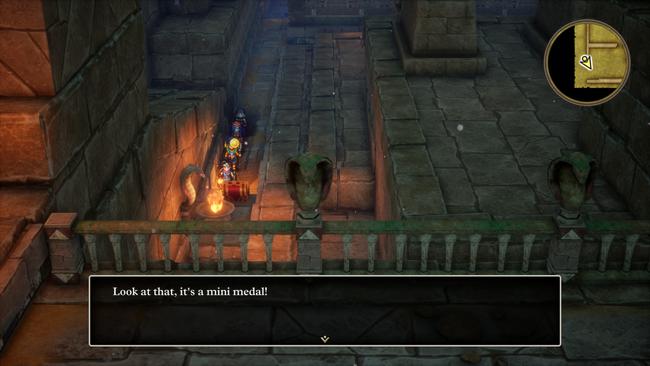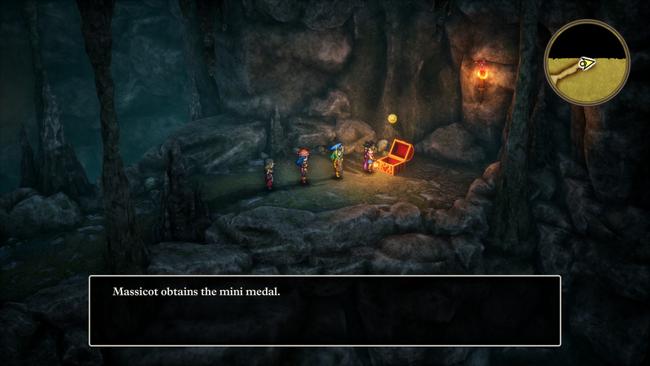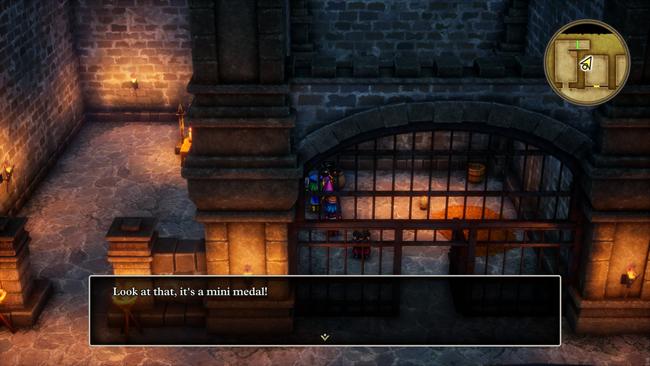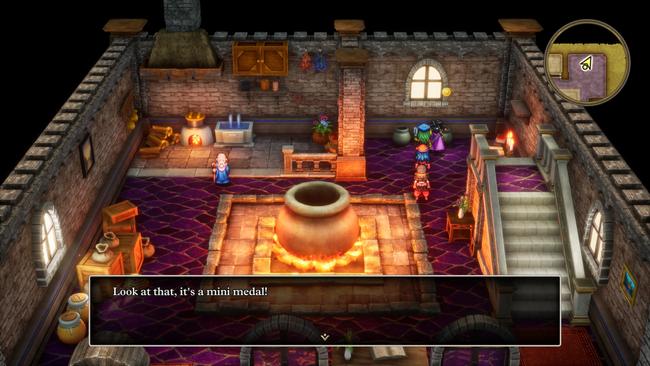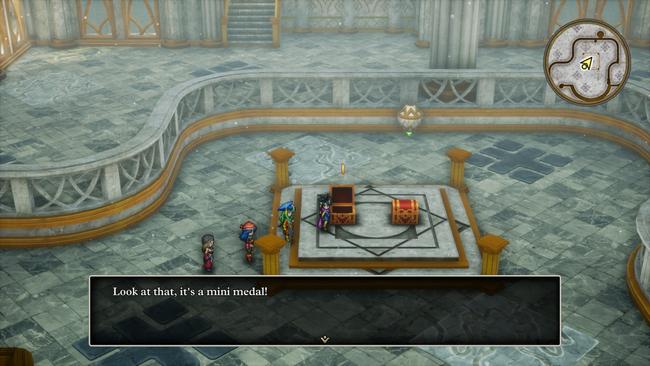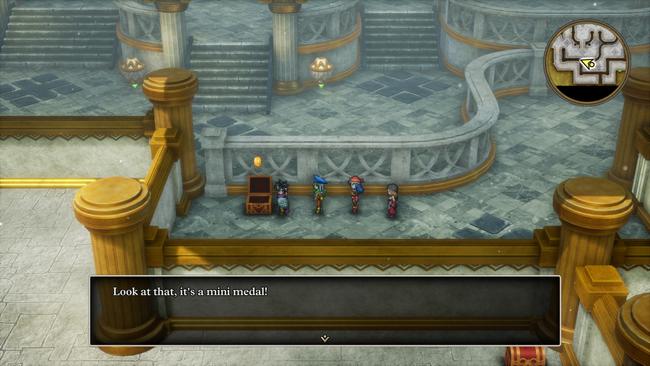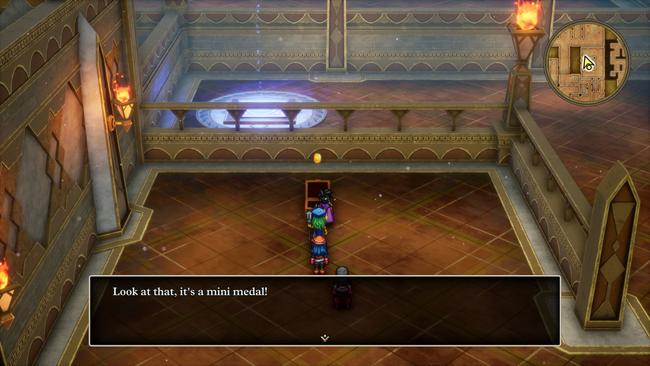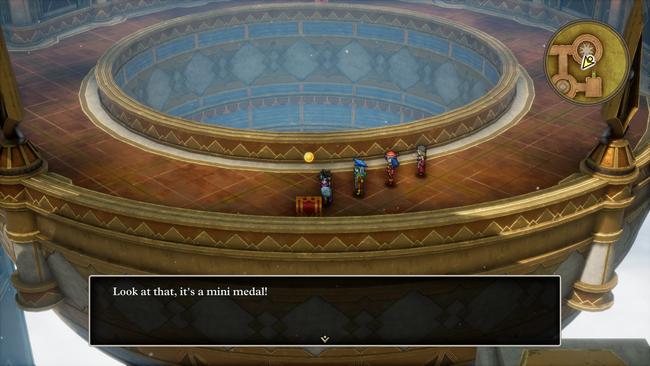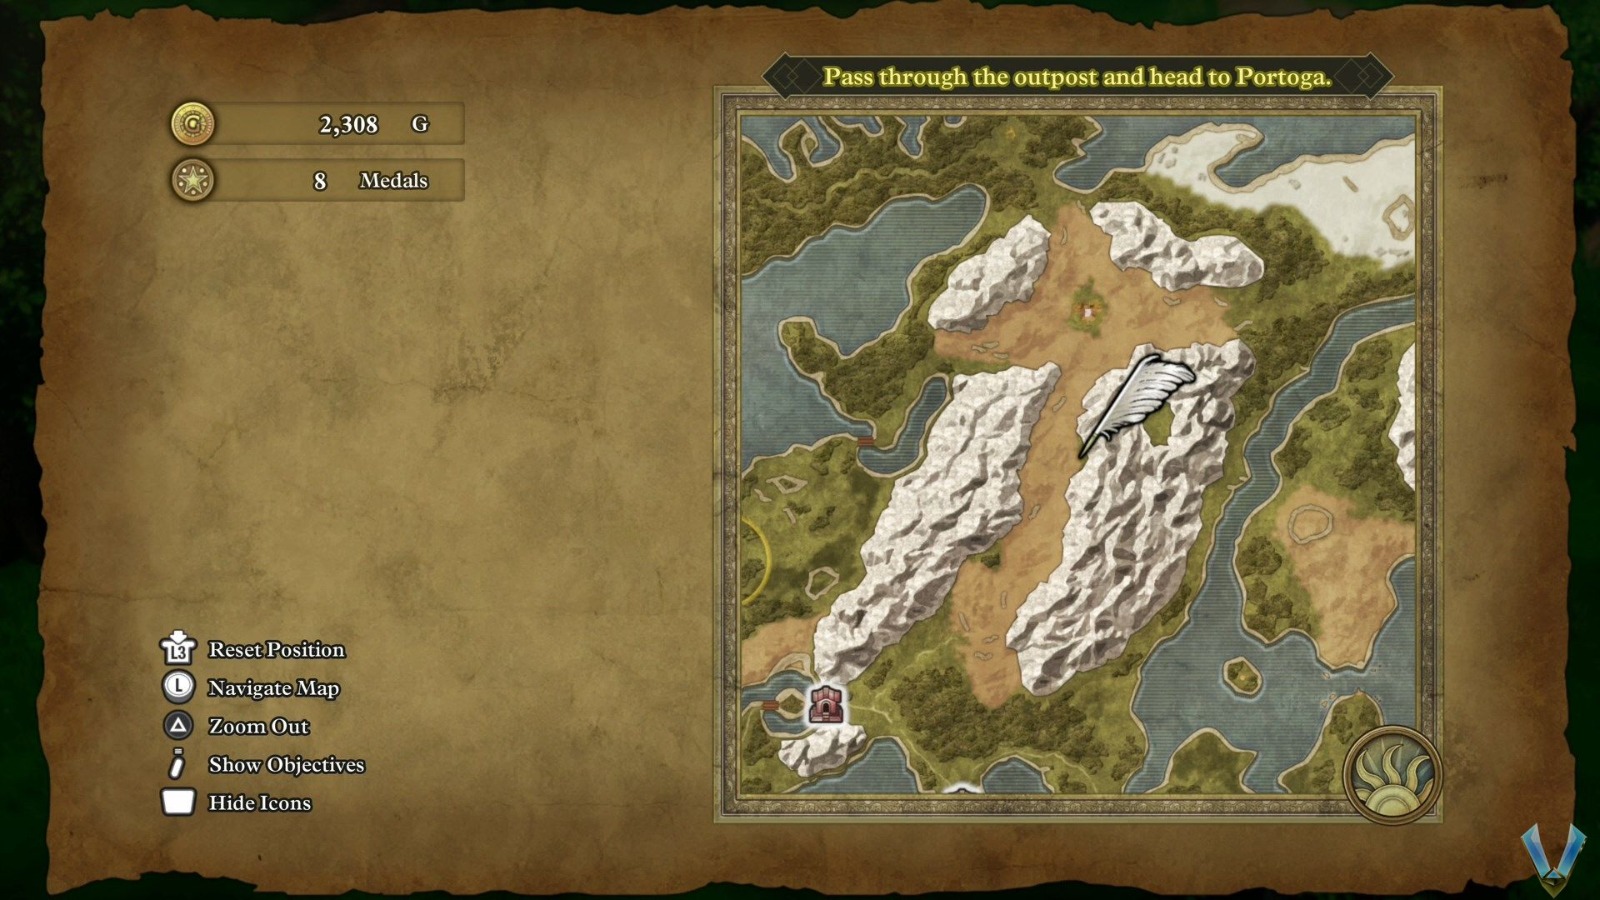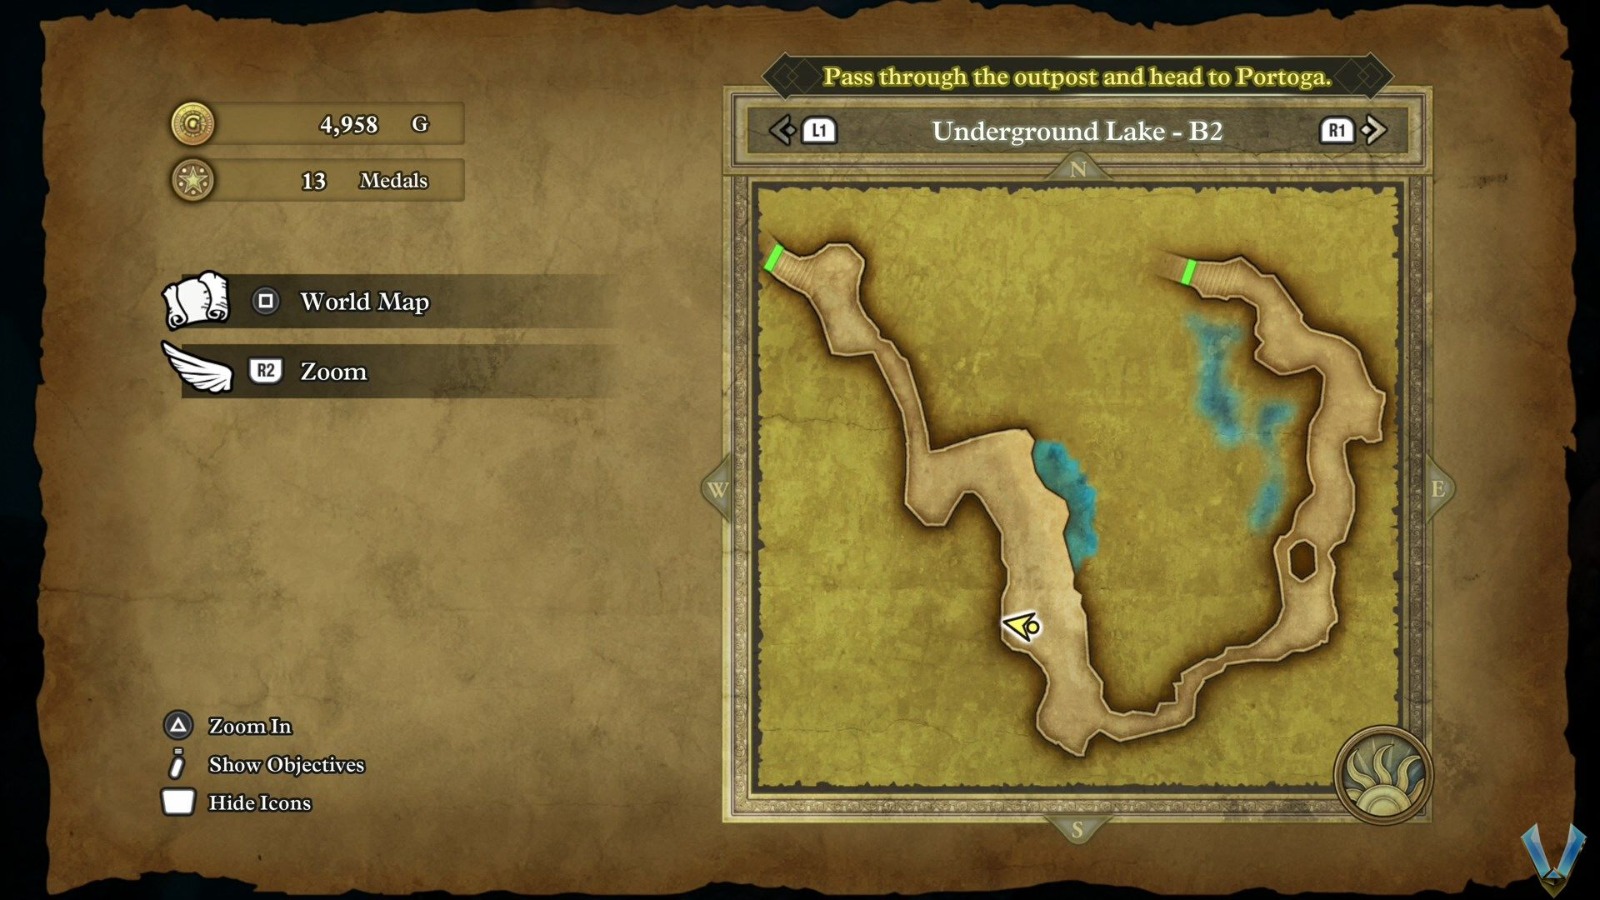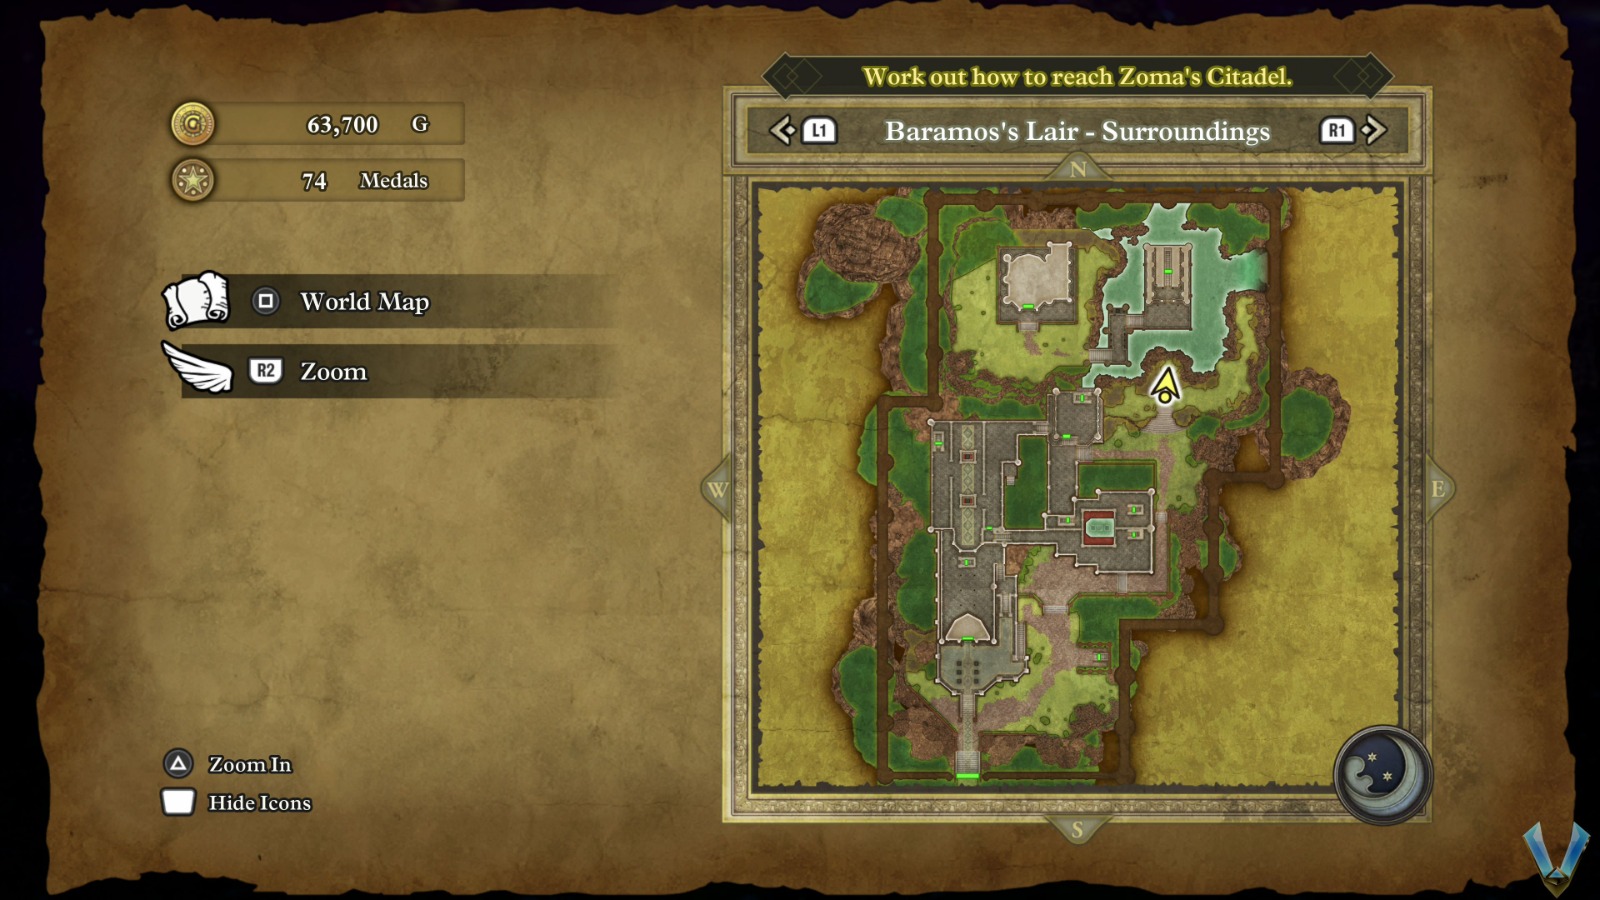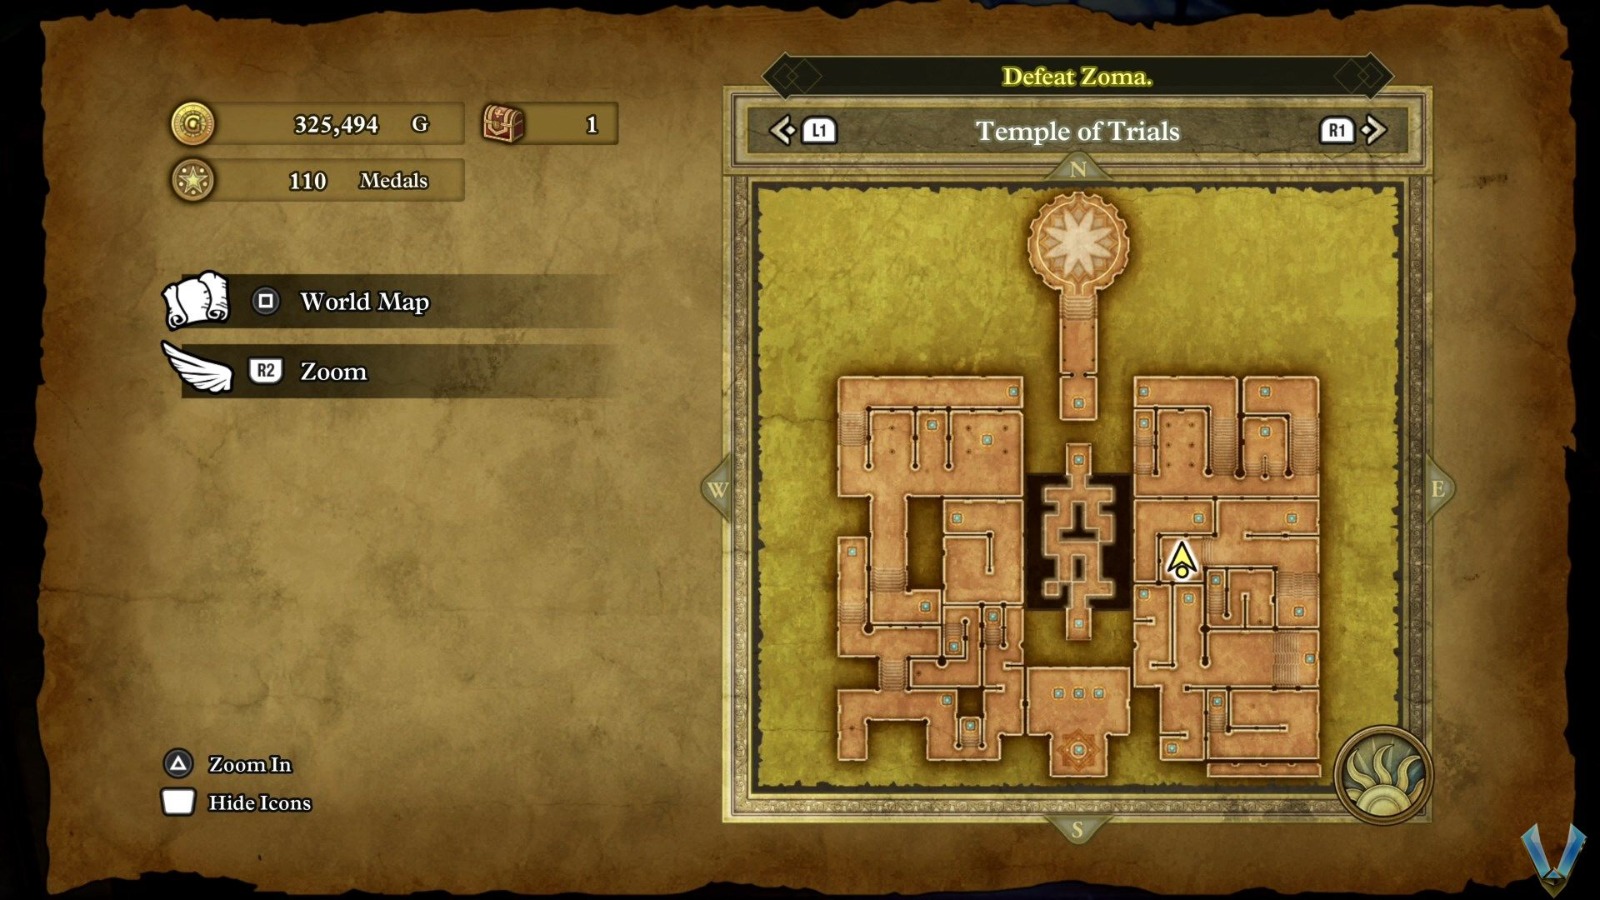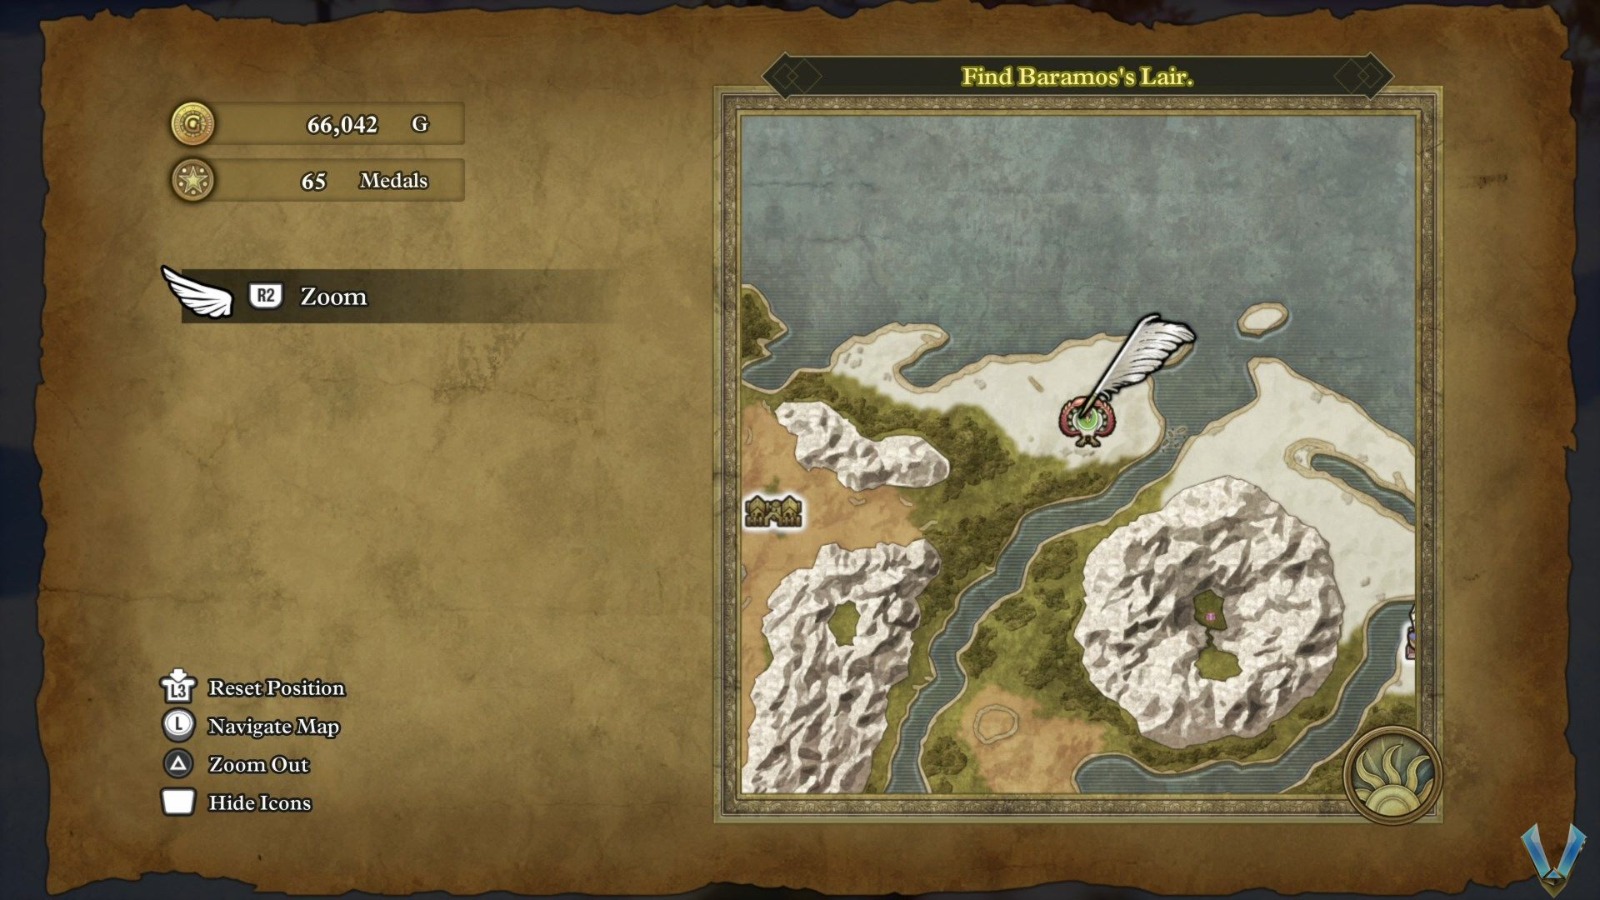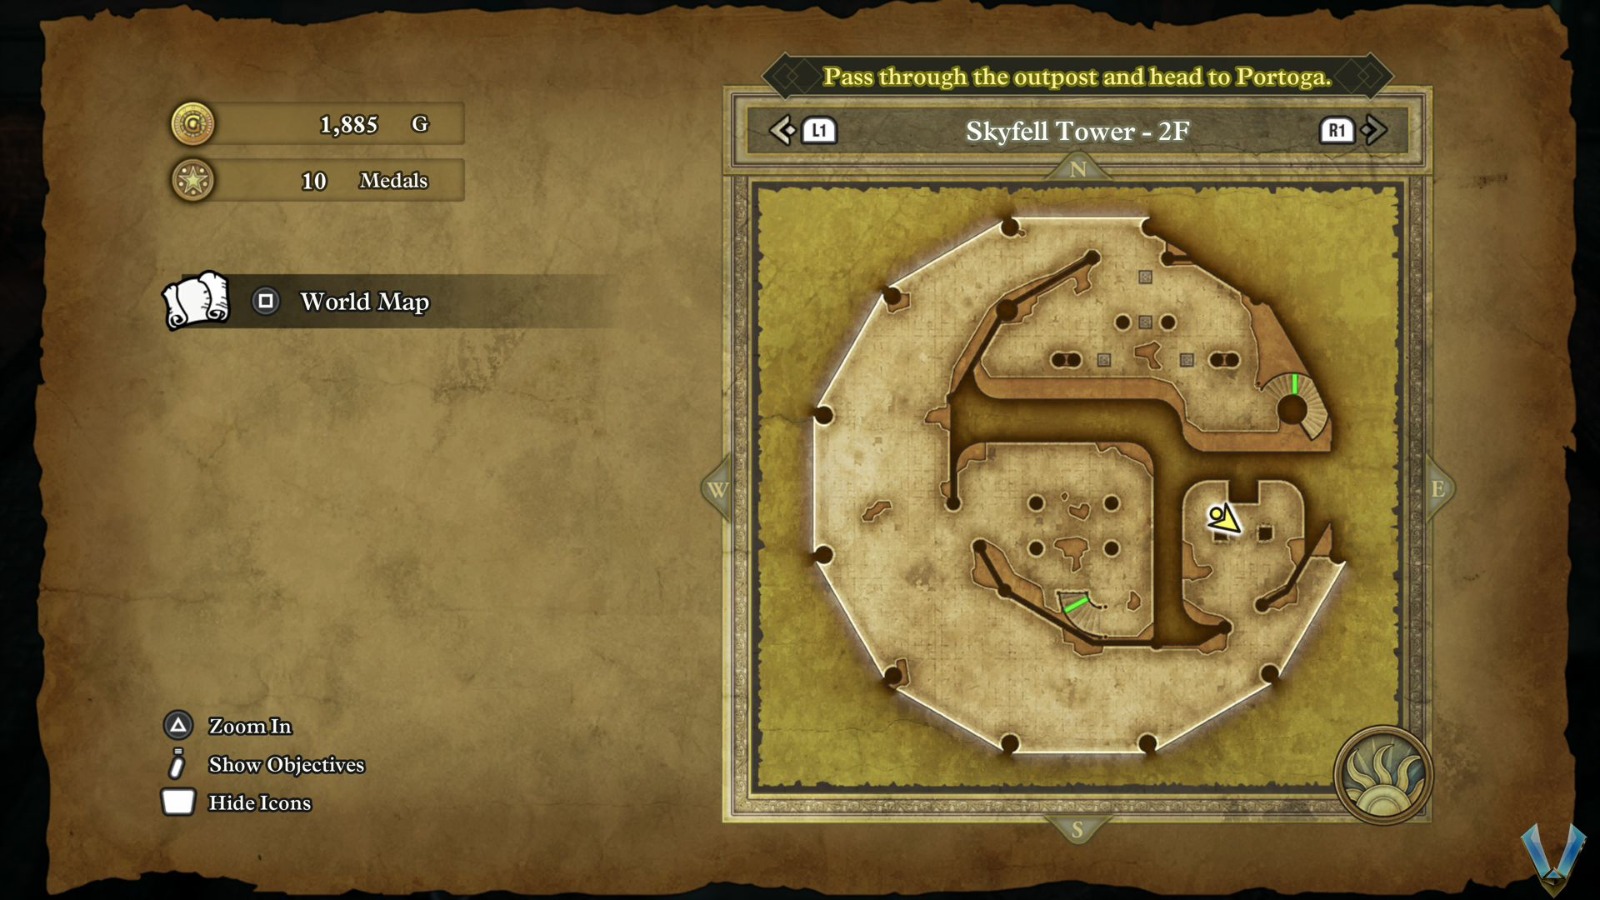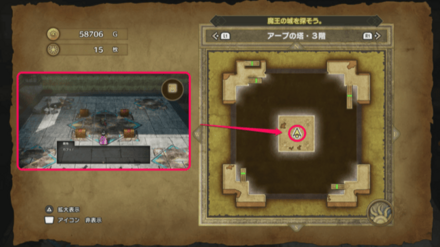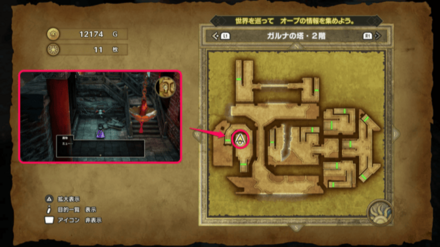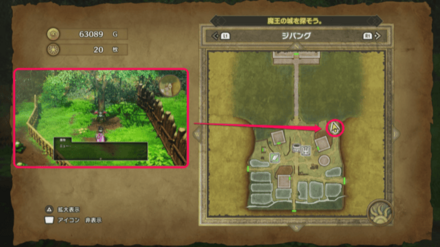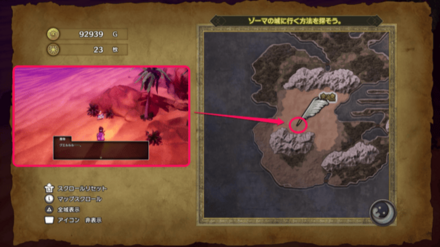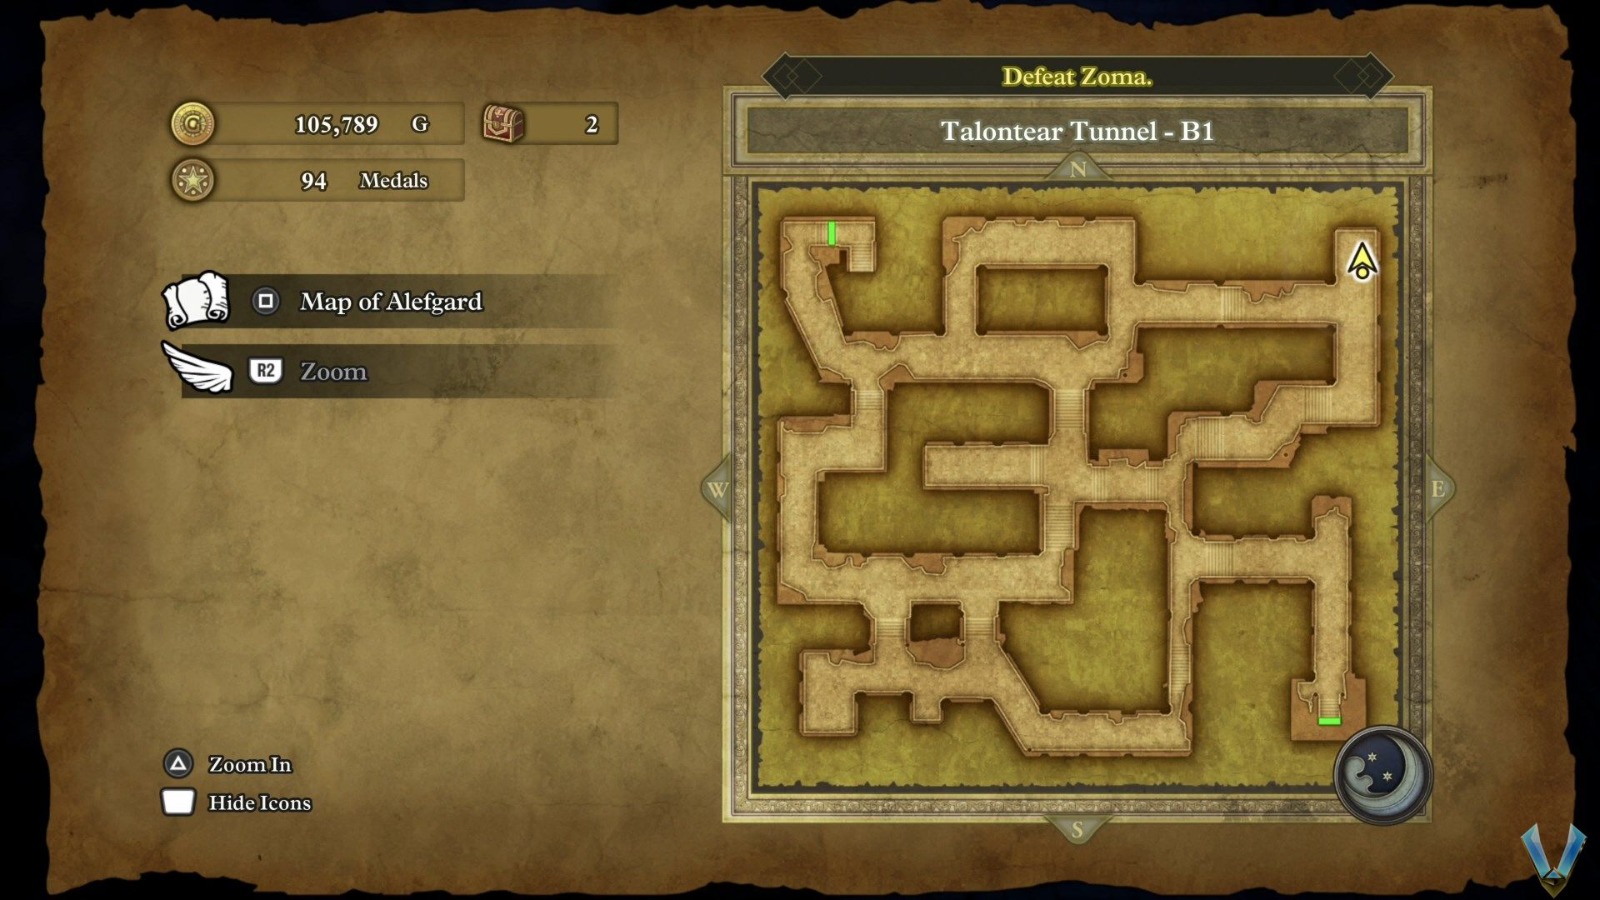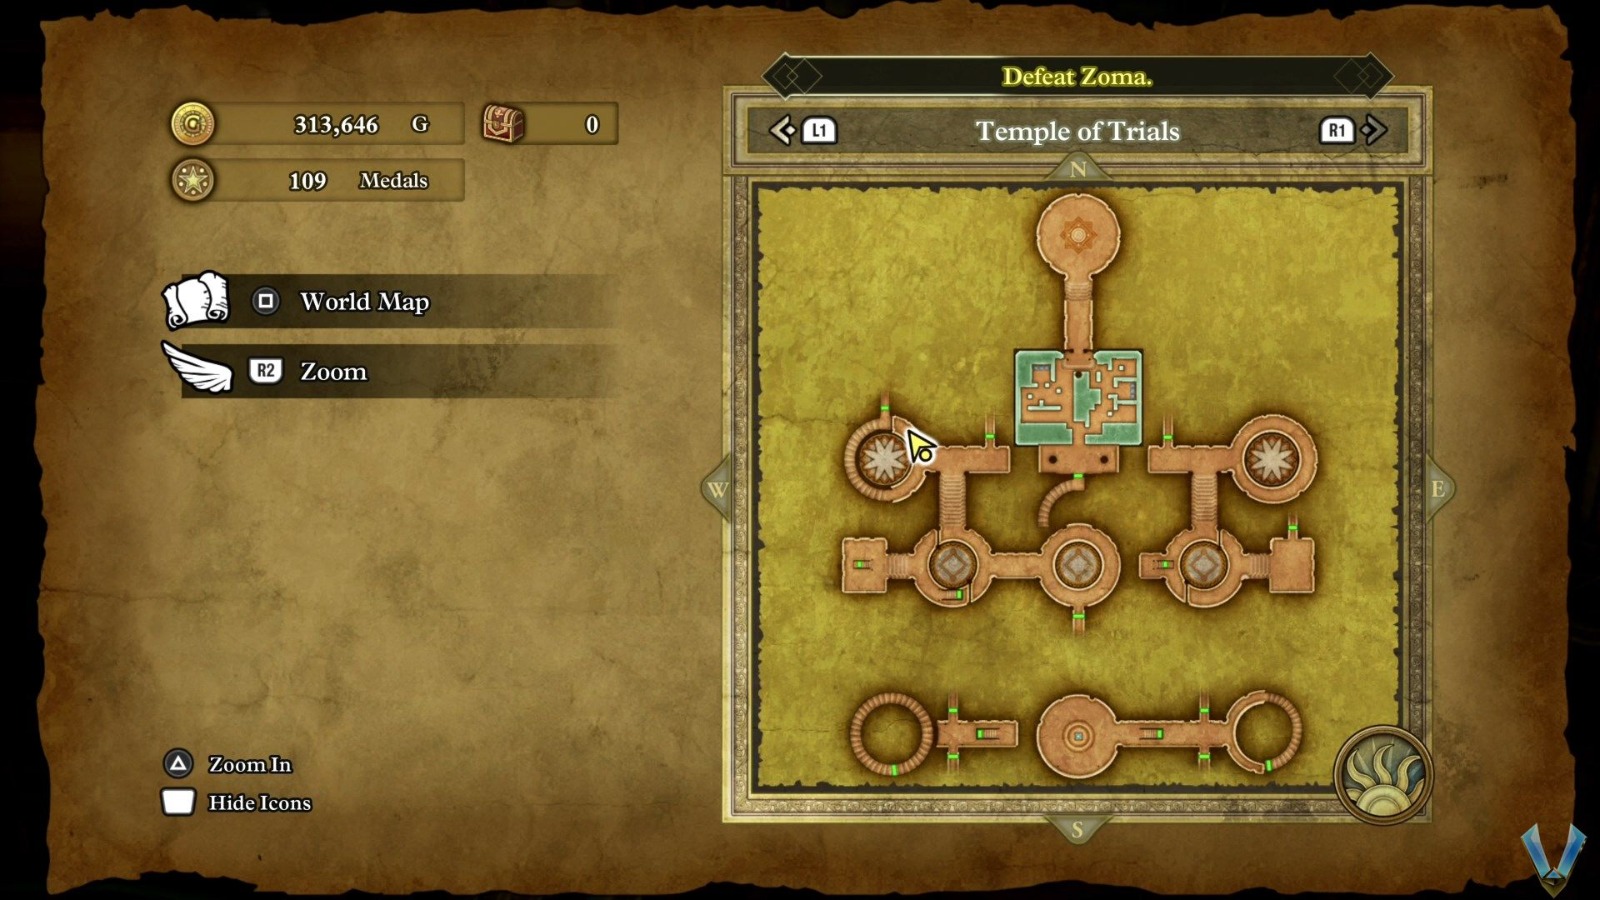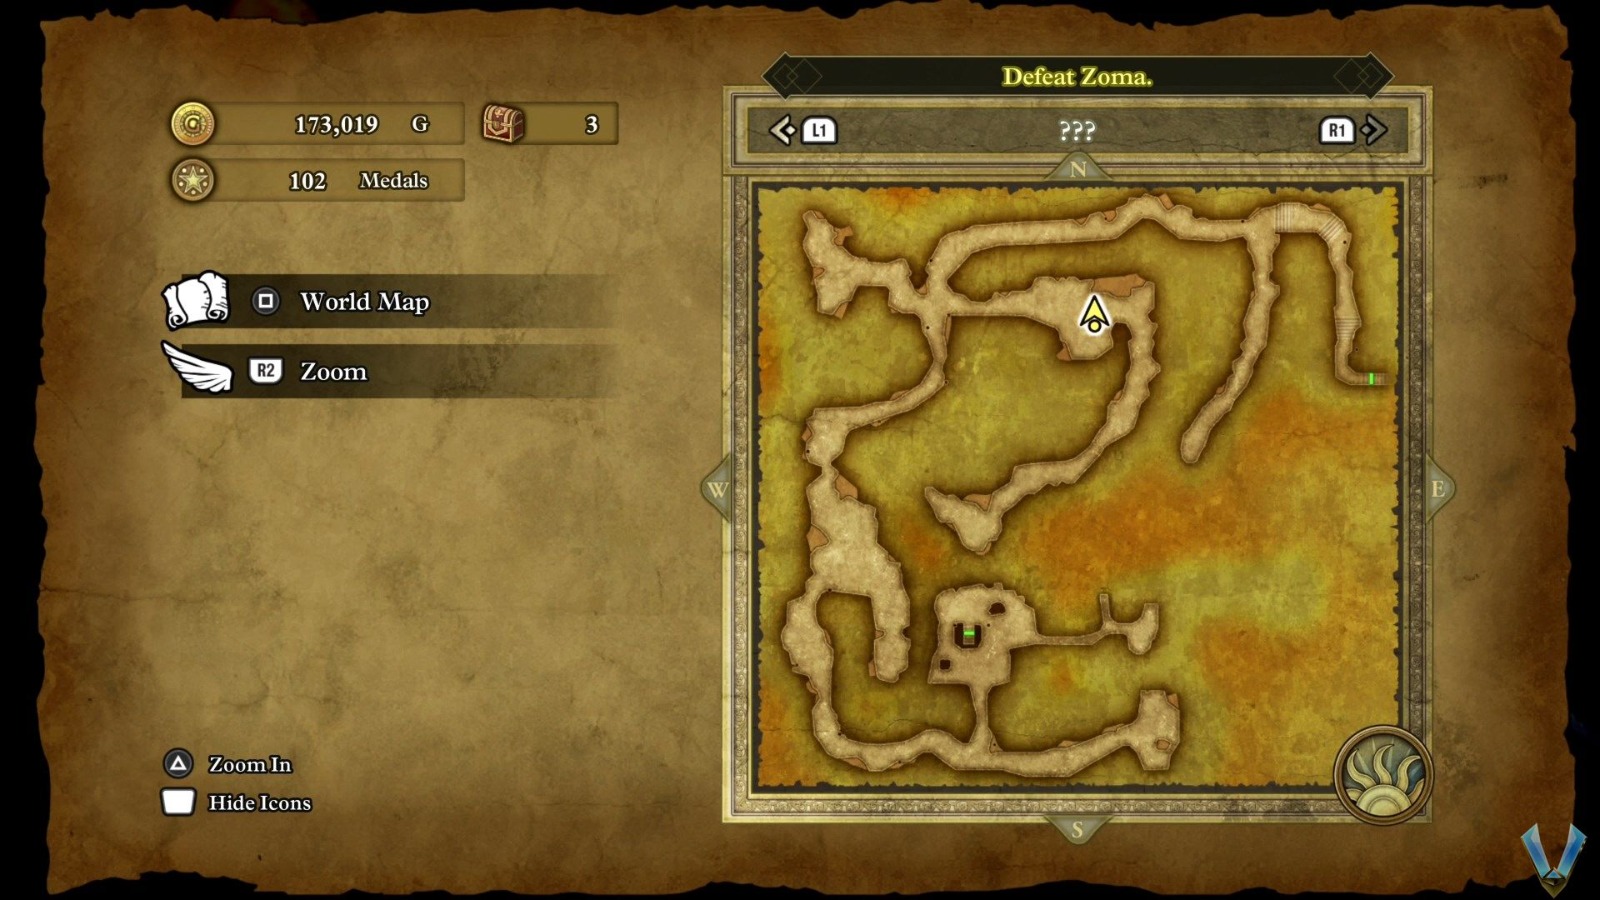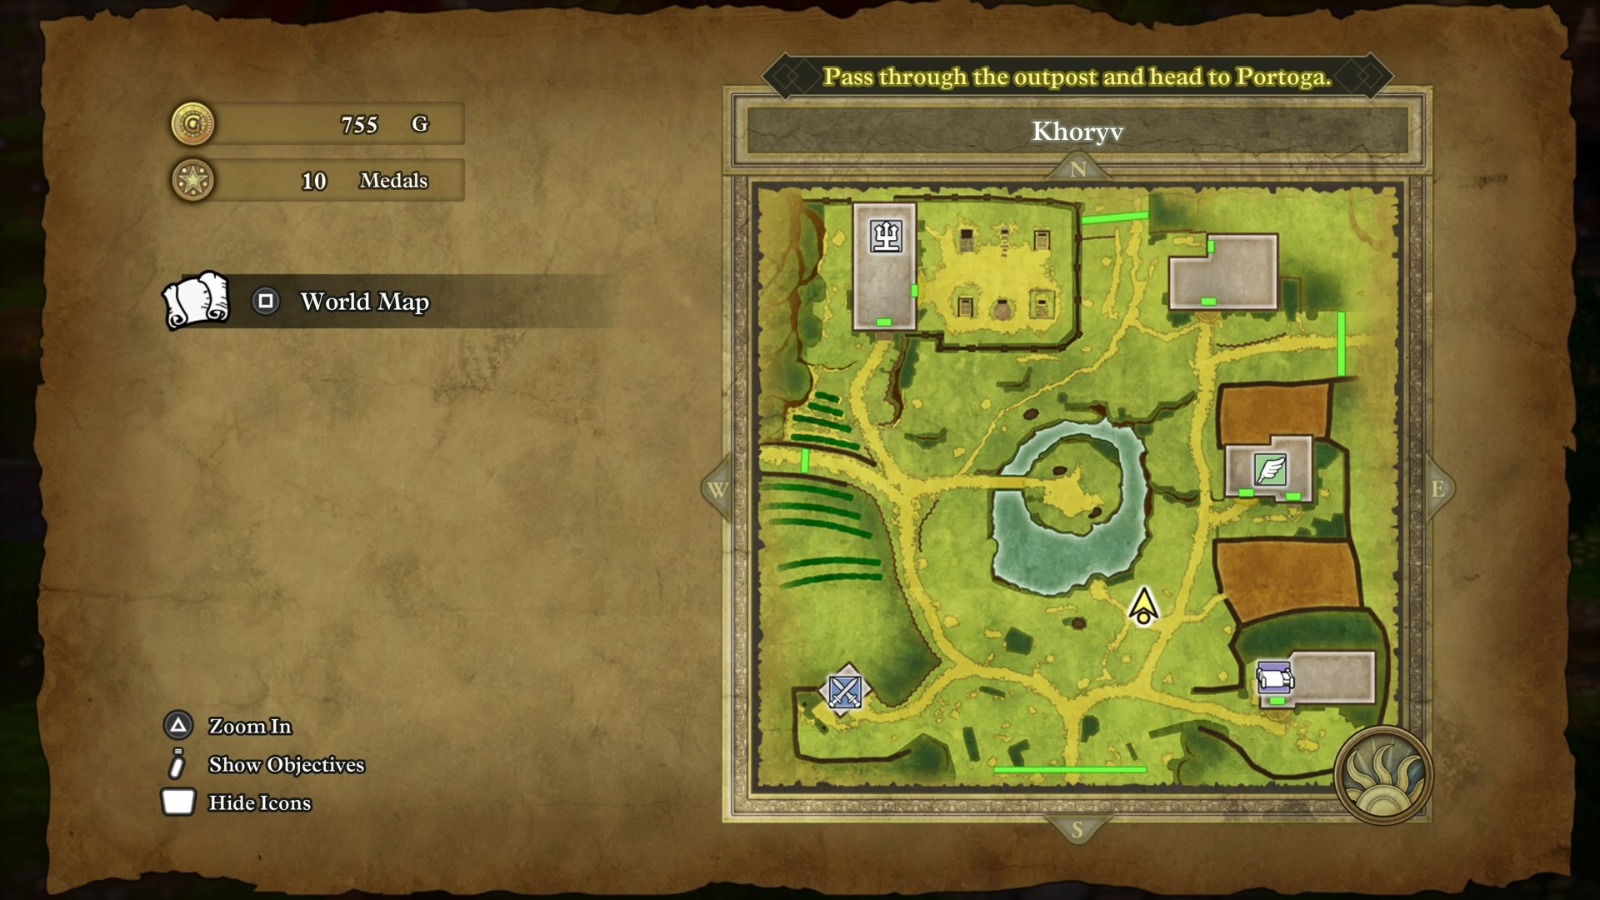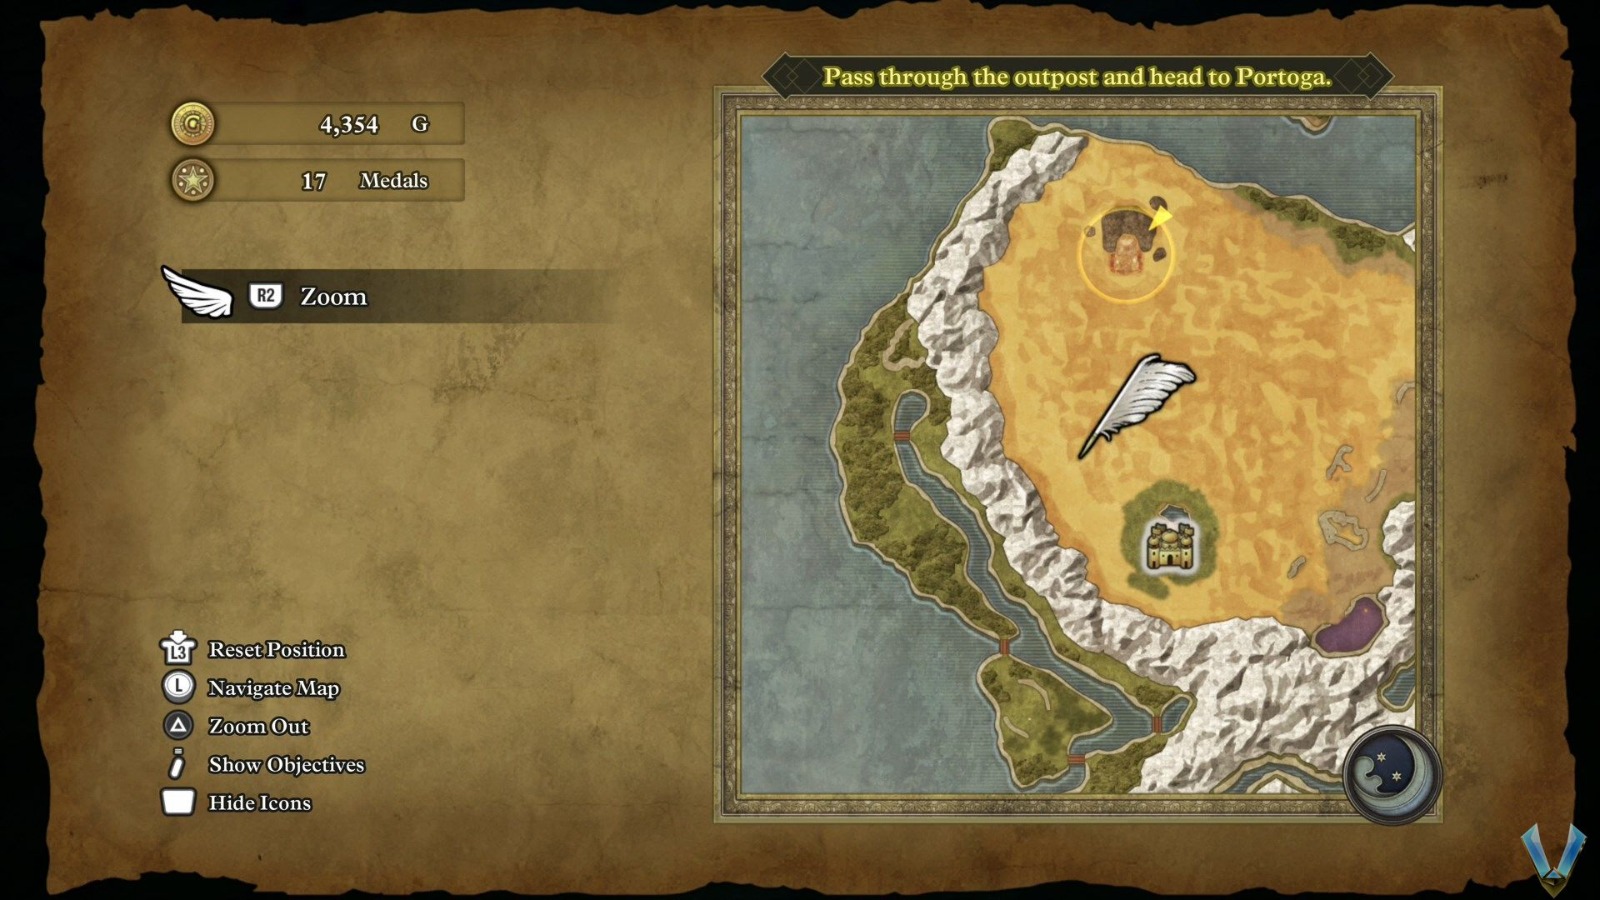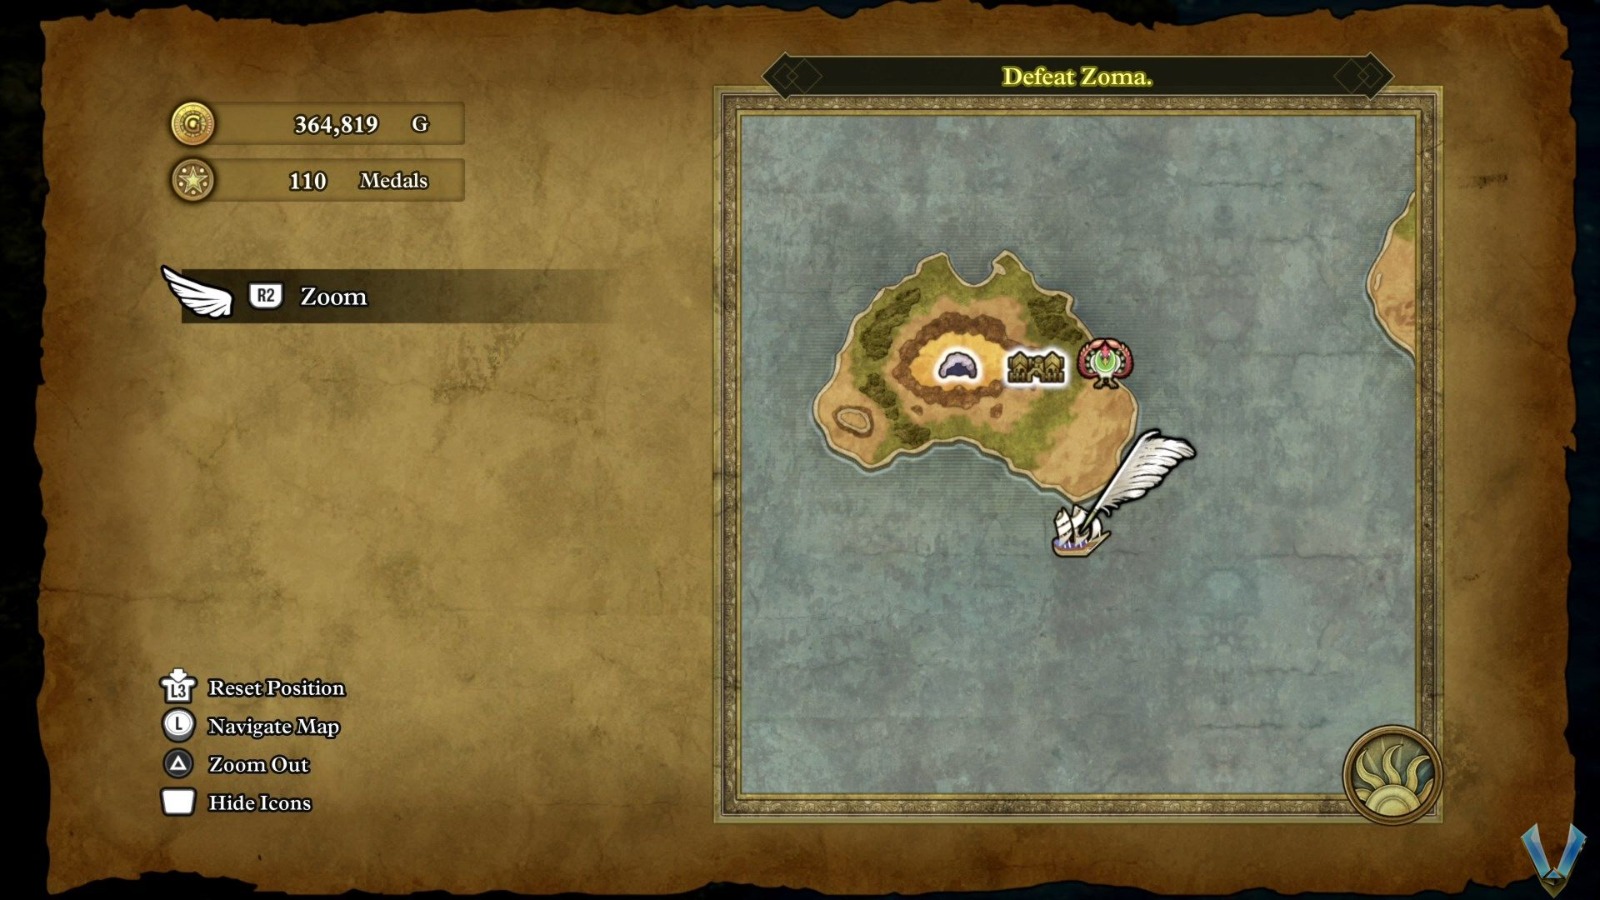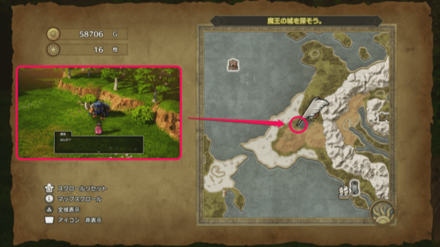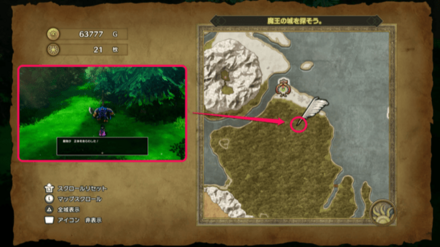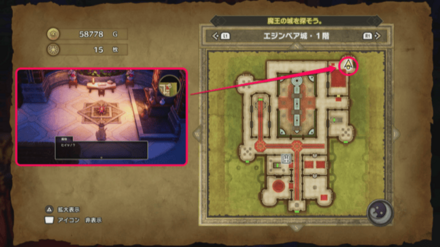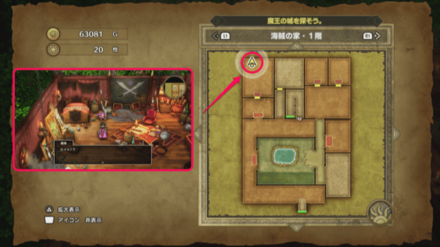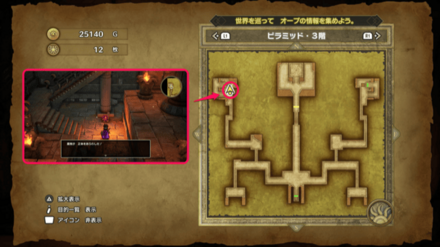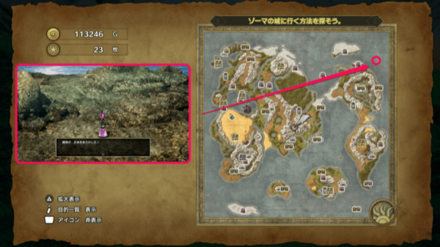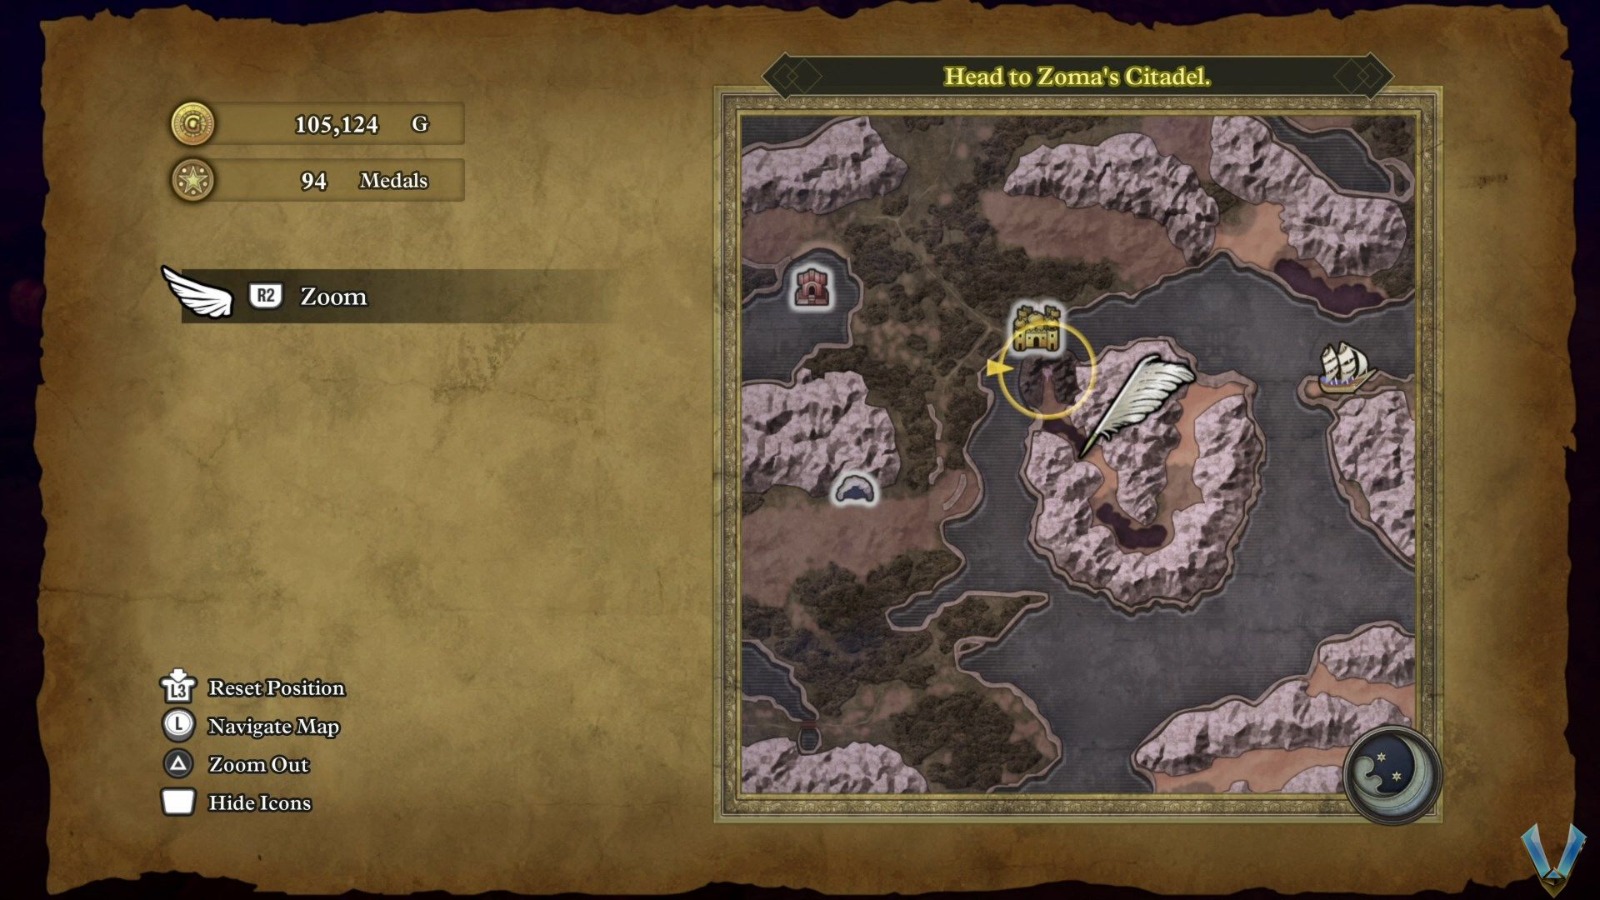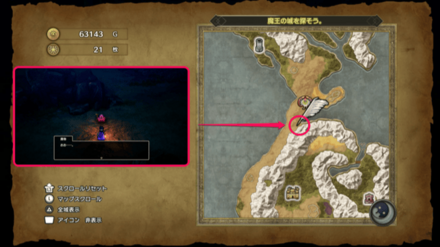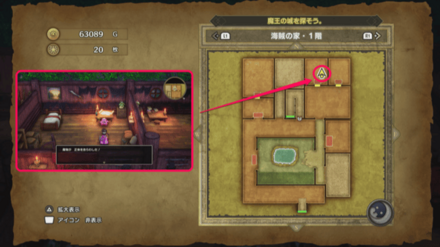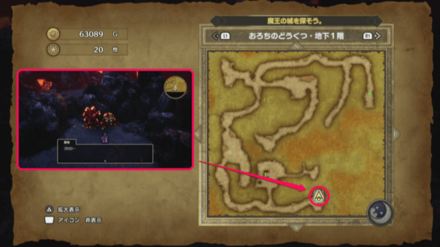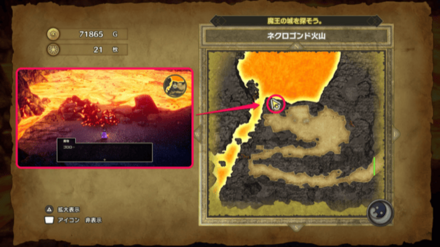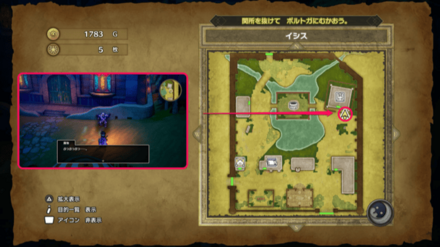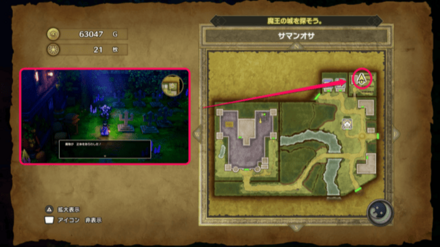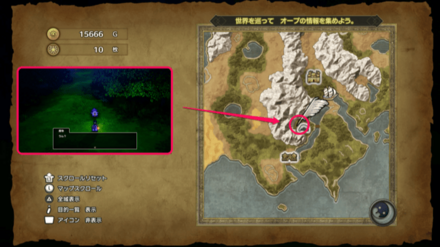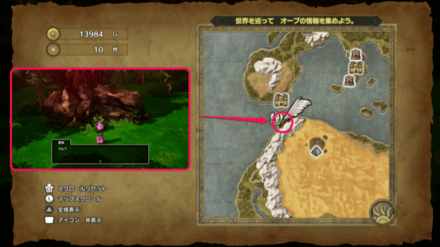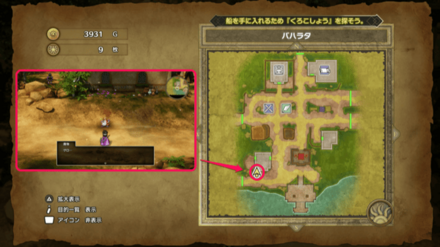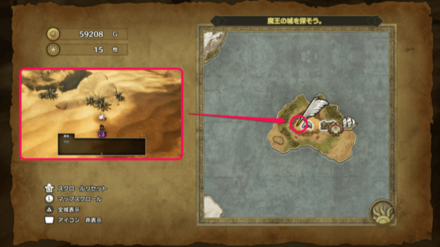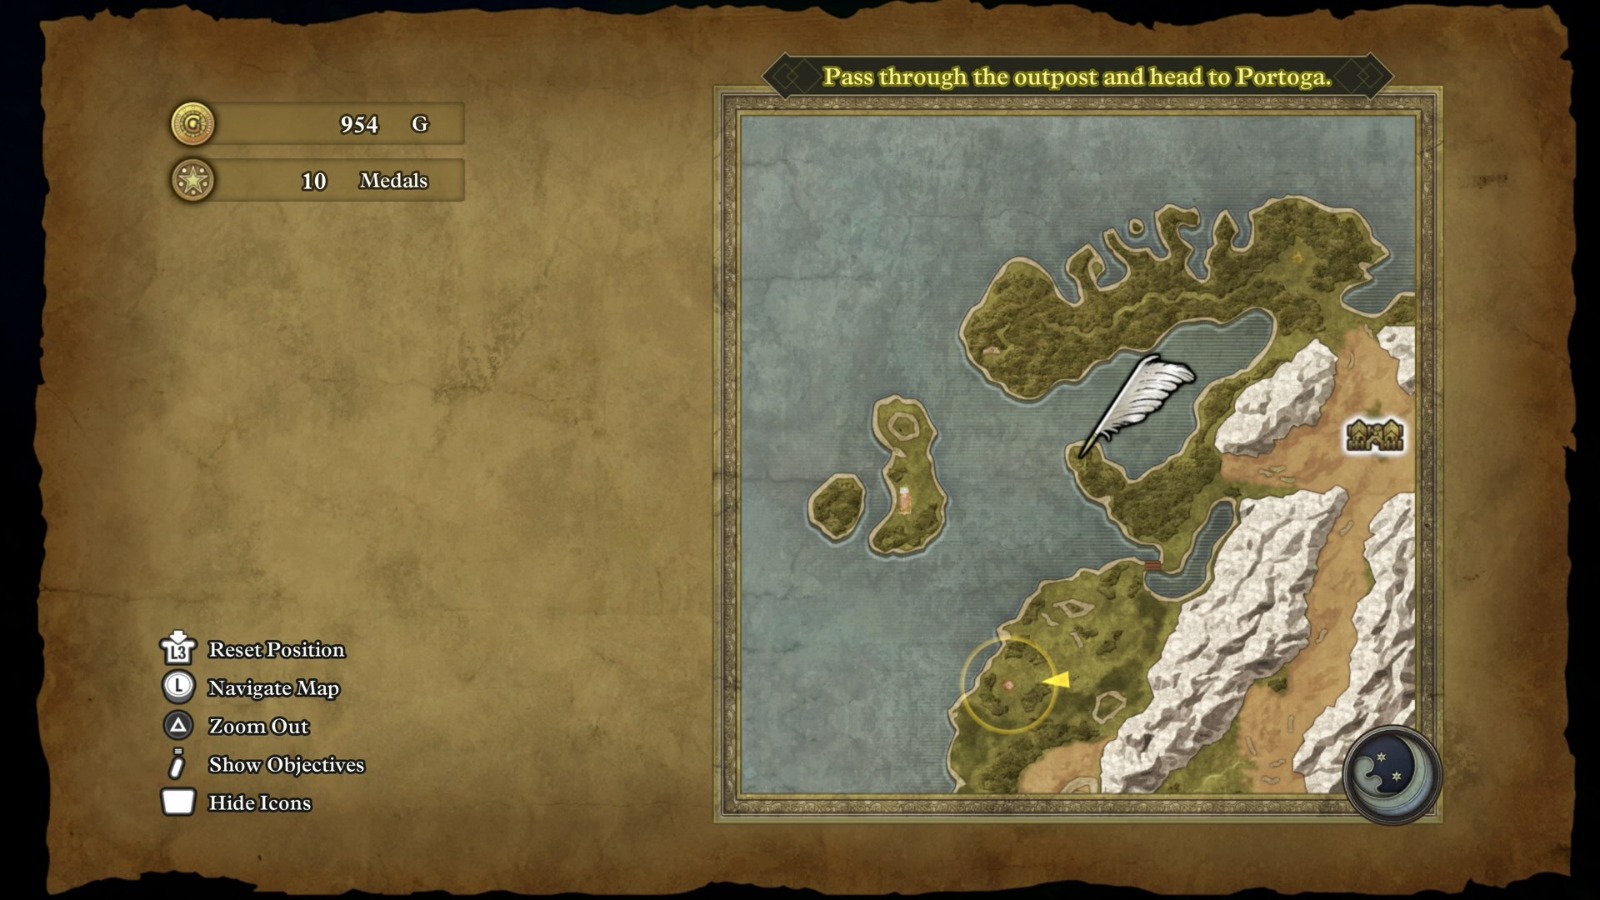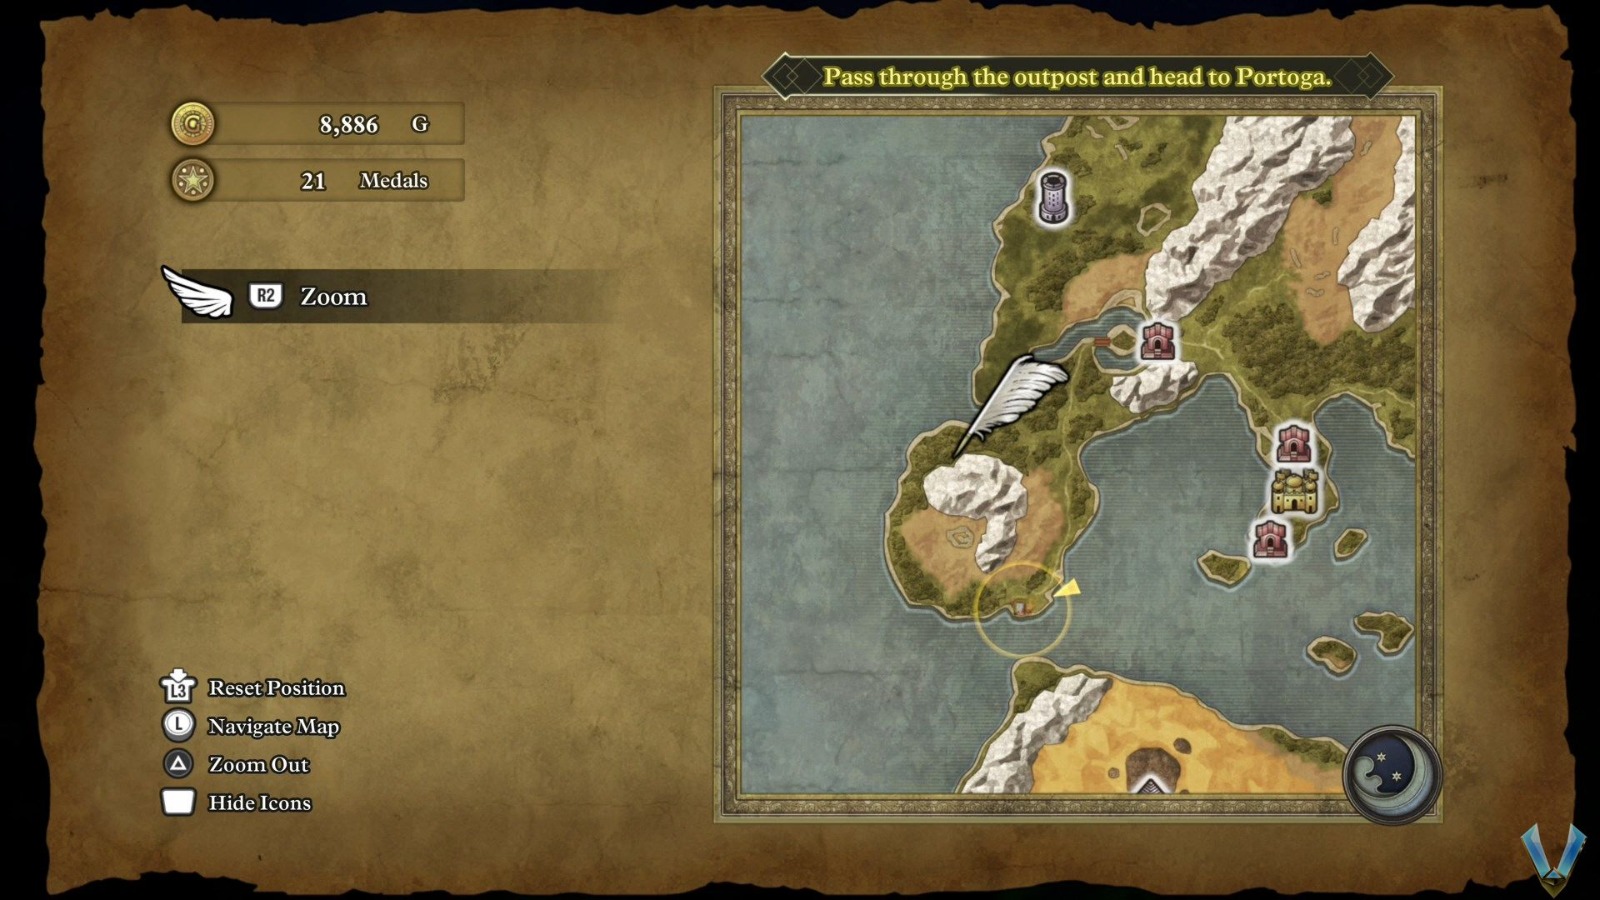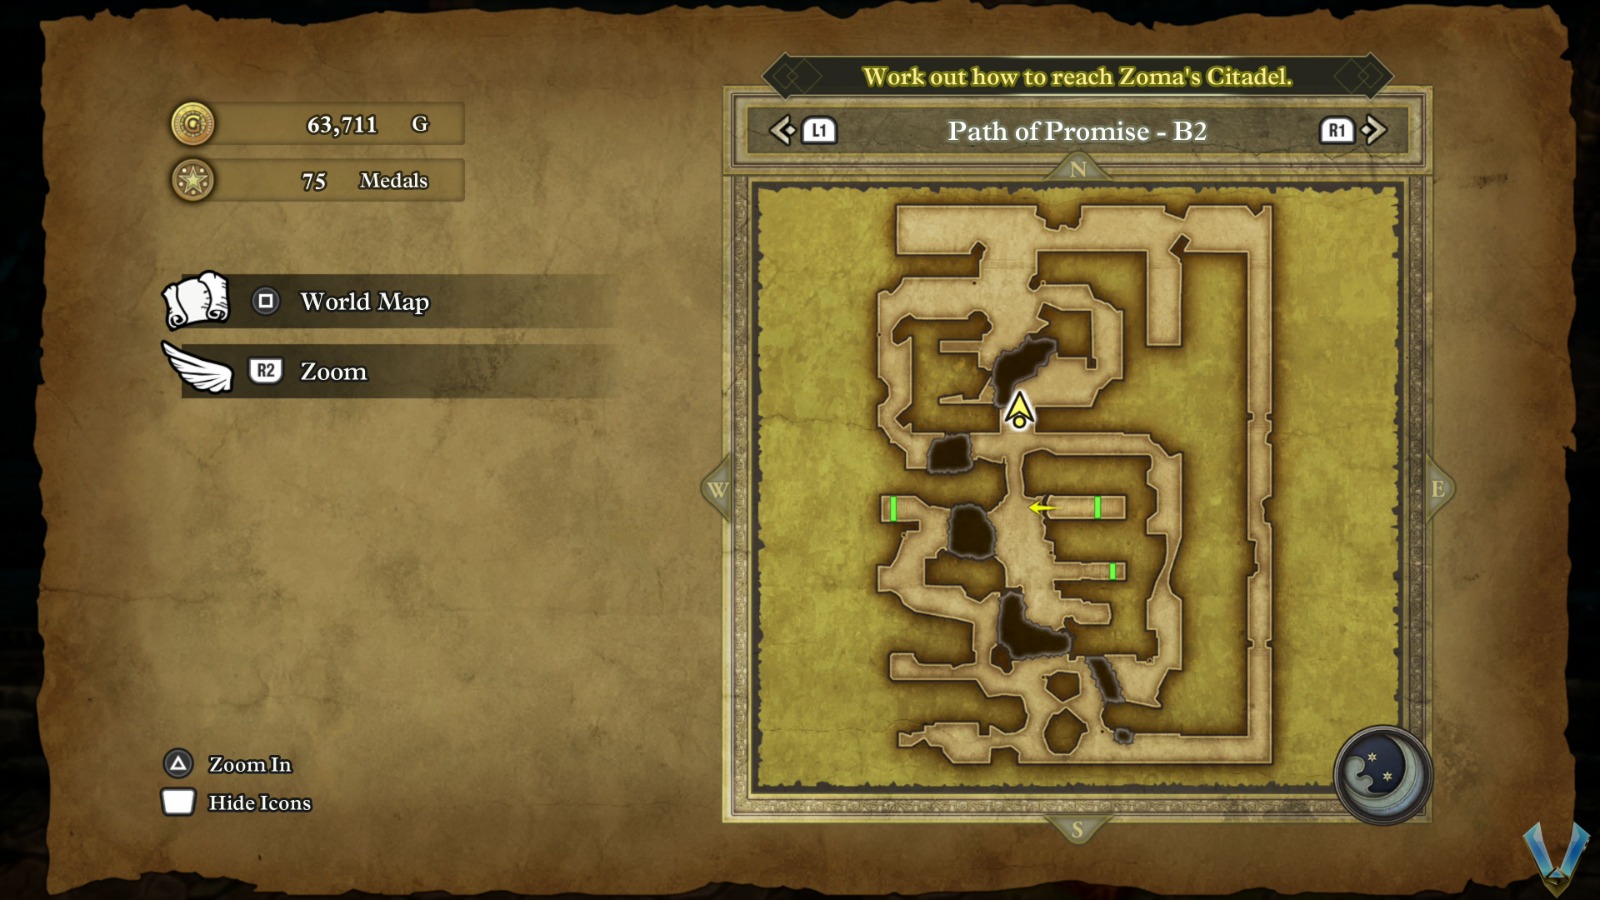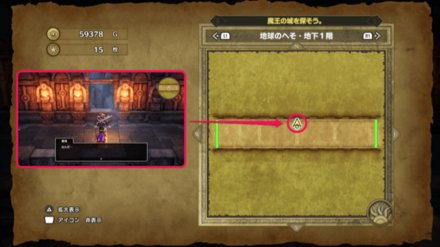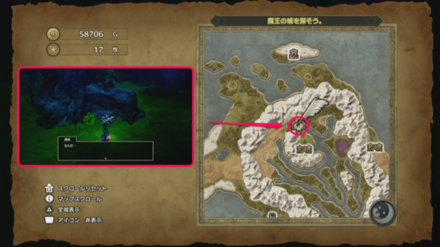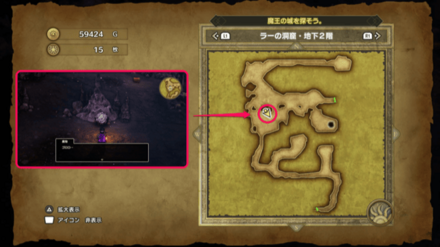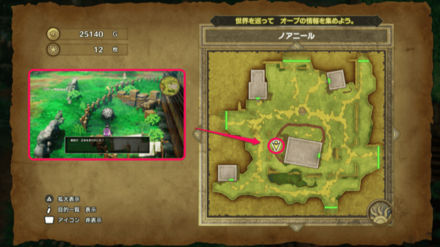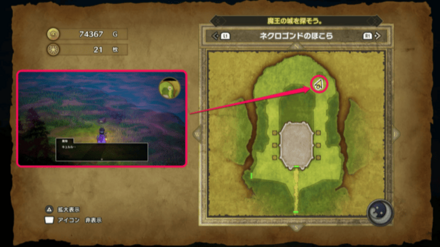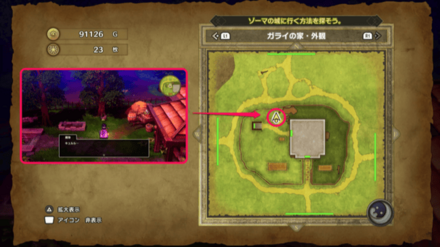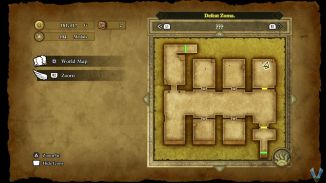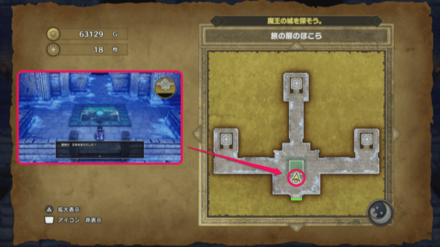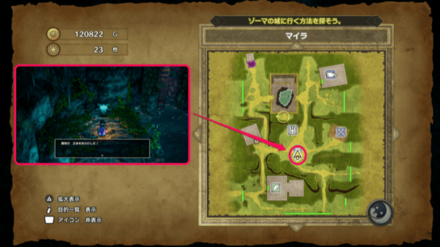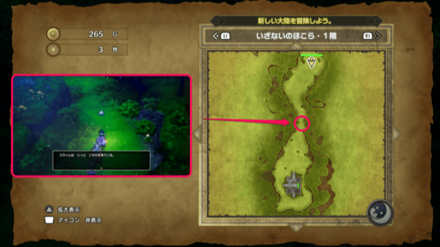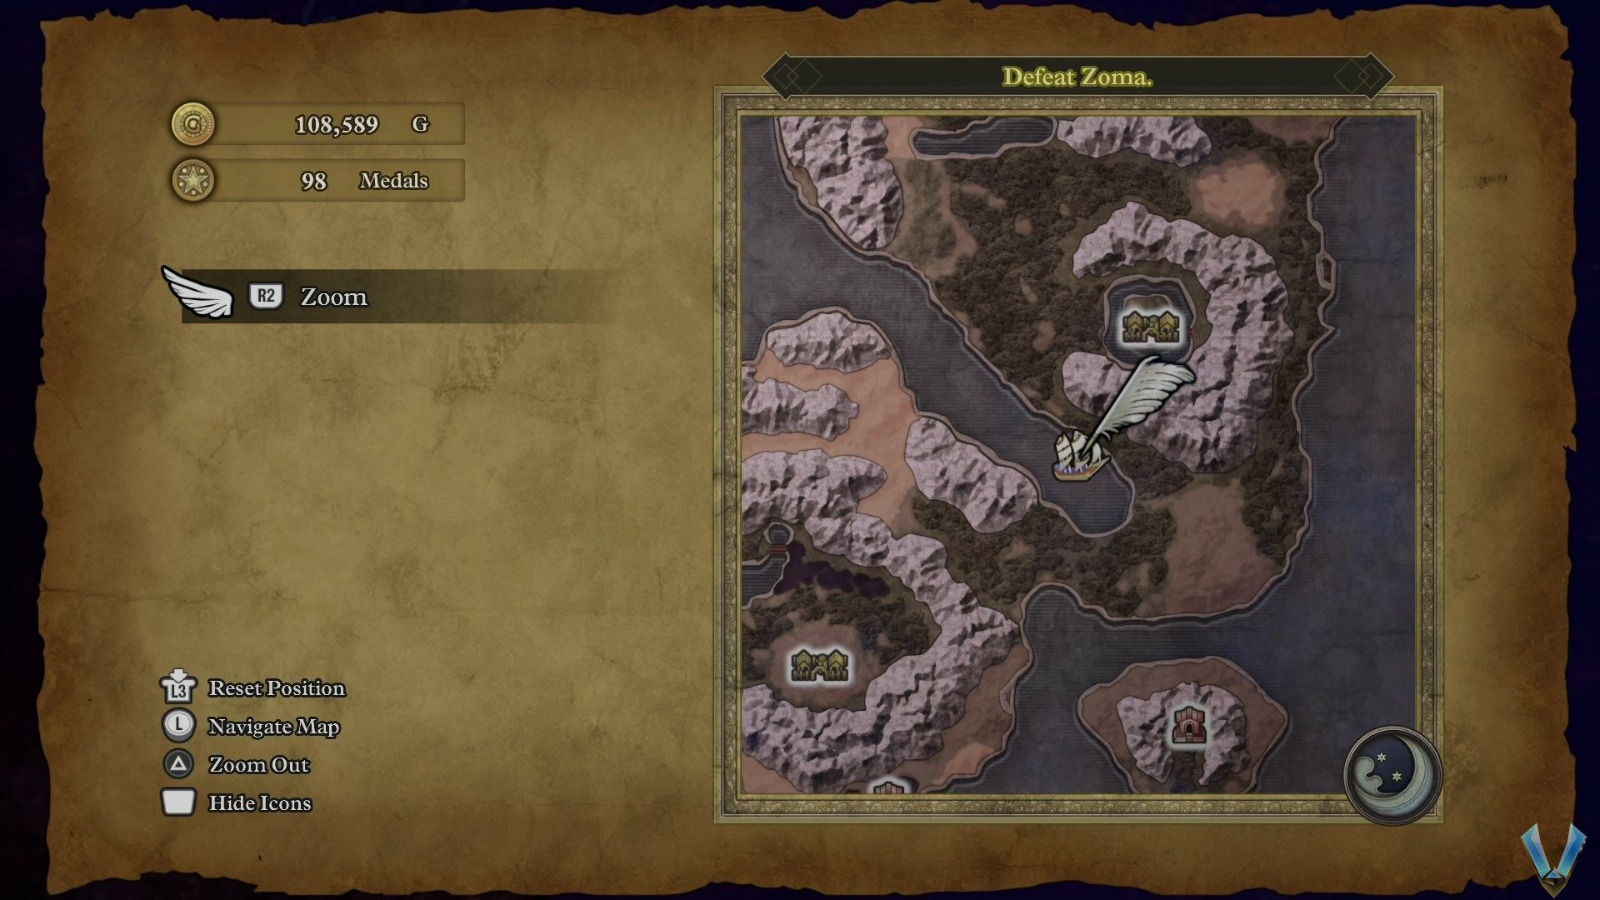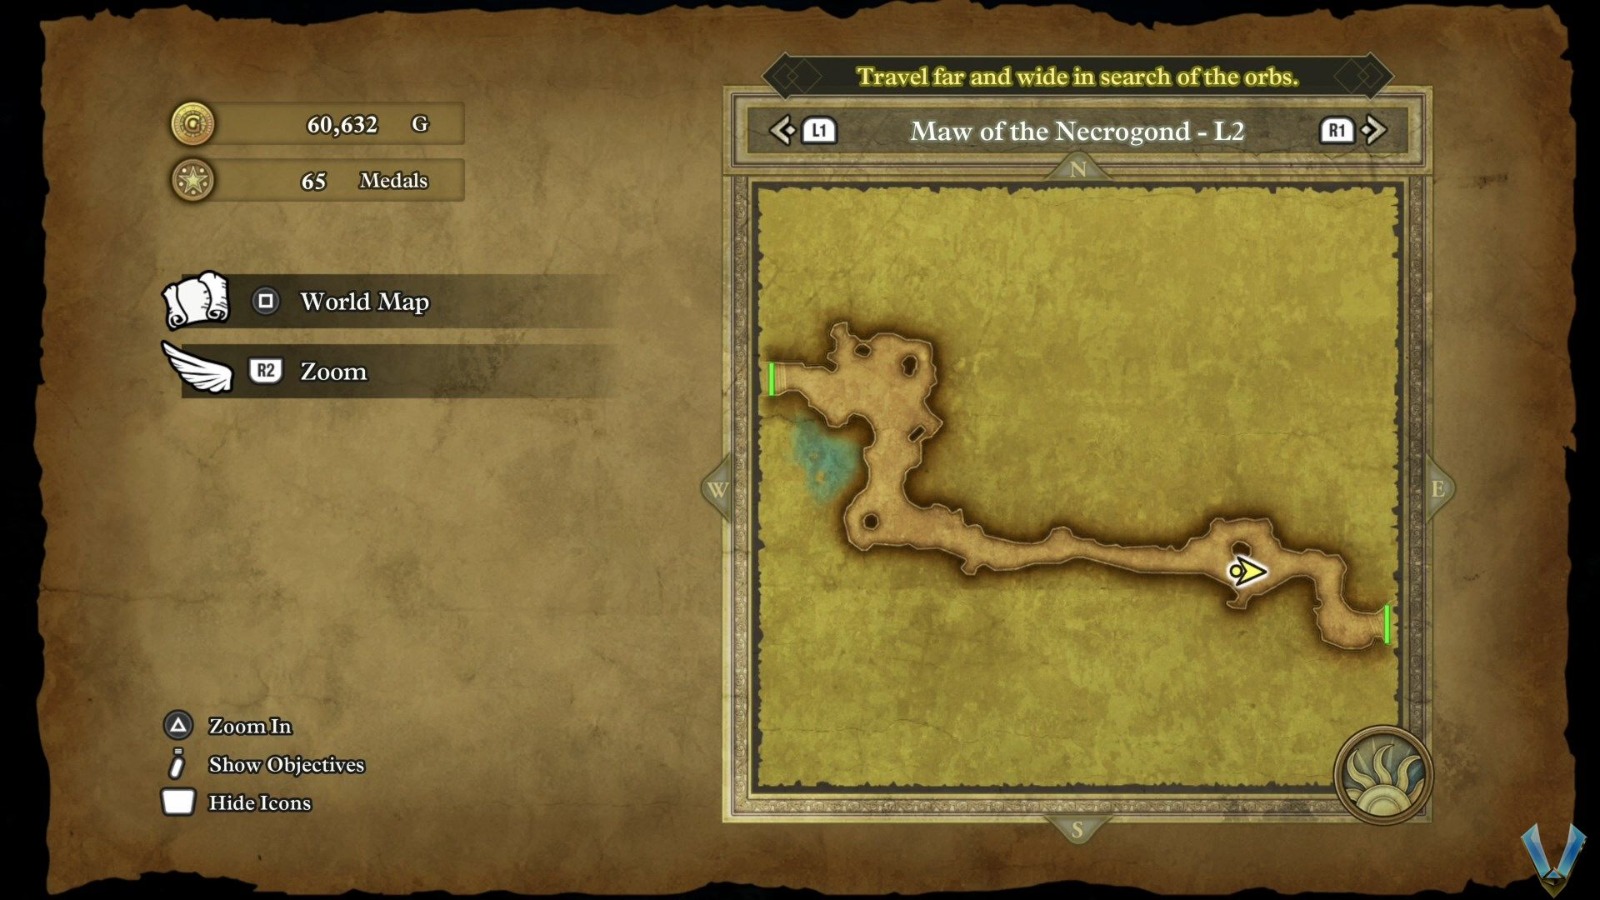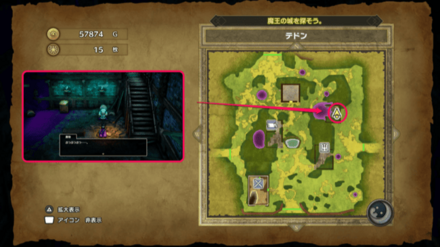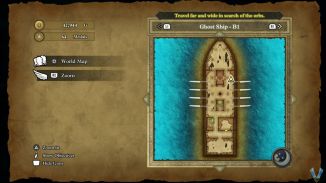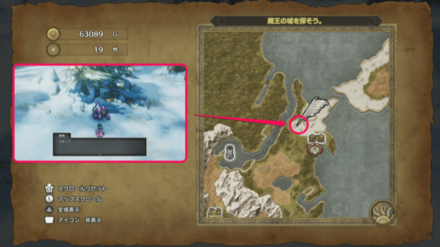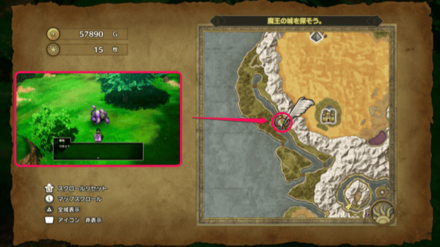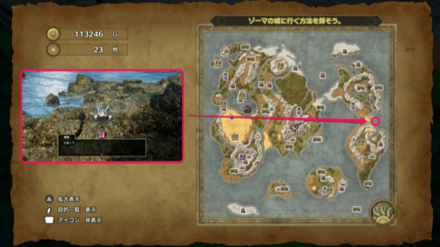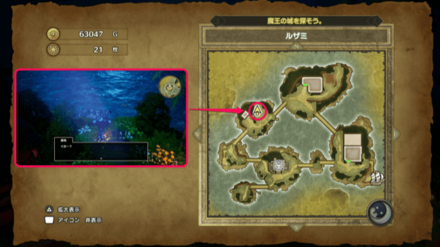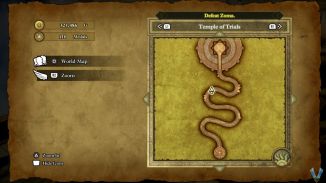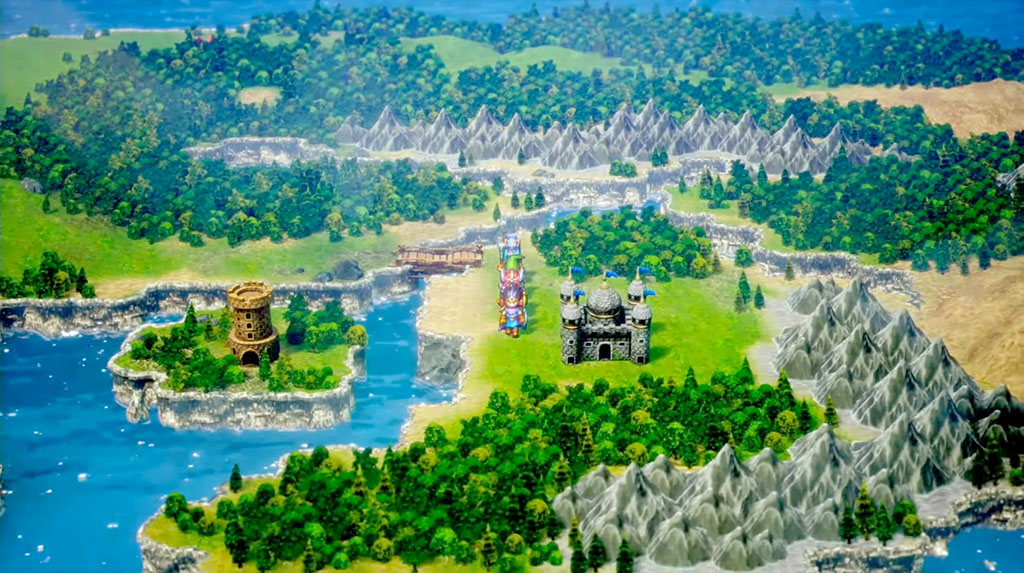
Screenshot from Dragon Quest 3 HD-2D Remake

Dragon Quest 3 HD-2D Remake

A list of stuff I had a hard time finding because all the shitty SEO trap websites with 80% ads and garbage AI generated text make it impossible.

I made this page for my own reference, so it’s not super refined. All the info is confirmed though. Sharing it here just to help out anyone searching past the Dragon Quest 3 HD-2D Remake SEO traps in the search results.

This is not a walkthrough; it’s a reference sheet. It has uninhibited spoilers where they’re relevant. Use Find (CTRL+F) to skip to the thing we’re looking for.

I tried to put the really long lists at the end of this post so we don’t have to scroll past them every time while looking for something else.

Jump to the Lists:

Mini-Review: I love the game, by the way. Highly recommended for anyone who loves JRPGs, especially classics.

Tips I Wish I Did Earlier

  • Don’t recruit a Gadabout. Switch to that class later when we can grind it to 20 fast to unlock Sage and be done with it.
  • Female characters are better (biased) because they have access to the Vamp personality and some special gear choices.
  • Once we get Nose for Treasure (Lv13 Thief) use it in every room to make finding all the hidden items easier as we go rather than needing to backtrack later.
  • If we learn Click (33 Mage/Sage) before getting the important keys in the game, we can open doors with it.
  • As soon as we get a Ship:
    1. Go to Patty’s and bench one of our party members.
    2. Recruit a level 1 Merchant to send there. Give them a funny name. (They will not matter in any other way)
    3. Go to Immigrant Town on the Northeast continent.
    4. Return to Patty’s to get our benched member back.
  • Don’t waste too much money. We’ll need a little over 1.2 million gold to do some post-game content later. (and don’t use Elfin Elixirs willy-nilly)
  • The Mirror Shield reflects our own healing spells sometimes, which makes it somewhat useless if we’re not exclusively healing with items and we don’t enjoy Full Healing the boss we’re fighting. πŸ™„

Grinding

I didn’t need to grind until near endgame, so I’m sticking to that part of the game for this.

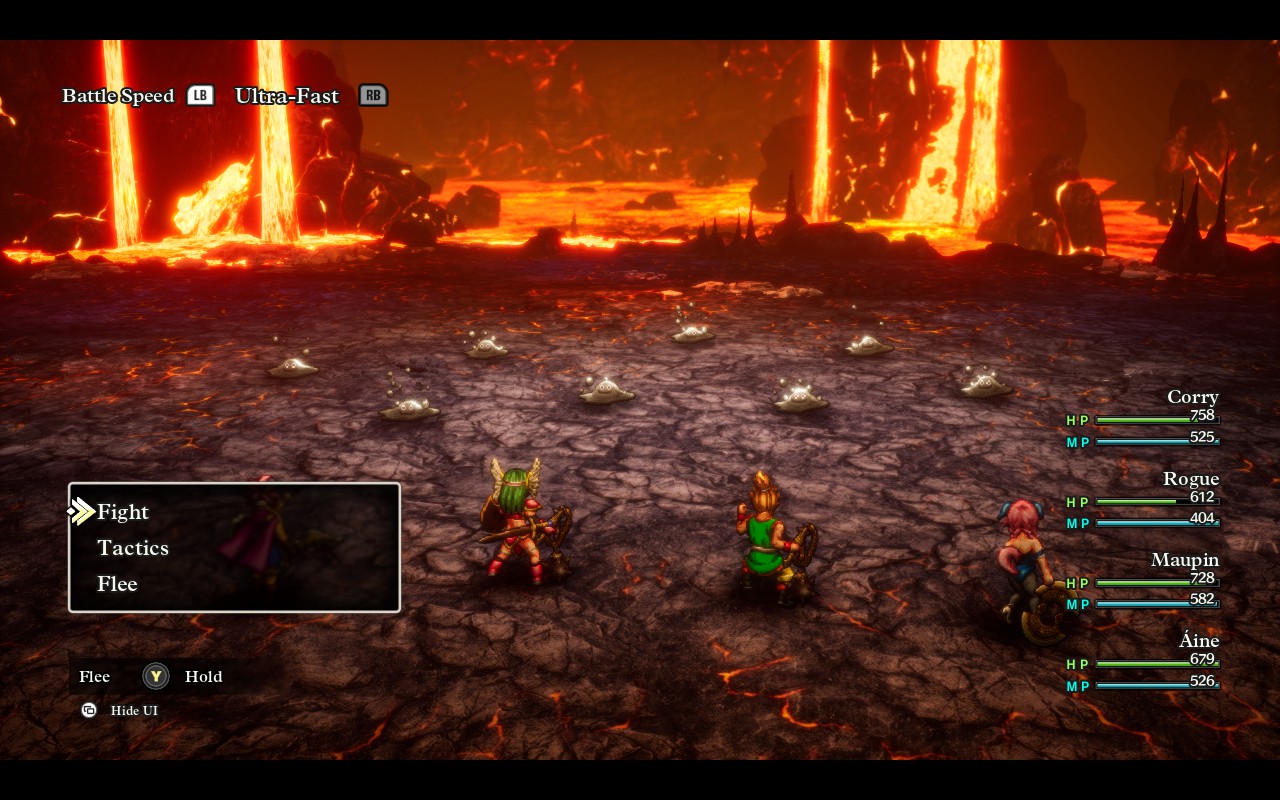
Liquid Metal Slimes

HP5
Agility??? (>475, <800)
Exp12,462 (with 4 party members)

Good Weapons: Metal Wing Boomerang, Poison Needle, Falcon Blade, Headsman’s Axe

Their Agility is well over 400, so getting our best killer’s agility as high as possible will greatly improve our success rate. Meteorite Bracer is excellent for this.

Critical Hits are an excellent way to one-shot metal enemies, so anything that maximizes our chances (Luck or weapons that boost crit) will help. Critical Claim (Lv47 Martial Artist) is perfect for our highest agility party member to guarantee a kill, even if it does cost a lot of mana per use.

If we’re lucky enough to have two turns before they run, having a dragon will kill all of them with it’s breath attack. Puff (Lv37 Mage/Sage) takes one turn to activate dragon mode before pulling off the attack.

Alternatively, another luck-based approach involves Assassin’s Stab (Lv16 Thief) and Pressure Pointer (Lv21 Warrior) abilities that have a low chance of success but will kill if they do.

Where to farm them:

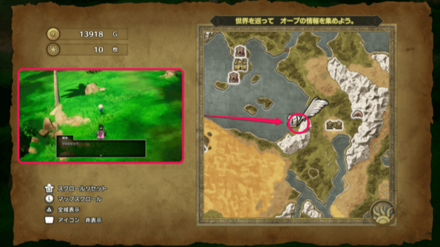
Northern Alefgard, on an island north of Talontear Tunnel.

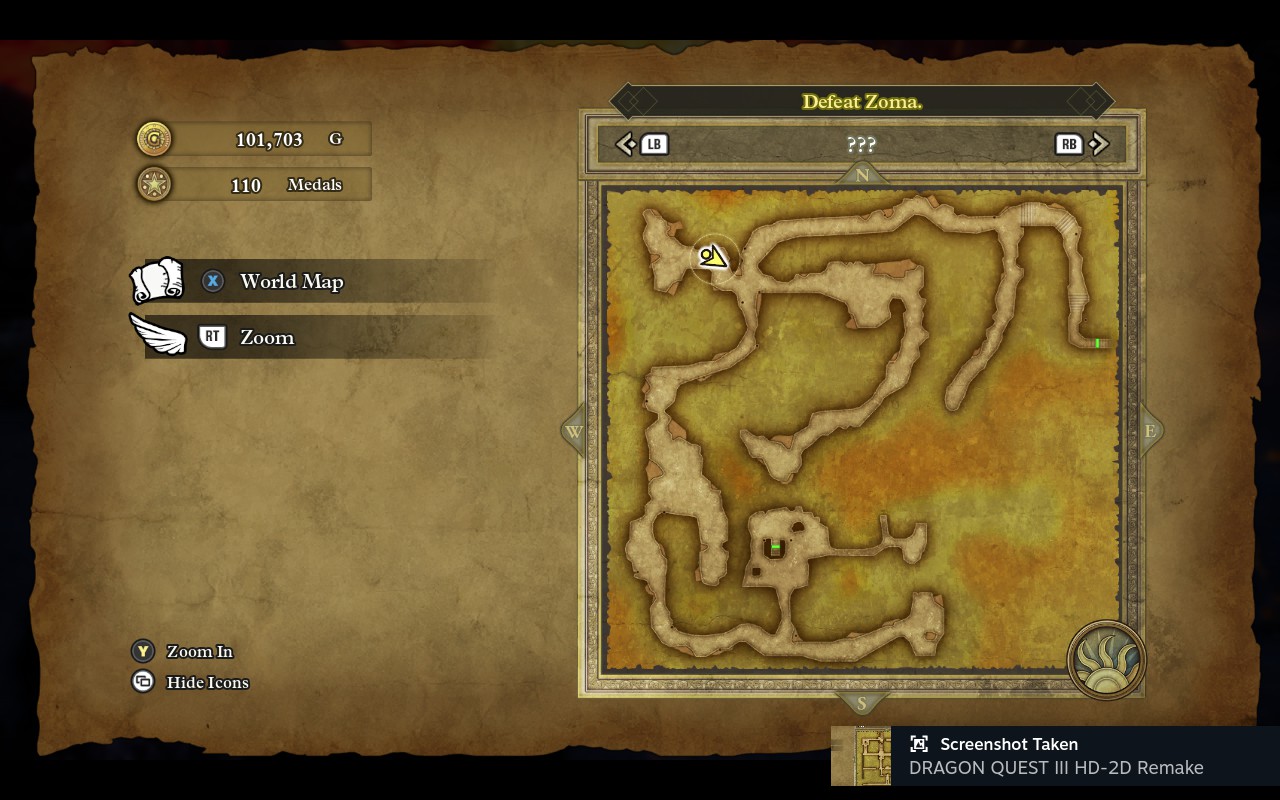
Heavens (???) [3F] Lava area has a faster xp gain at higher risk.
Xenlon

HP22,500
Experience Reward10,301
Gold Reward7
Other Boss InfoGame8

Fight Prep

  • Befriend as many Friendly Monsters as possible (at least 50)
  • Have every party member level up Monster Wrangler to learn Monster Pile-On and Wild Side
  • Get every party member’s HP as high as possible
  • Give the hero high Agility accessories
  • Give the hero a Sage’s Stone and Sunstone in their Item list
  • Resistance to breath attacks, fire, ice, and physical are all relevant
  • Equipping the team with anti-Sleep accessories isn’t perfect, but can help

During the Fight

Use the hero as the healer. Have them use Sage’s Stone and Omniheal to keep everyone’s HP above 300-ish to avoid being KO’ed in a single turn. If anyone is put to sleep, use the Sunstone. When everyone’s already capped, attack or use Falcon Slash to add a little DPS without spending too much mana.

The best damage I’ve found is from Monster Pile-On. If we’ve captured as many friendly monsters as possible, it should hit for between 350-620 each use. I was only able to beat him within 15 turns by having all three of my allies use it. We can also use Wild Side to maximize how frequently it can be used.

Recommended Rewards Order

  1. Unlock Final Monster Arena
  2. (Hidden Bottom Option) Unlock Temple of Trials
  3. Powerful Weapon
  4. Everything else

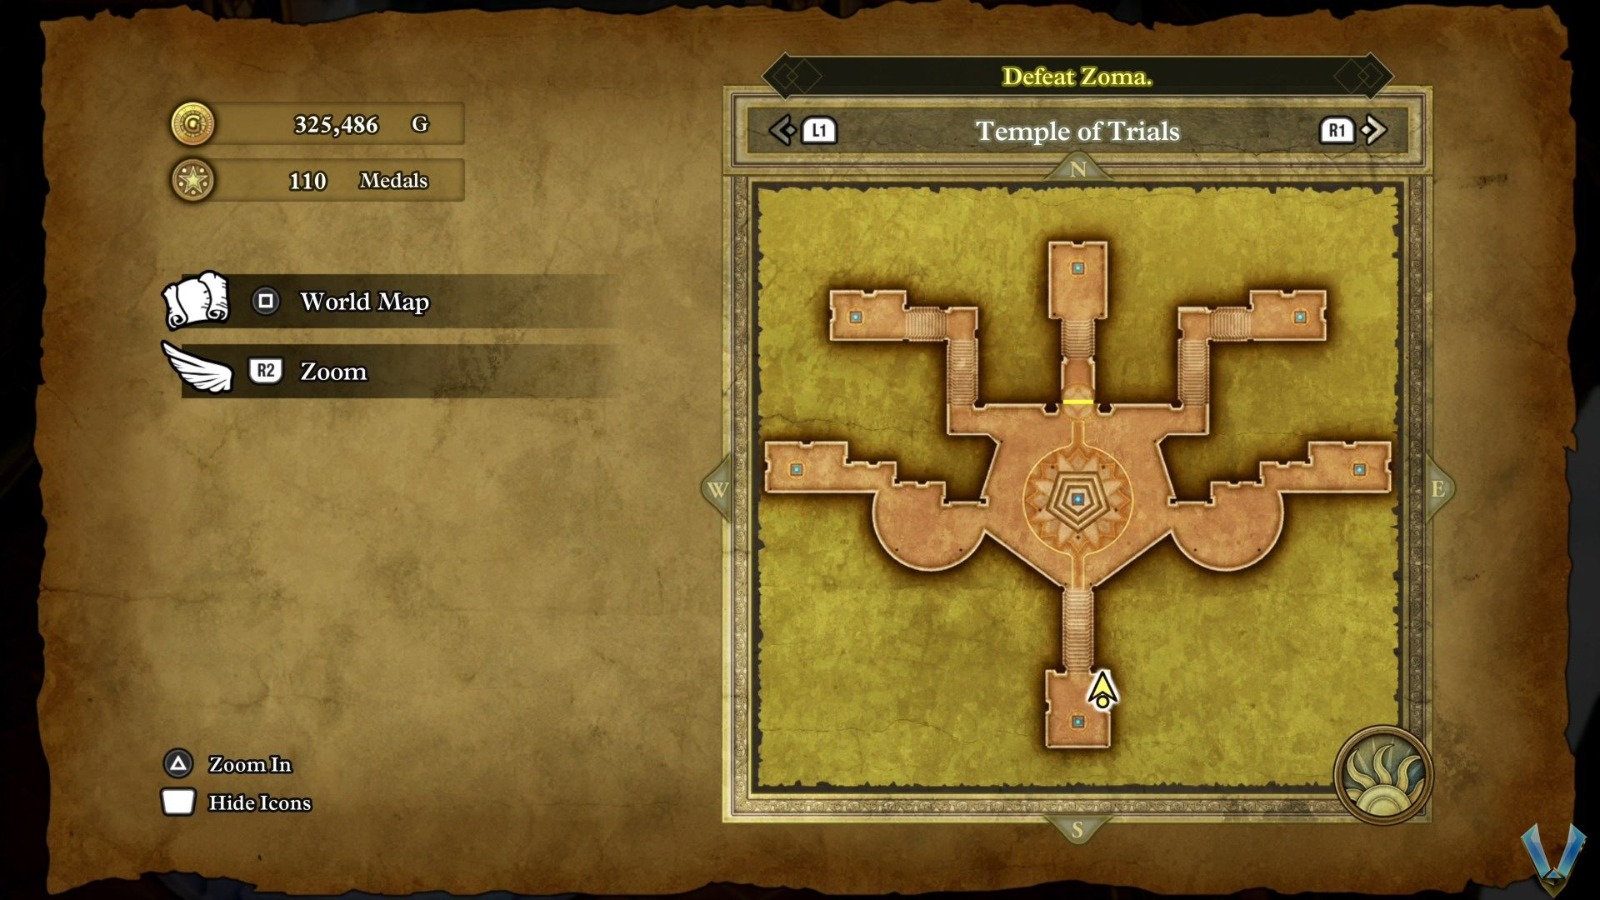
Temple of Trials

Temple of Trials Walkthrough — Game8 (terrible site, but this page is helpful)

Temple of Trials: SW Route — Item Fetch Quests

Other sites lie and say these are sold in places where they aren’t.

ItemLocationQtyCost
Hardwood HeadwearKhoryv4560
(140 x4)
Staff of SentencingMur410,800
(2,700 x4)
Epic Apron“Immigrant Town”442,000
(10,500 x4)
Slime EarringsKol43,800
(950 x4)
Magic WaterCloudsgate Citadel
(and lots of other places)
2515,000
(600 x25)
Elfin ElixirFaerie Village
(Use Mod Rod)
251,000,000
(40,000 x25)
Flame ArmourRimuldar4137,200
(34,300 x4)
Total1,209,360

Temple of Trials: NW Route — Boomerangs & Claws

I’m going to only list the top options for these weapon types and try to include enough that the lowest one will be easily accessible. The best weapon for each class has that class name bolded.

Best Boomerangs & Claws

NameAttackWho Can Equip It
πŸ–οΈ Orichalcum Claws
(unattainable before this Trial)
150Martial Artist, Monster Wrangler, Thief
πŸͺƒ Hunter’s Moon131Gadabout, Hero, Mage, Merchant, Monster Wrangler, Thief
πŸ–οΈ Beast Claws107Martial Artist, Monster Wrangler, Thief
πŸͺƒ Metal Wing Boomerang102Gadabout, Hero, Mage, Monster Wrangler, Thief
πŸ–οΈ Dragon Claws95Martial Artist, Merchant, Monster Wrangler, Thief
πŸ–οΈ Dragonsbane Claws87Hero, Warrior
πŸͺƒ Flametang Boomerang65Gadabout, Hero, Mage, Monster Wrangler, Thief
πŸͺƒ Swallowtail52Gadabout, Hero, Mage, Monster Wrangler, Thief
πŸͺƒ Gusterang46Gadabout, Hero, Mage, Monster Wrangler, Thief

Sages and Priests are left out of this segment of the Temple of Trials, sadly. Warriors are stuck with a fairly weak best weapon too.

Pandora’s Boxes

Fuck these things. It’s like they were designed to be as frustrating as possible.

  • They hit hard.
  • They summon allies of most of the other enemies that spawn during this trial, including the ones who can insta-kill our party members.
  • They can heal for huge amounts.
  • Non-boss versions are immune to Blasto.
  • The boss versions get 3 actions per turn.
  • The boss versions can cast Bounce on themselves.
  • The last boss Pandora’s Box will immediately Kazing another one if not killed right away.

The easiest way to beat the boss versions is to use Blasto (Lv20 Priest/Sage) when they don’t have Bounce up. It has a below 50% chance to succeed, but it’s more effective than trying to chip away at them with damage while they heal every turn — which isn’t impossible, but it feels that way while attempting it.

Secondarily, we can use Assassin’s Stab. It has a much lower success rate, but it doesn’t get reflected by Bounce. This method works fine for characters who can’t cast Blasto, but probably won’t be lucky enough to kill the last two who can quickly revive each other if not killed almost simultaneously.

If they have Bounce on, we can use Ripple of Destruction (Lv43 Martial Artist) or the Aurora Staff to dispel it.

Wild Side (Monster Wrangler) lets us cast twice per turn. Equipping a Duplic Hat let’s us rapid-fire Blastos (4x stacked with Wild Side) to improve our chances even more.

Preparing for the Boss Fight

Make sure our team has:

  • Blasto or Assassin’s Strike
  • Wild Side
  • Kazing, Omniheal, etc.
  • Full HP and MP before engaging
  • MP recovery items in the right bags
  • (nice to have) Aurora Staff / Ripple of Destruction
  • (nice to have) Duplic Hat on a Blasto caster


Temple of Trials: NE Route — Axes & Staves

Best Axes & Staves

NameAttackWho Can Equip It
πŸͺ“ Conqueror’s Axe162Monster Wrangler, Warrior
πŸͺ„ Godbird Sceptre123Mage, Priest, Sage
πŸͺ„ Aurora Staff115Mage, Sage
πŸͺ“ Headsman’s Axe110Warrior
πŸͺ„ Somatic Staff96Mage, Priest, Sage
πŸͺ“ Battle-Axe66Martial Artist, Warrior
πŸͺ“ Iron Axe37Gadabout, Hero, Martial Artist, Merchant, Warrior

Thieves are left out of this segment of the Temple of Trials, sadly. Gadabouts (don’t bring one here), Merchants, and the Hero only get a crappy Axe here.


Class Levelling

The Hero can’t change their class.

ClassAll Abilities LearnedLast Important Ability
GadaboutChannel Anger (45)Unlock Sage (20),
Kerplunk Dance (22)
MageHocus Pocus (40)*Kaboom (38)*
Martial ArtistCritical Claim (47)Critical Claim (47)
MerchantCall to Arms (36)n/a
Monster WranglerC-c-cold Breath (44)
Fog of War (100 Friendly Monsters)
C-c-cold Breath (44)
Wild Side (50 Friendly Monsters)
PriestKazing (37)*Kazing (37)*
SageHocus Pocus (40)Kaboom (38)
ThiefBackdraft (33)Hypnowhip (25)
WarriorCutting Edge (50)n/a
* Sage learns all Mage and Priest spells, so there is no reason to level Mage or Priest if Sage is available.

Good Class Leveling Orders:

  • Physical DPS:
    • Thief (25) β‡’ Monster Wrangler (44) β‡’ Martial Artist (99)
  • Magic DPS:
    • (get to Alltrades Abbey) β‡’ Gadabout (20) / πŸ“— Words of Wisdom β‡’ Sage (99)
    • (get to Alltrades Abbey) β‡’ Gadabout (20) / πŸ“— Words of Wisdom β‡’ Sage (40) β‡’ Thief (99)
  • All Around: Gadabout (20) / πŸ“— Words of Wisdom β‡’ Sage (37 for Kazing) β‡’ Monster Wrangler (Monster Pile-On, Wild Side) β‡’
    • Thief (25) β‡’ Martial Artist (99)
    • Martial Artist (47) β‡’ Thief (99)

We obviously need to survive long enough to get to the point in the story where we can switch classes, so we’ll use whatever gets us there safely/efficiently before worrying too much about these paths.


Personalities by Stat Growth

Best Personalities Overall

PersonalityStatsHow to Get It
VampAgility +20%
Luck +20%
Wisdom +15%
Strength +10%
Stamina +5%
(females only)
πŸ’ Garter
πŸ“— Guns ‘n’ Buns
Tough CookieStamina +40%
Strength +15%
Agility -10%
Wisdom -20%
Luck -30%
πŸ’ Weightlifter’s Belt

Best Personalities for Stamina (HP)

PersonalityStatsHow to Get It
Tough CookieStamina +40%
Strength +15%
Agility -10%
Wisdom -20%
Luck -30%
πŸ’ Weightlifter’s Belt
Lone WolfStamina +20%
Agility +10%
Wisdom +10%
Luck -30%
πŸ’ Skull Ring
CharmerStamina +20%
Strength +5%
Wisdom +5%
Agility -5%
Luck -10%
πŸ’ Gold Chain
πŸ“— Guns ‘n’ Buns

Best Personalities for Strength

PersonalityStatsHow to Get It
ParagonStrength +40%
Agility -30%
Wisdom -20%
Luck -30%
πŸ’ Mighty Armlet
πŸ“— The Champion’s Code
AmazonStrength +30%
Agility -10%
Wisdom -20%
Luck -20%
A female Hero can become one
Tough CookieStamina +40%
Strength +15%
Agility -10%
Wisdom -20%
Luck -30%
πŸ’ Weightlifter’s Belt

Best Personalities for Agility

PersonalityStatsHow to Get It
Bat out of HellAgility +40%πŸ’ Mercury’s Bandana
VampAgility +20%
Luck +20%
Wisdom +15%
Strength +10%
Stamina +5%
(females only)
πŸ’ Garter
πŸ“— Guns ‘n’ Buns
ClownAgility +20%
Wisdom +15%
Luck +10%
Stamina -5%
πŸ’ Doh-Hican
πŸ“— Look, No Pants!

Best Personalities for Wisdom

PersonalityStatsHow to Get It
GeniusWisdom +40%
Agility +20%
Luck -10%
Stamina -20%
πŸ“— The Eureka Moment
WitWisdom +30%
Strength -5%
Luck -10%
πŸ’ Scholar’s Specs
Slippery DevilWisdom +20%
Agility +10%
Strength -10%
Stamina -10%
πŸ“— Would I Lie to You?
VampAgility +20%
Luck +20%
Wisdom +15%
Strength +10%
Stamina +5%
(females only)
πŸ’ Garter
πŸ“— Guns ‘n’ Buns
ClownAgility +20%
Wisdom +15%
Luck +10%
Stamina -5%
πŸ’ Doh-Hican
πŸ“— Look, No Pants!
There are other personalities like Wimp that give good Wisdom gains, but their negative stats are too low in my opinion.

Best Personalities for Luck

PersonalityStatsHow to Get It
Lucky DevilLuck +50%
Agility +10%
πŸ’ Hen’s Tooth
VampAgility +20%
Luck +20%
Wisdom +15%
Strength +10%
Stamina +5%
(females only)
πŸ’ Garter
πŸ“— Guns ‘n’ Buns
ClownAgility +20%
Wisdom +15%
Luck +10%
Stamina -5%
πŸ’ Doh-Hican
πŸ“— Look, No Pants!
Luck isn’t a great stat to maximize, especially with one of the personalities I excluded here that sacrifice other more important ones. These are at least minimizing harm.

Mini Medals

A complete list without ads breaking it up and fucking up user scrolling.

βš“ Requires Ship
πŸ”‘ Requires Thief’s Key
πŸ—οΈ Requires Ultimate Key
πŸͺž Requires Ra’s Mirror
🦜 Requires Everbird

πŸ™οΈ Day
πŸŒ‡ Dusk
πŸŒƒ Night

#Location (πŸͺ½ = Zoom Here)Image
Mini Medal #1

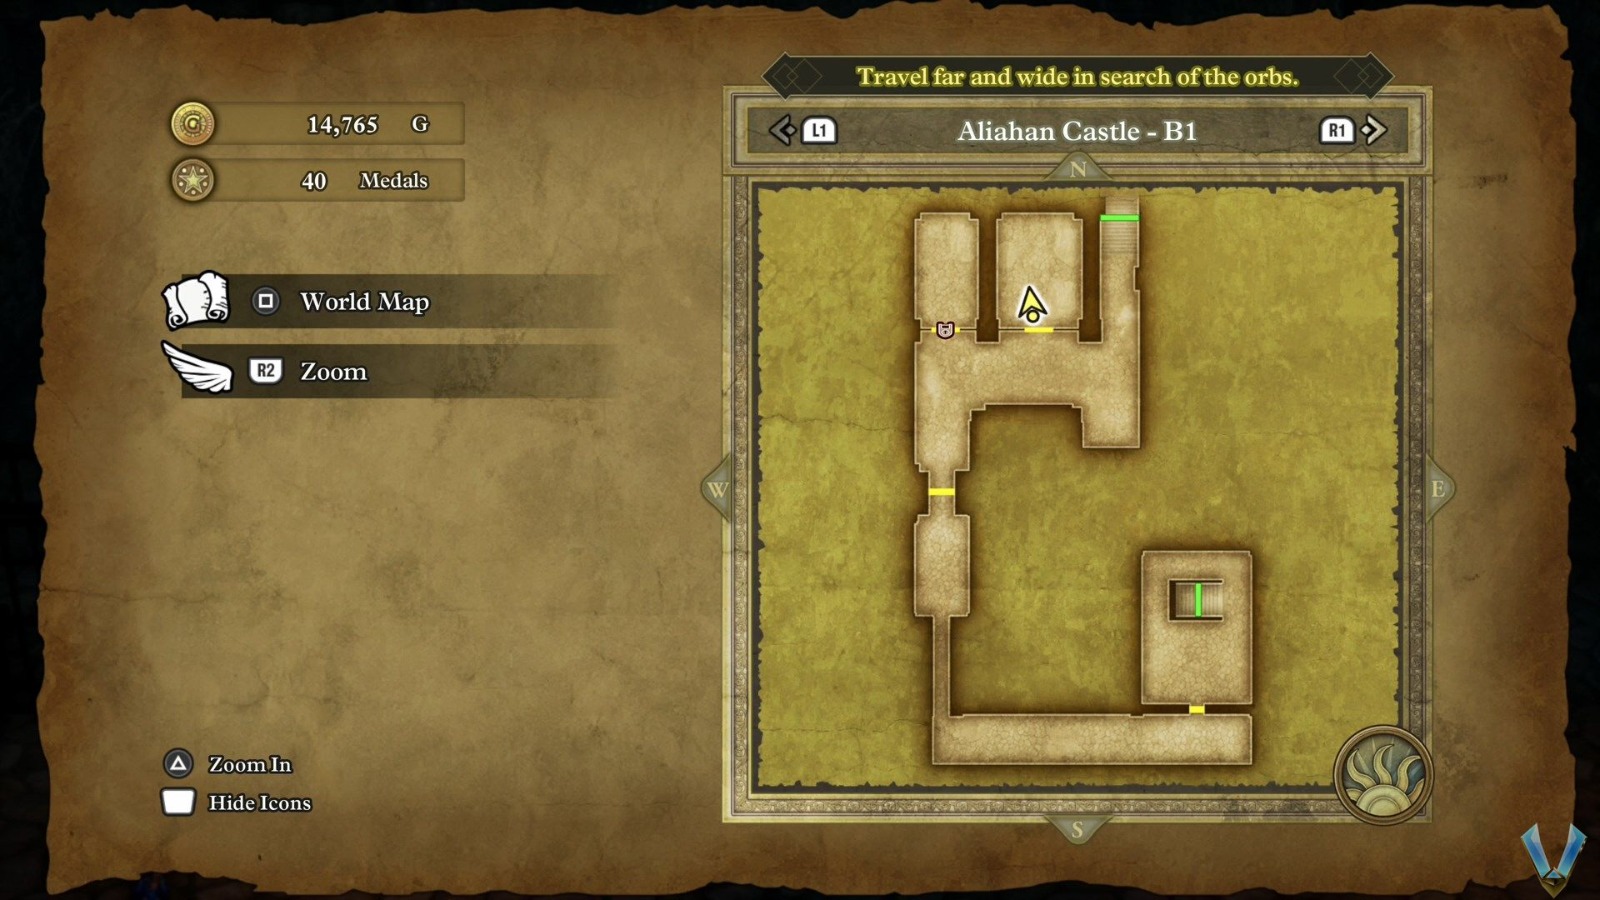
πŸͺ½ Aliahan
Aliahan Castle
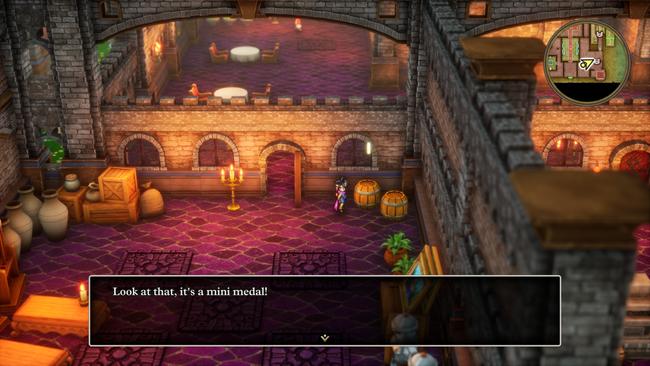
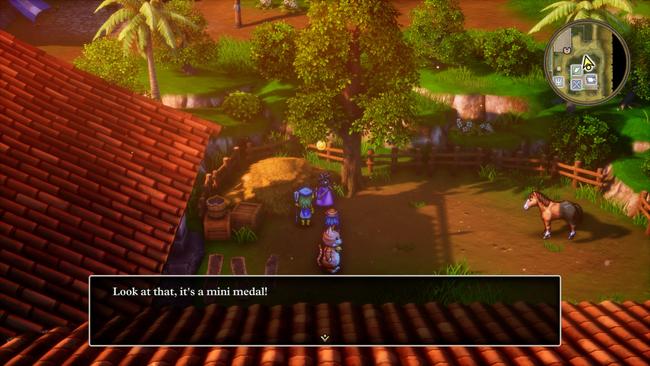
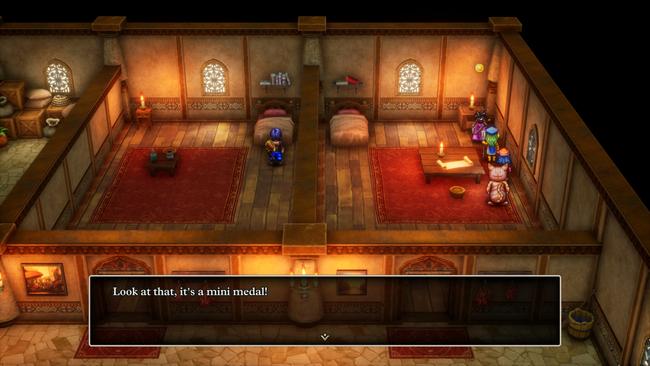
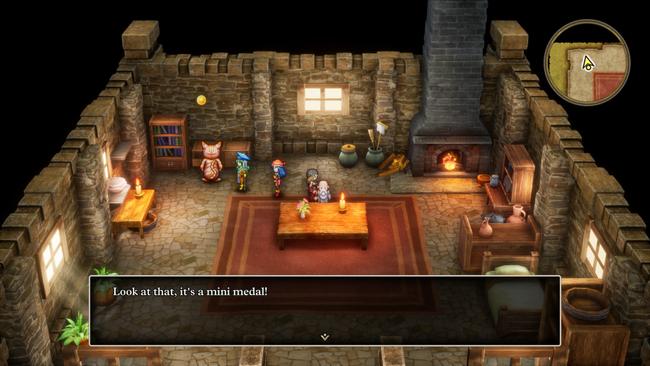
In the left barrel of the SE room.

Mini Medal #1 for Dragon Quest 3 HD-2D Remake
Mini Medal #2

πŸͺ½ Aliahan πŸŒƒ
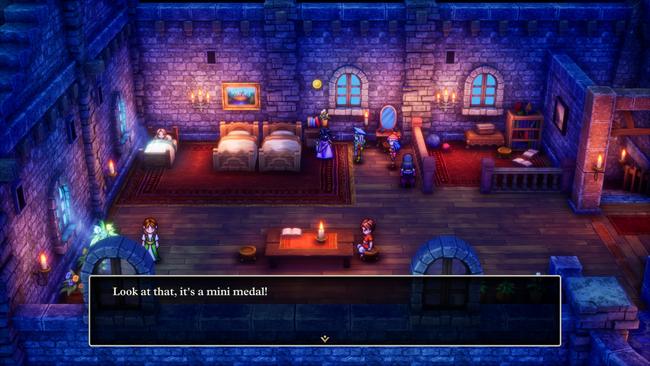
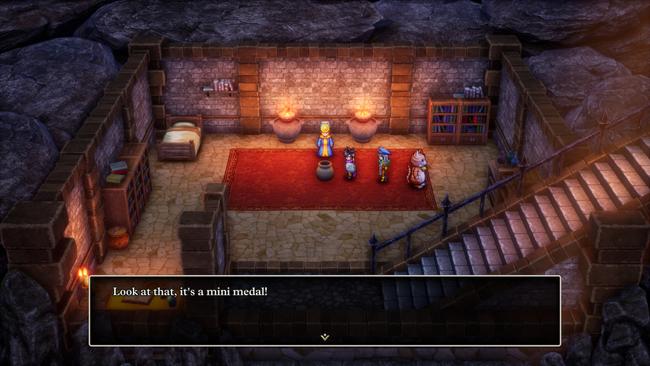
Eastern building [2F], in a drawer.

Mini Medal #2 for Dragon Quest 3 HD-2D Remake
Mini Medal #3

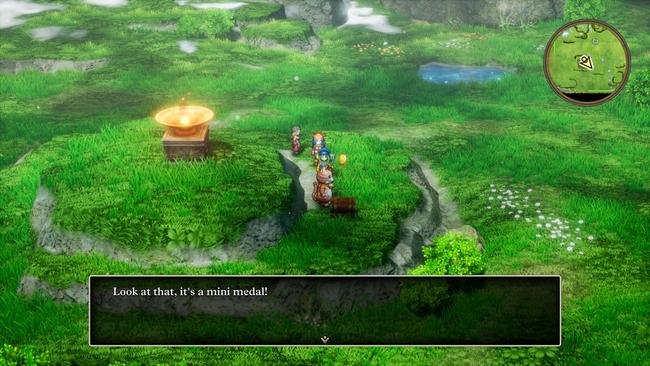
πŸͺ½ Shrine of the Plains
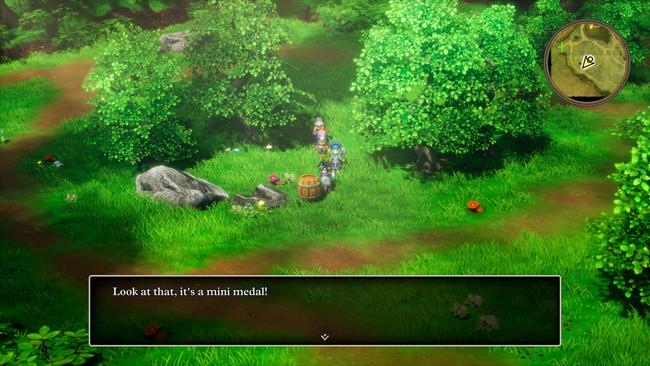
In a Barrel.

Mini Medal #3 for Dragon Quest 3 HD-2D Remake
Mini Medal #4

πŸͺ½ Dreamer’s Tower
[2F] South Chest in the center of the map.
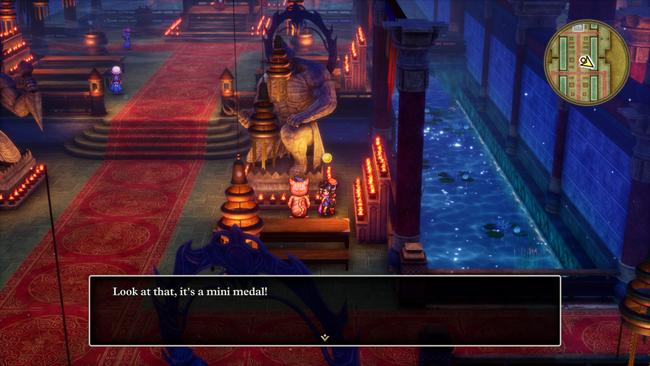
Mini Medal #4 for Dragon Quest 3 HD-2D Remake
Mini Medal #5

πŸͺ½ Dreamer’s Tower
[3F] South Chest in the center of the map.
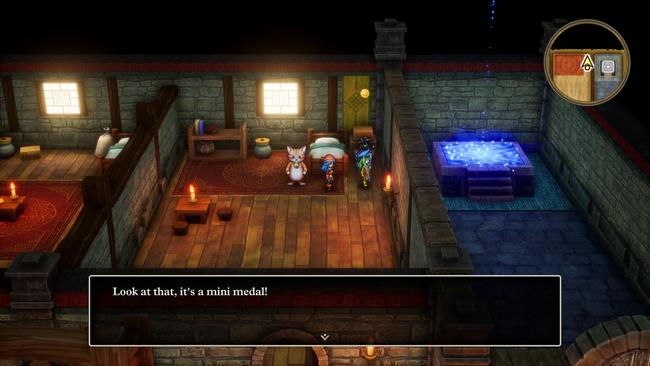
Mini Medal #5 for Dragon Quest 3 HD-2D Remake
Mini Medal #6

πŸͺ½ Little Shrine
In a pot.
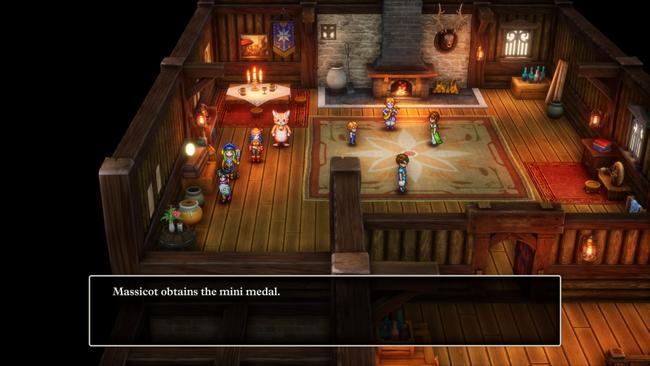
Mini Medal #6 for Dragon Quest 3 HD-2D Remake
Mini Medal #7

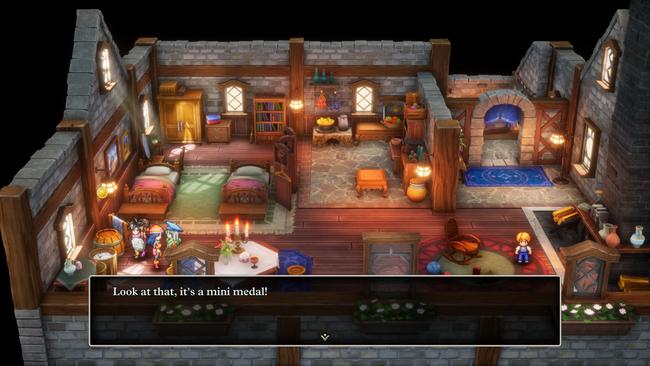
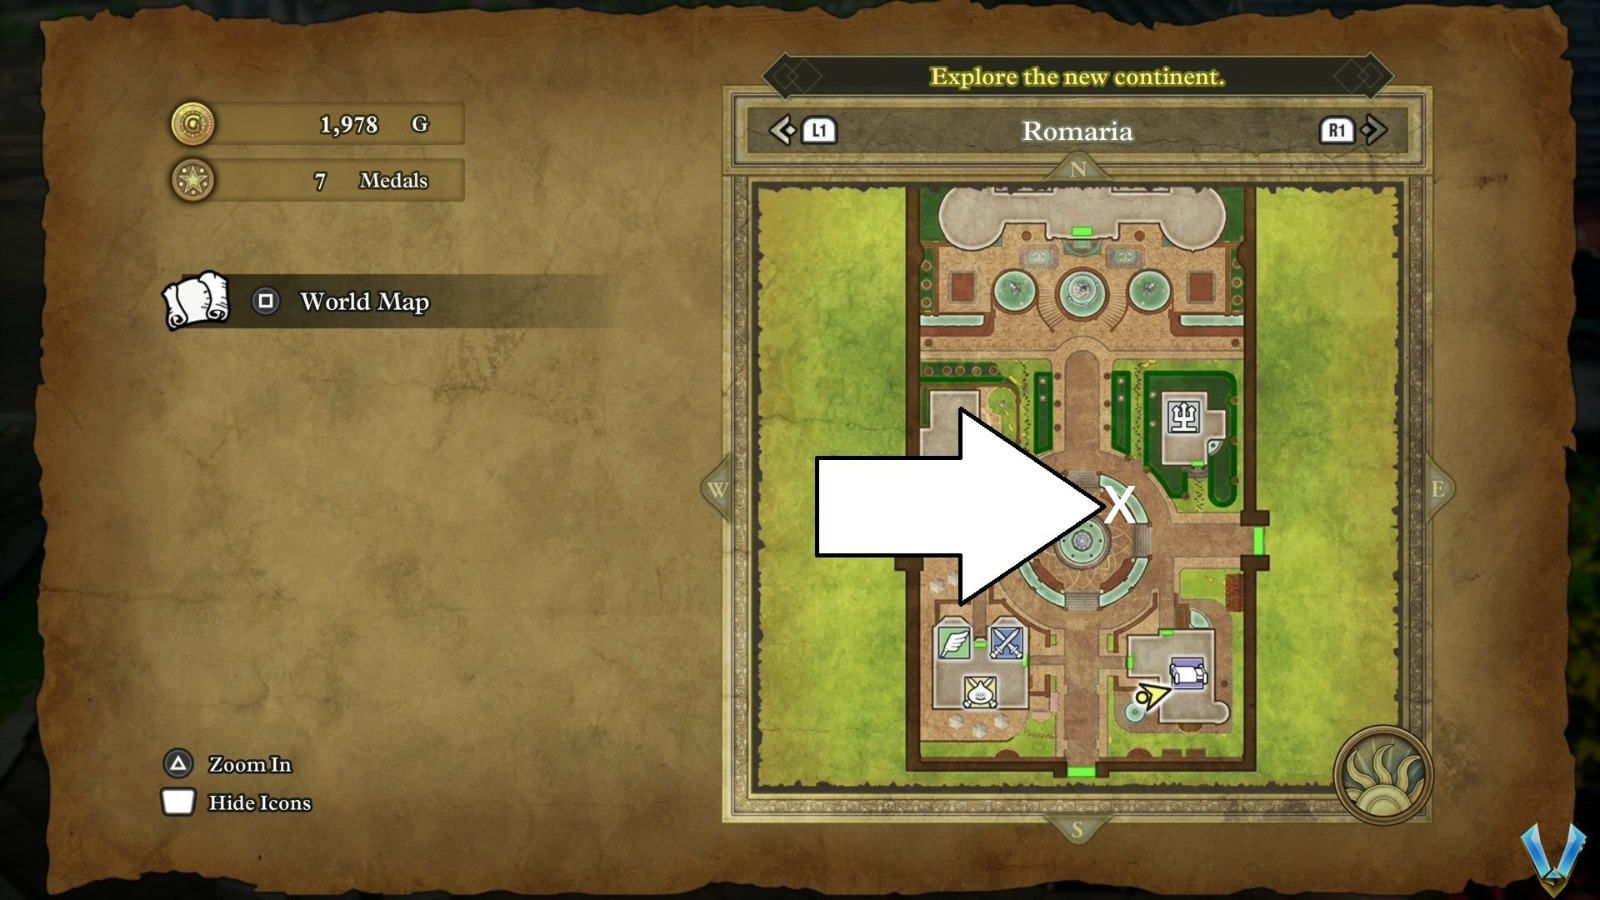
πŸͺ½ Romaria
House on the west side, in a pot.

Mini Medal #7 for Dragon Quest 3 HD-2D Remake
Mini Medal #8

πŸͺ½ Romaria
Romaria Castle
SE fountain in the courtyard, on the ground.

Mini Medal #8 for Dragon Quest 3 HD-2D Remake
Mini Medal #9

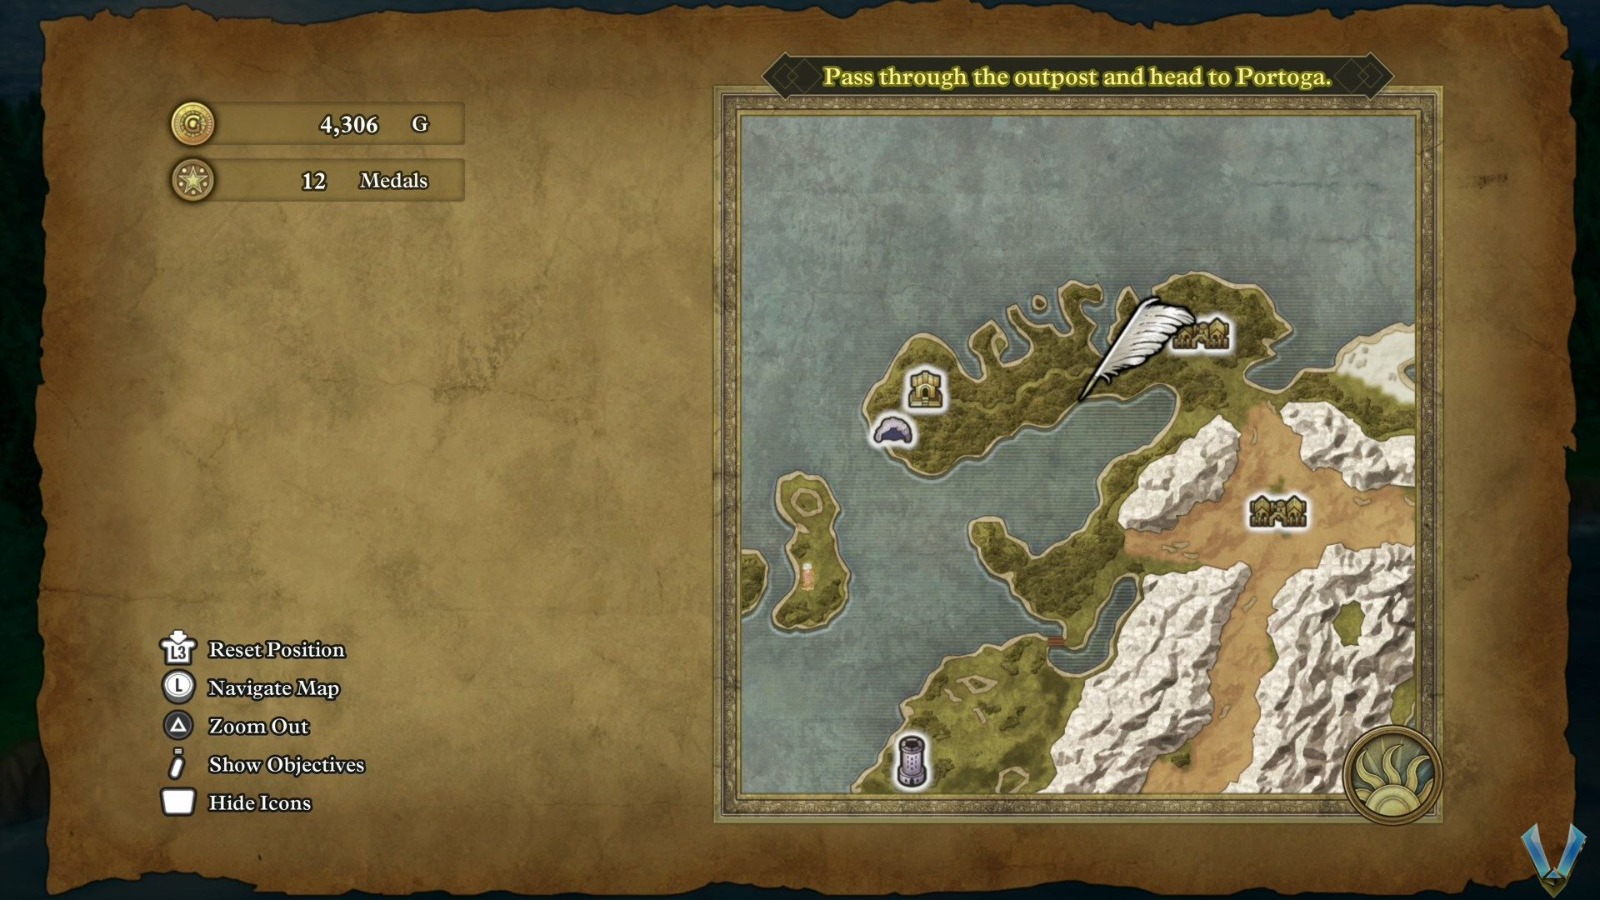
πŸͺ½ Romarian Outpost
Pot near the entrance.

Mini Medal #9 for Dragon Quest 3 HD-2D Remake
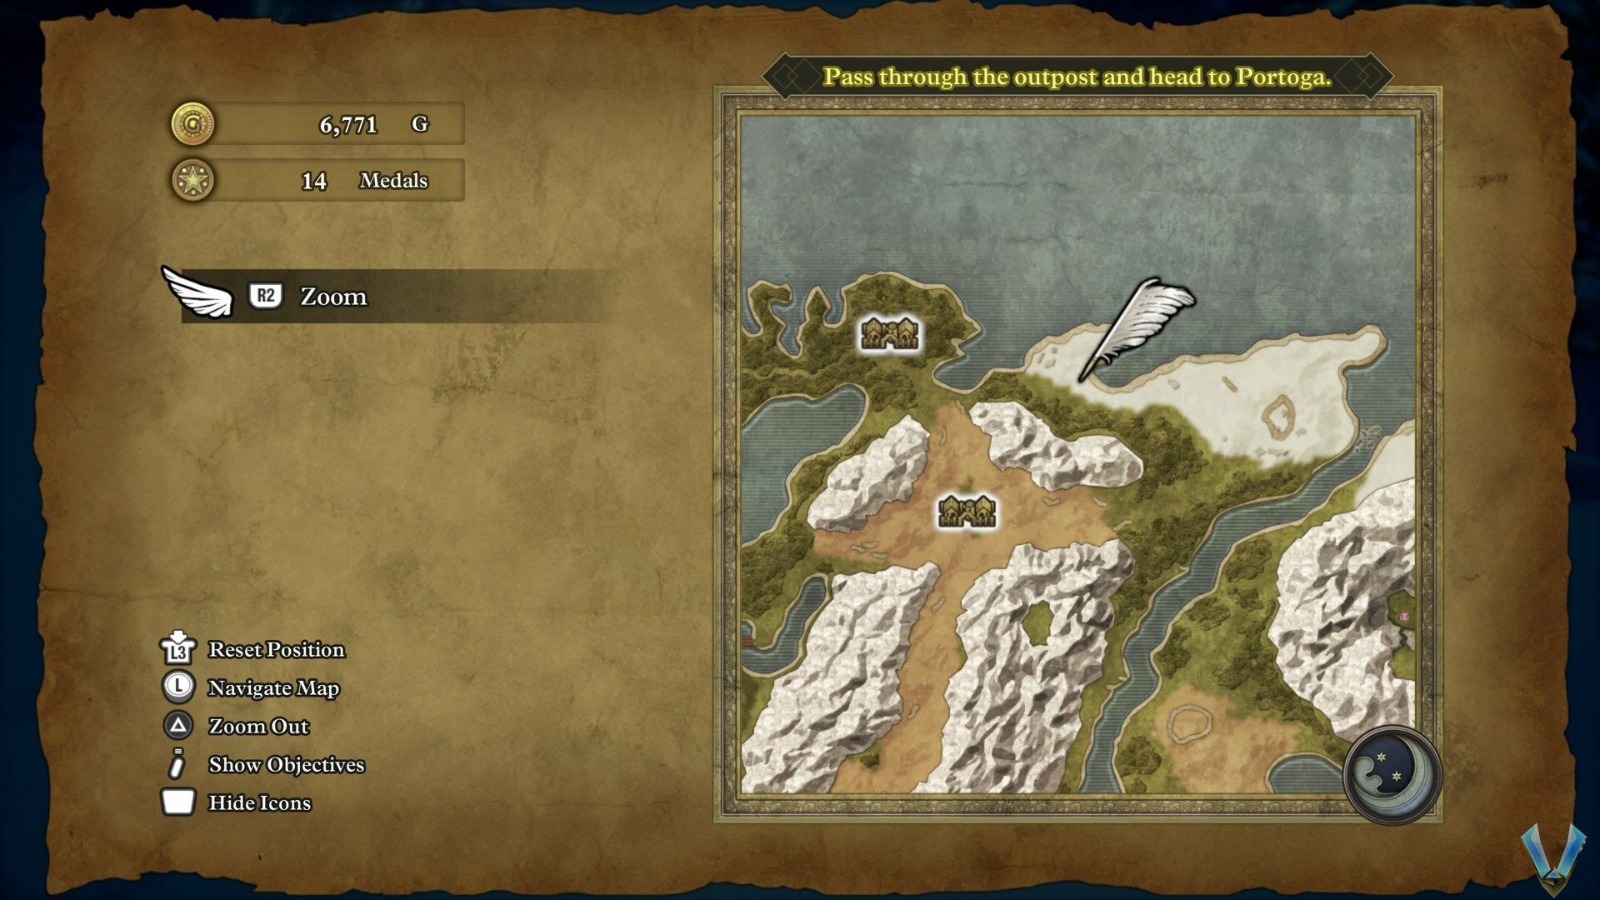
Mini Medal #10

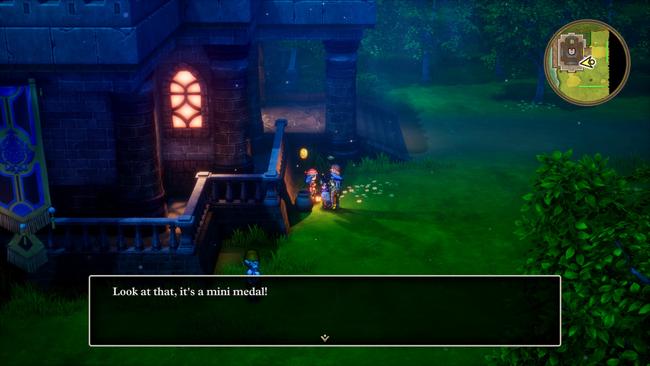
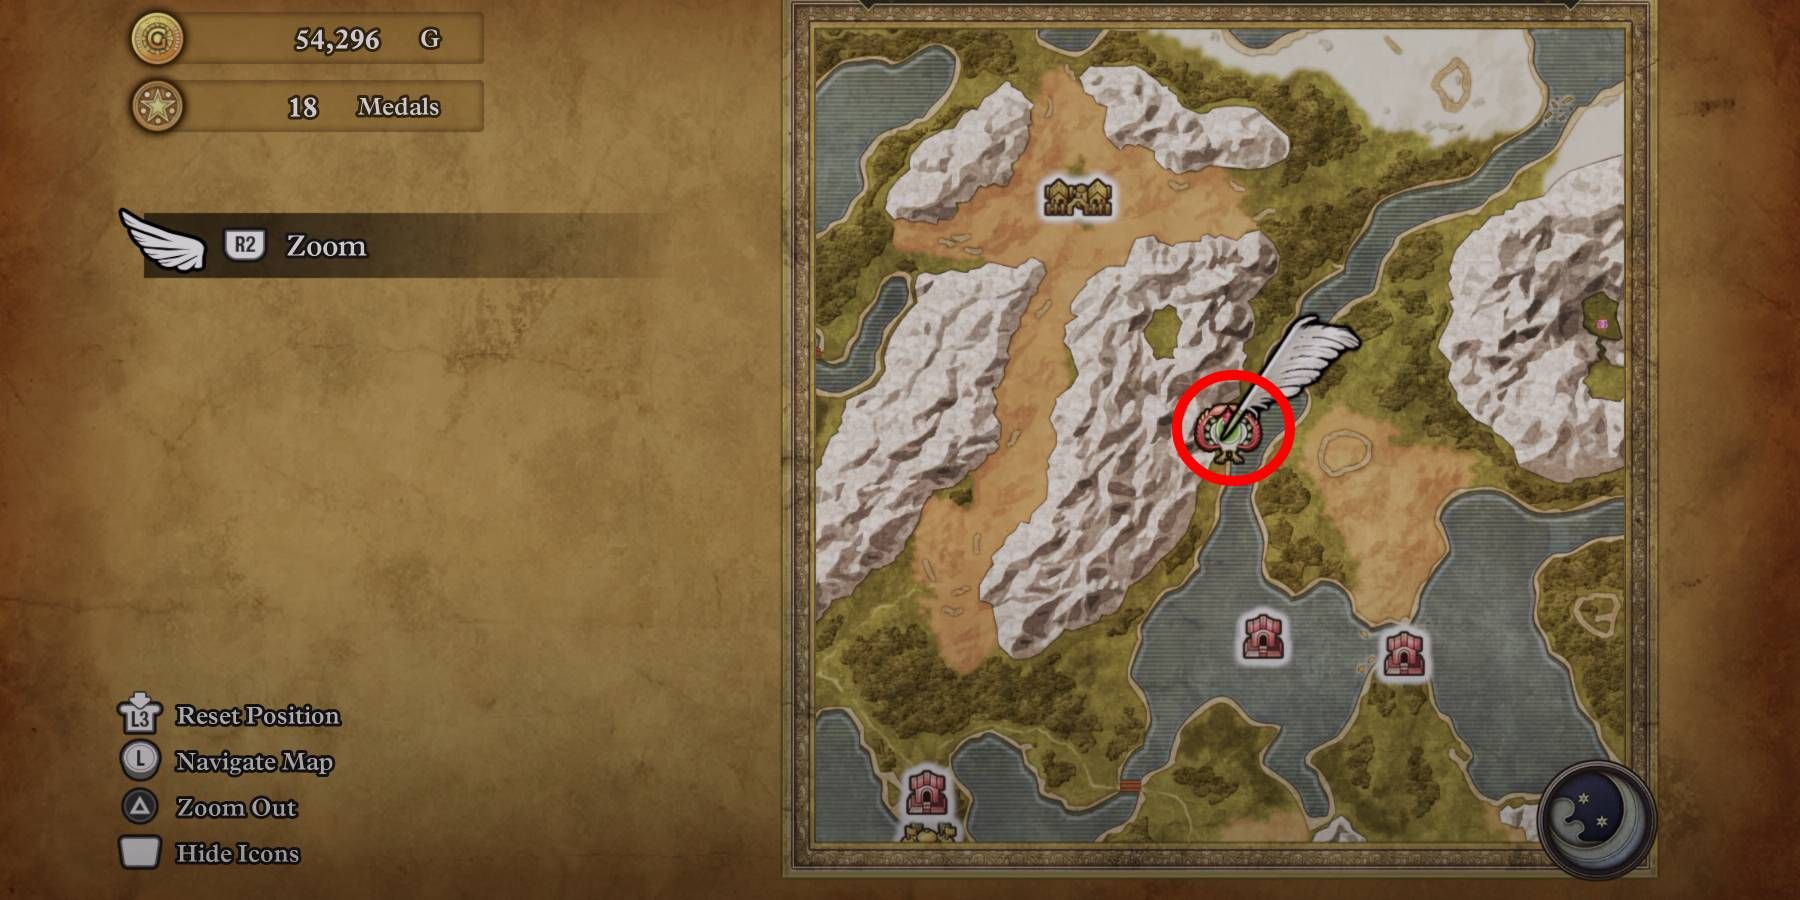
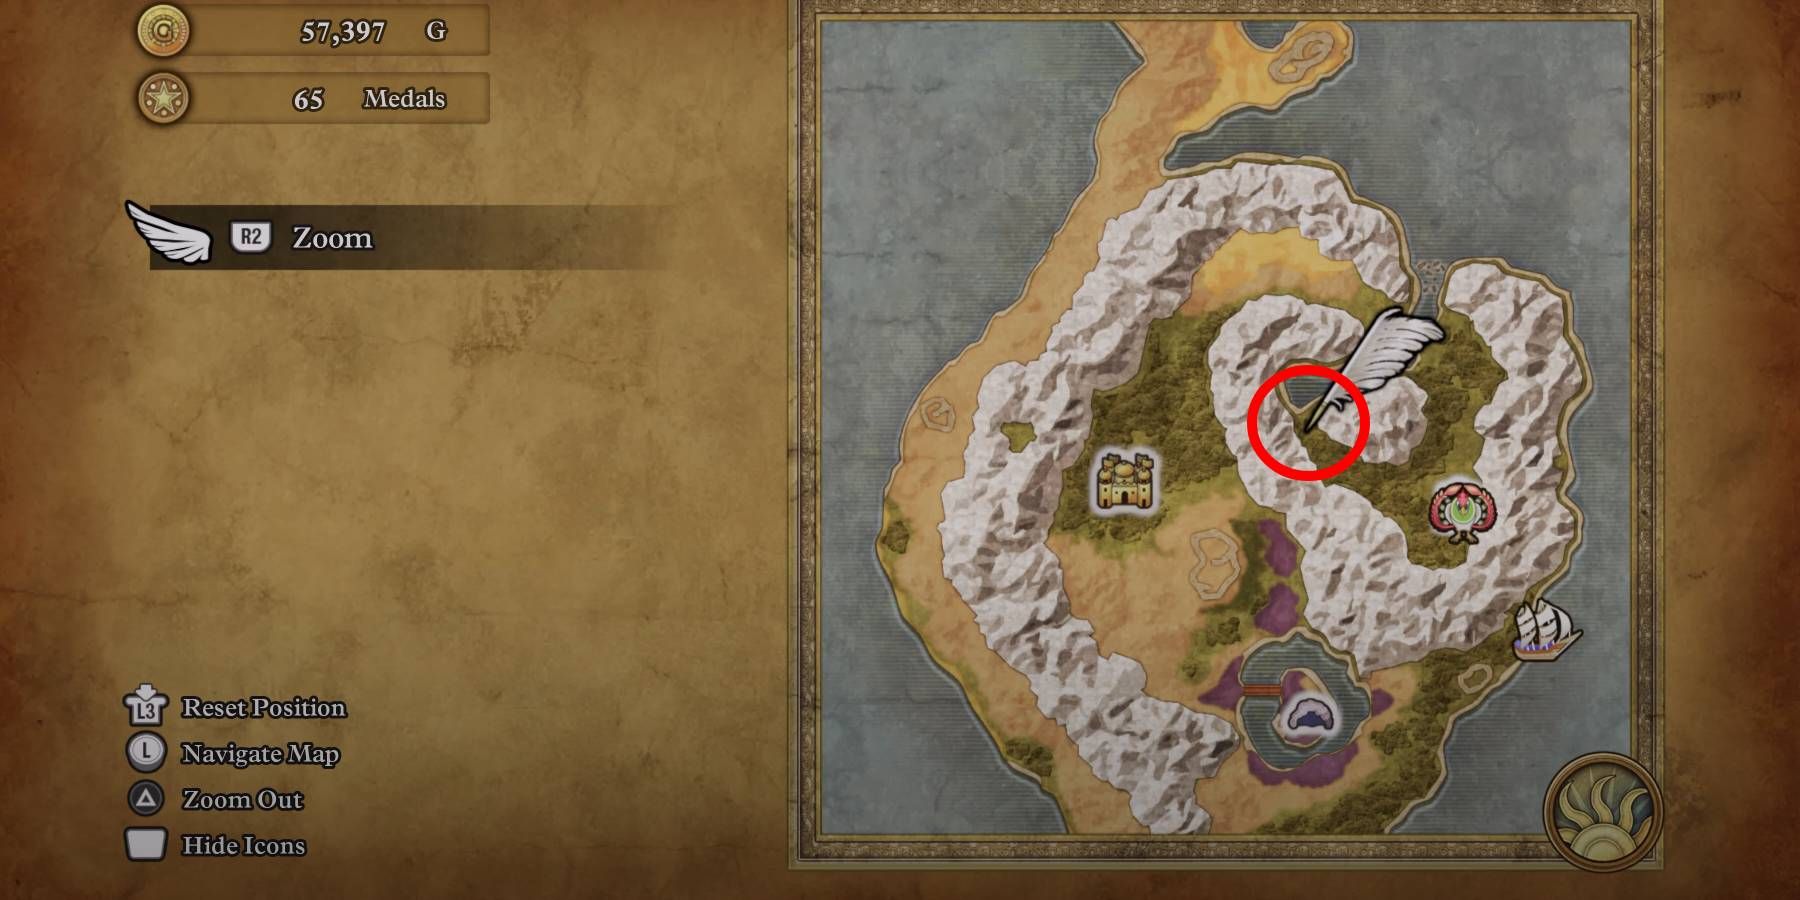
πŸͺ½ Romaria (Outside)
Secret Spot NE of Romaria, along a strip of land between the mountains and a river. Inside a pot north of the entrance.

Mini Medal #10 for Dragon Quest 3 HD-2D Remake
Mini Medal #11

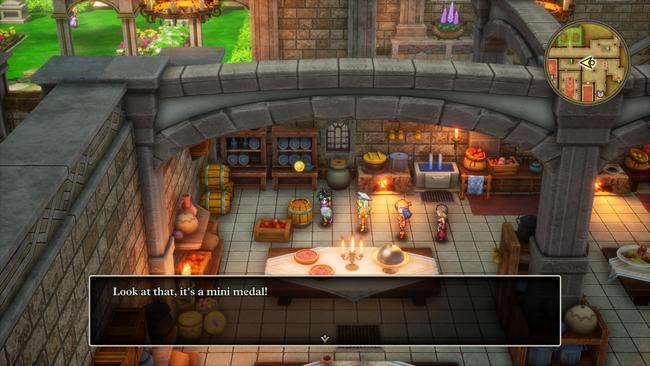
πŸͺ½ Khoryv
The back room of the bar, in a barrel.

Mini Medal #11 for Dragon Quest 3 HD-2D Remake
Mini Medal #12

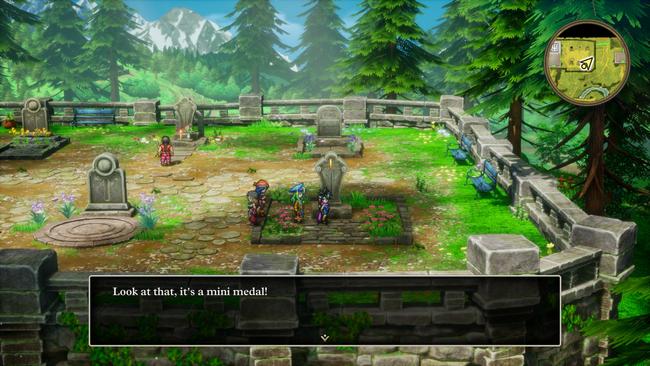
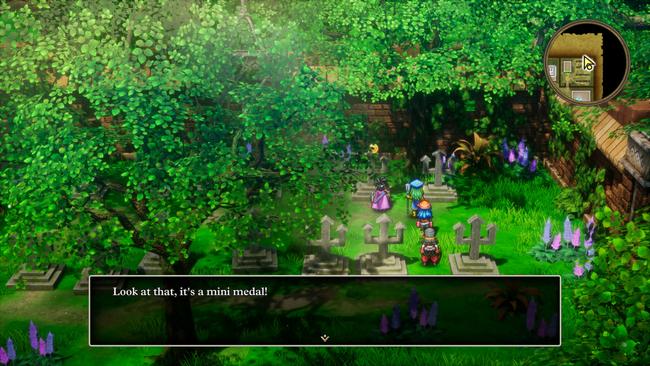
πŸͺ½ Khoryv
The grave on the east side.

Mini Medal #12 for Dragon Quest 3 HD-2D Remake
Mini Medal #13

πŸͺ½ Skyfell Tower
[4F] in a chest.

Mini Medal #13 for Dragon Quest 3 HD-2D Remake
Mini Medal #14

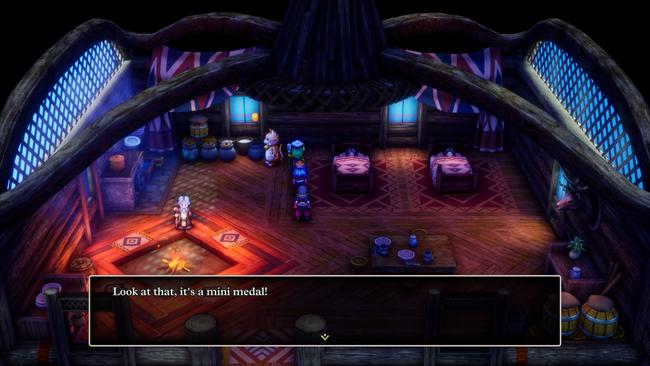
πŸͺ½ Norvik
Inn [2F], in a bag on the wall.

Mini Medal #14 for Dragon Quest 3 HD-2D Remake
Mini Medal #15

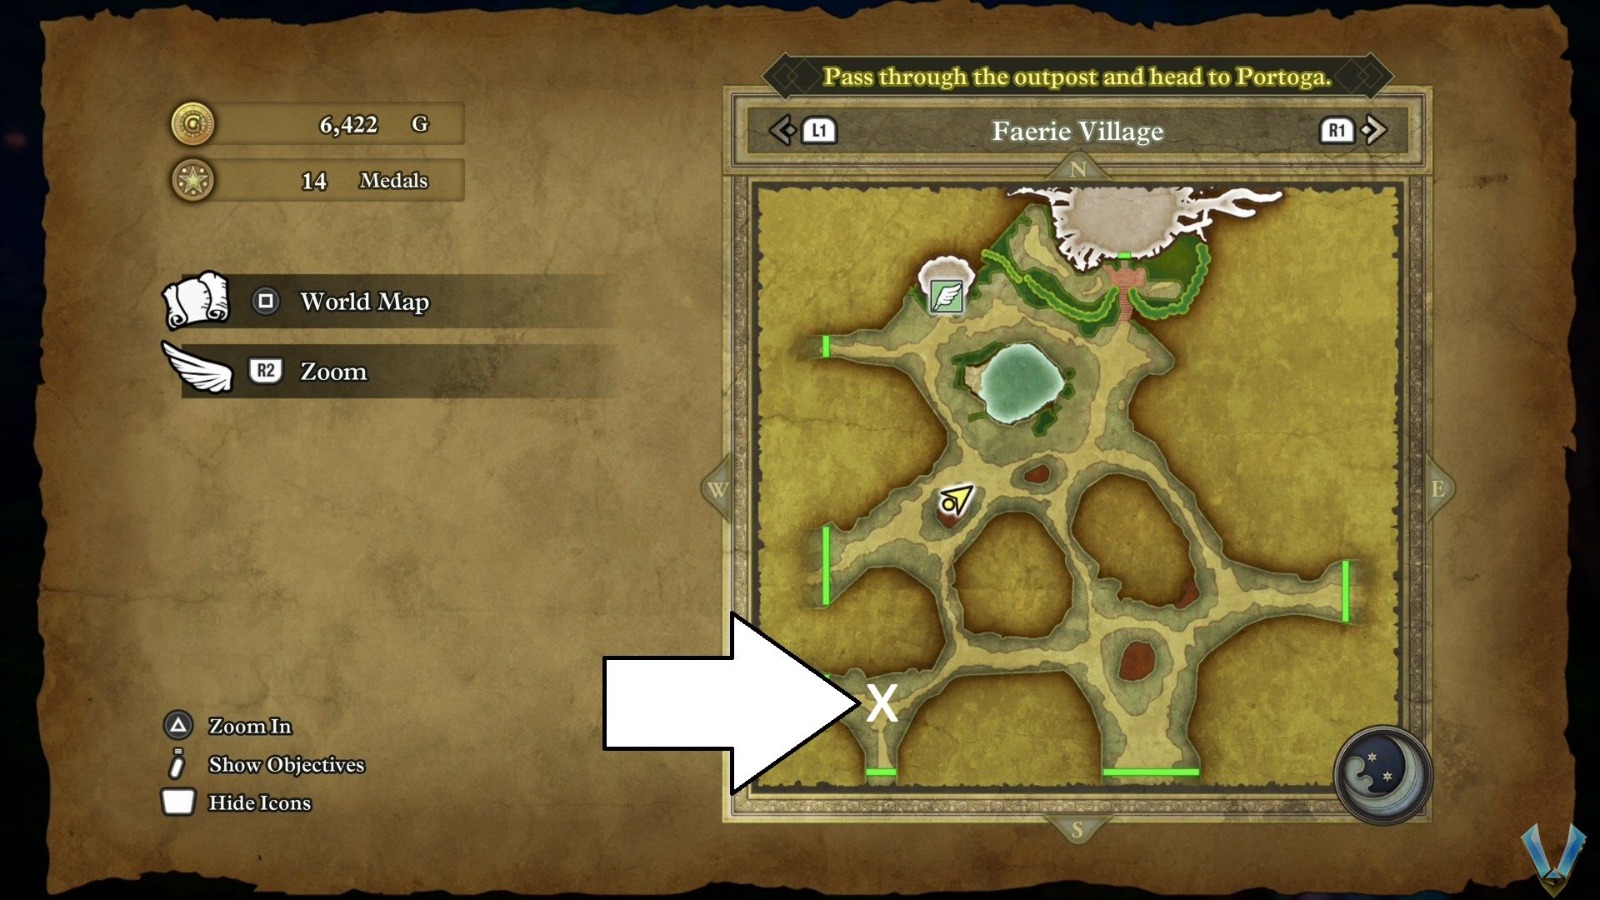
πŸͺ½ Faerie Village
Behind the western boulder.

Mini Medal #15 for Dragon Quest 3 HD-2D Remake
Mini Medal #16

πŸͺ½ Faerie Village
SE of the Item Shop, near a plant.

Mini Medal #16 for Dragon Quest 3 HD-2D Remake
Mini Medal #17

πŸͺ½ Underground Lake
[B1] NE, in a chest.

Mini Medal #17 for Dragon Quest 3 HD-2D Remake
Mini Medal #18

πŸͺ½ Asham (Outside)
Secret Spot North of Asham.

Mini Medal #18 for Dragon Quest 3 HD-2D Remake
Mini Medal #19

πŸͺ½ Nordy’s Grotto
In a barrel.

Mini Medal #19 for Dragon Quest 3 HD-2D Remake
Mini Medal #20

πŸͺ½ Desert Shrine
In a pot.

Mini Medal #20 for Dragon Quest 3 HD-2D Remake
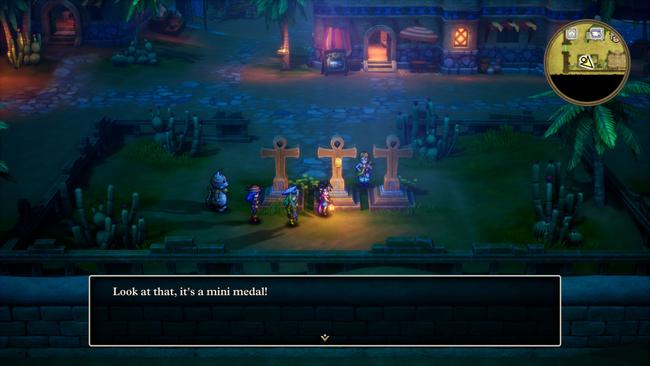
Mini Medal #21

πŸͺ½ Ibis
Near a SW tombstone.

Mini Medal #21 for Dragon Quest 3 HD-2D Remake
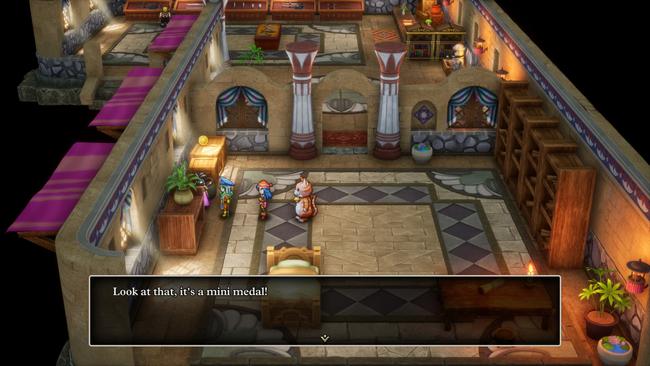
Mini Medal #22

πŸͺ½ Ibis
Weapon Shop, in a SE pot.

Mini Medal #22 for Dragon Quest 3 HD-2D Remake
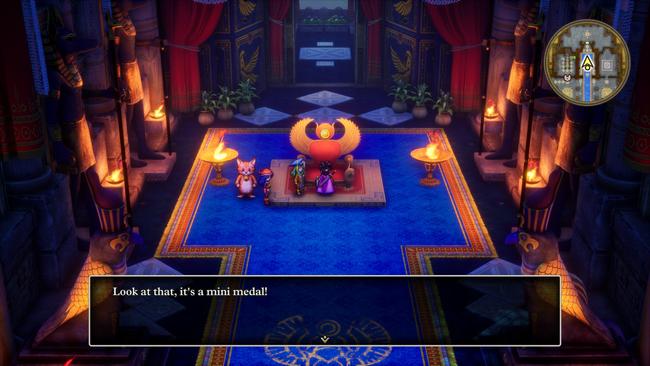
Mini Medal #23

πŸͺ½ Ibis πŸŒƒ
Ibis Castle
The Throne.

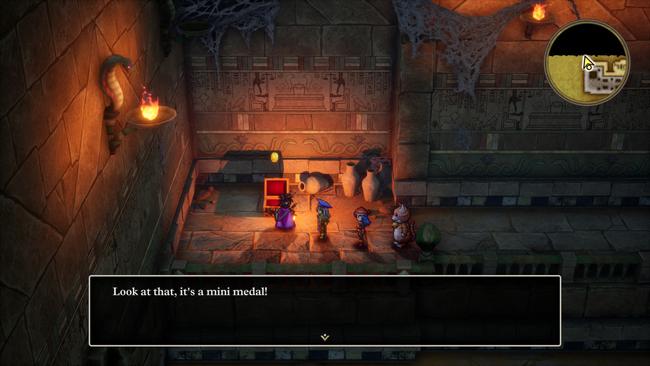
Mini Medal #23 for Dragon Quest 3 HD-2D Remake
Mini Medal #24

πŸͺ½ Pyramid
[1F] In a chest on the west side.

Mini Medal #24 for Dragon Quest 3 HD-2D Remake
Mini Medal #25

πŸͺ½ Pyramid
At the very top.
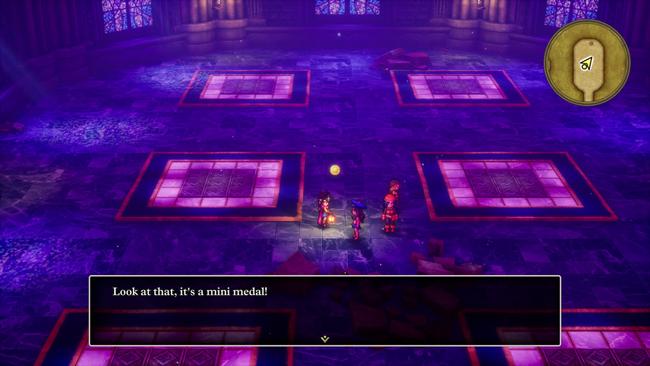
Mini Medal #25 for Dragon Quest 3 HD-2D Remake
Mini Medal #26

πŸͺ½ Asham πŸ”‘
At the Dance Club, behind a Blue Locked Door in the backroom.
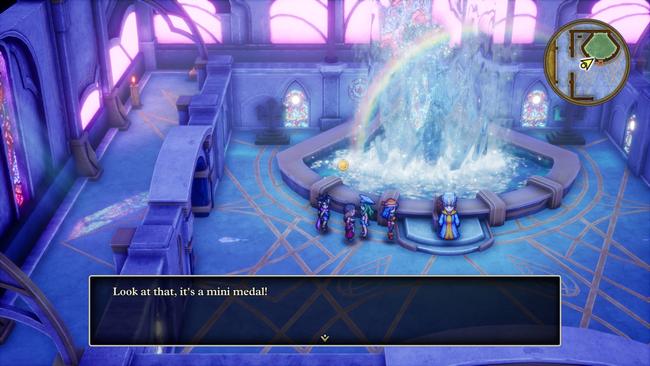
Mini Medal #26 for Dragon Quest 3 HD-2D Remake
Mini Medal #27

πŸͺ½ Asham πŸ”‘
NW Building (Blue Locked Door) [2F], on one of the blue squares.

Mini Medal #27 for Dragon Quest 3 HD-2D Remake
Mini Medal #28

πŸͺ½ Ibis πŸŒƒ
Ibis Castle
In a chest in the treasure room.

Mini Medal #28 for Dragon Quest 3 HD-2D Remake
Mini Medal #29

πŸͺ½ Portoga
In a hay bale behind the shop.

Mini Medal #29 for Dragon Quest 3 HD-2D Remake
Mini Medal #30

πŸͺ½ Portoga
Walk around to the lighthouse on the west end and take the stairs down.
In a pot.

Mini Medal #30 for Dragon Quest 3 HD-2D Remake
Mini Medal #31

πŸͺ½ Baharata (Outside)
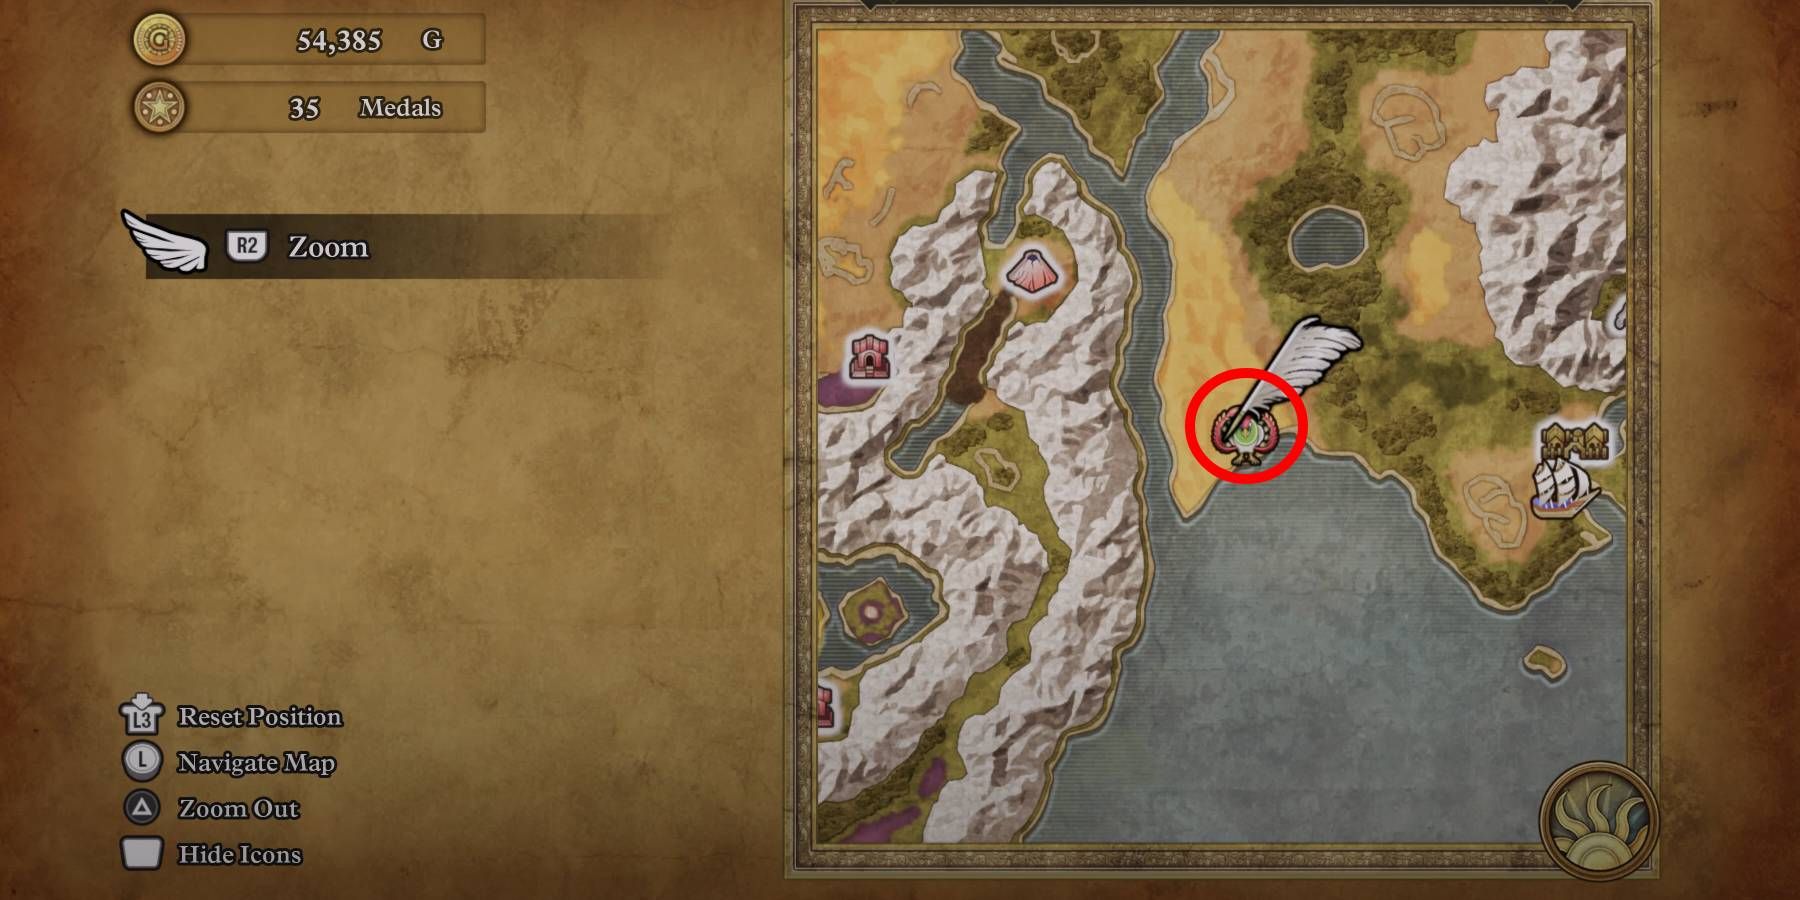
Secret Spot in the desert W of Baharata.

Mini Medal #31 for Dragon Quest 3 HD-2D Remake
Mini Medal #32

πŸͺ½ Baharata
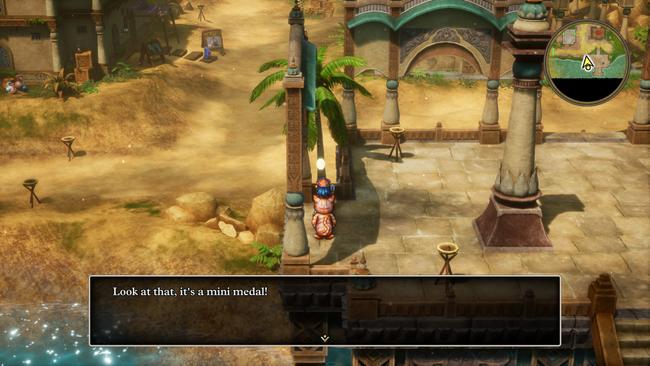
Southern pier, west edge near the palm tree.

Mini Medal #32 for Dragon Quest 3 HD-2D Remake
Mini Medal #33

πŸͺ½ Baharata
Inn, in a cabinet.

Mini Medal #33 for Dragon Quest 3 HD-2D Remake
Mini Medal #34

πŸͺ½ Kidnapper’s Cave
[B1] Northern center chest.

Mini Medal #34 for Dragon Quest 3 HD-2D Remake
Mini Medal #35

πŸͺ½ Mur (Outside)
Secret Spot NW of Mur.

Mini Medal #35 for Dragon Quest 3 HD-2D Remake
Mini Medal #36

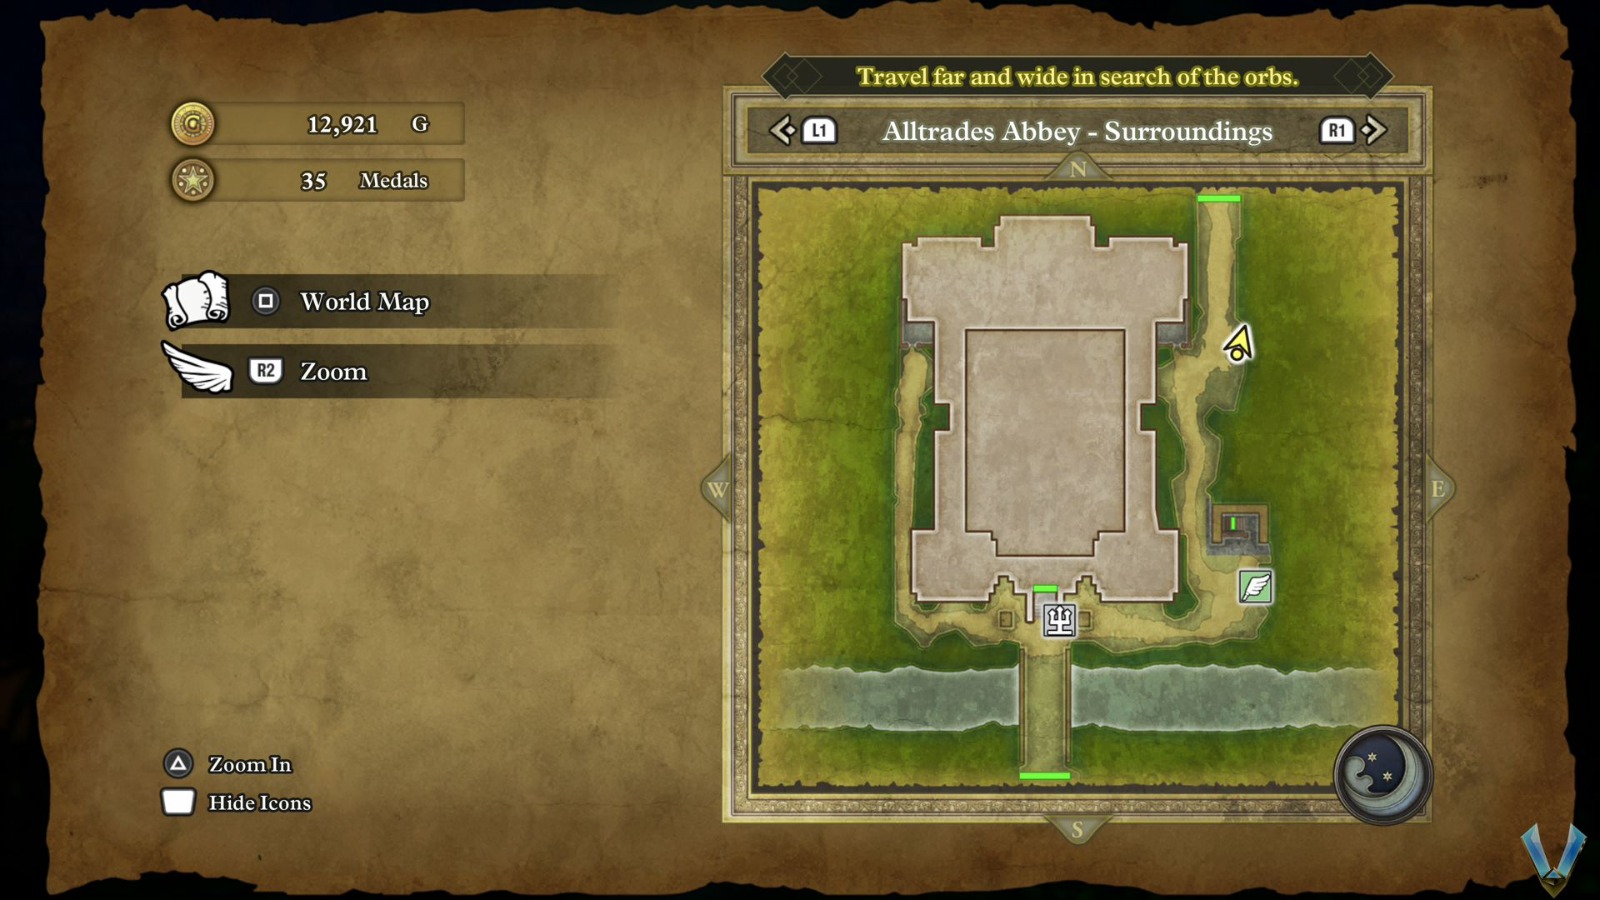
πŸͺ½ Alltrades Abbey
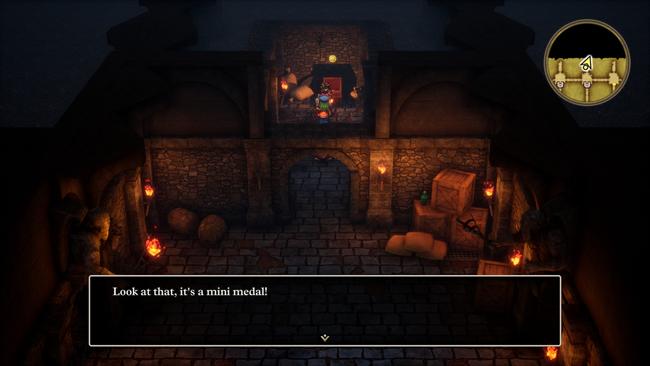
[B1] Behind the priest.

Mini Medal #36 for Dragon Quest 3 HD-2D Remake
Mini Medal #37

πŸͺ½ Alltrades Abbey
[1F] near the NE statue.

Mini Medal #37 for Dragon Quest 3 HD-2D Remake
Mini Medal #38

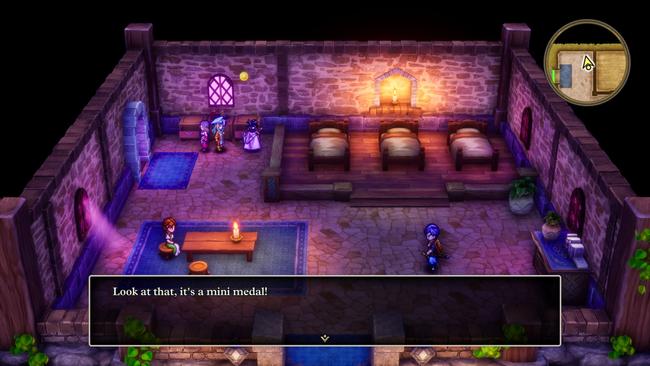
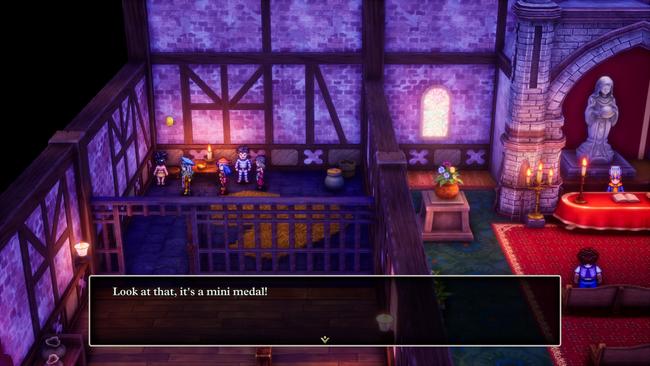
πŸͺ½ Wayfarer’s Inn
The right dresser.

Mini Medal #38 for Dragon Quest 3 HD-2D Remake
Mini Medal #39

πŸͺ½ Mur
Shop building [2F], in the left pot.

Mini Medal #39 for Dragon Quest 3 HD-2D Remake
Mini Medal #40

πŸͺ½ Tower of Transcendence
[3F] South staircase.

Mini Medal #40 for Dragon Quest 3 HD-2D Remake
Mini Medal #41

πŸͺ½ Persistence (Outside)
Secret Spot on an isolated beach W of Persistence.

Mini Medal #41 for Dragon Quest 3 HD-2D Remake
Mini Medal #42

πŸͺ½ Theddon (Outside)
Secret Spot S of Theddon, near the coast.

Mini Medal #42 for Dragon Quest 3 HD-2D Remake
Mini Medal #43

πŸͺ½ Theddon
NE poison pool.

Mini Medal #43 for Dragon Quest 3 HD-2D Remake
Mini Medal #44

πŸͺ½ Lanson
In an alley between the fancy buildings.

Mini Medal #44 for Dragon Quest 3 HD-2D Remake
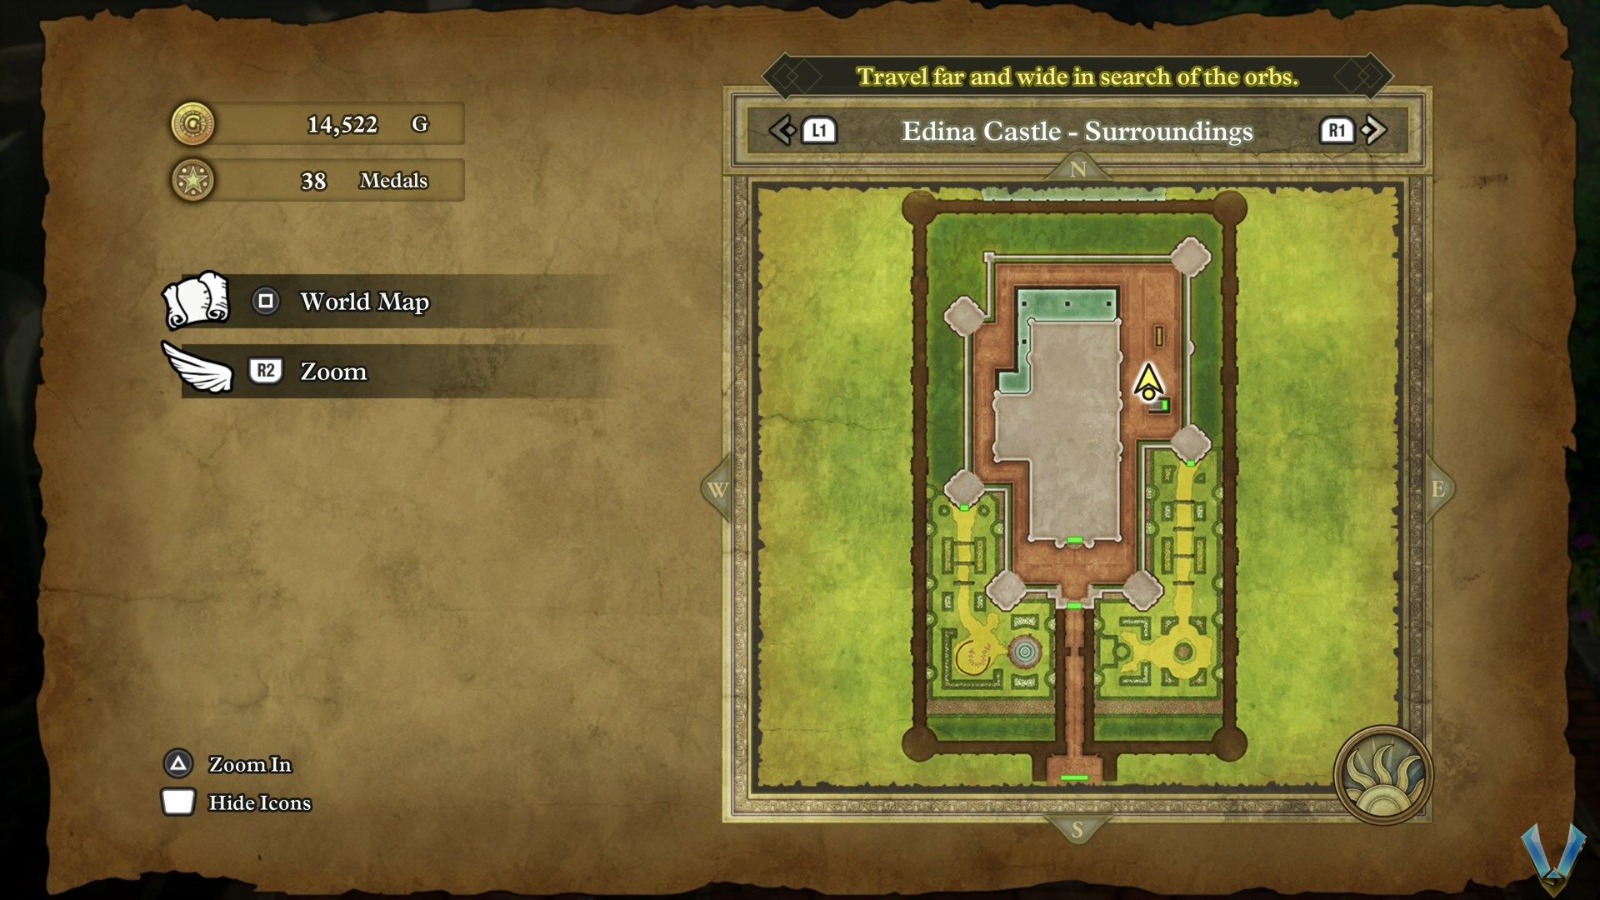
Mini Medal #45

πŸͺ½ Edina
SE outdoor courtyard area, in the SW corner.

Mini Medal #45 for Dragon Quest 3 HD-2D Remake
Mini Medal #46

πŸͺ½ Jipang
Down the western stairs, in a pot.

Mini Medal #46 for Dragon Quest 3 HD-2D Remake
Mini Medal #47

πŸͺ½ Jipang
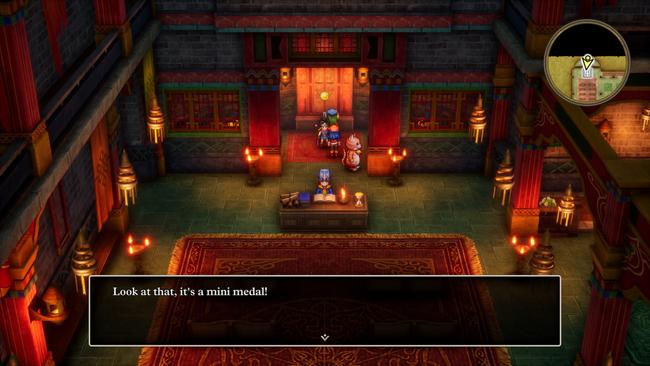
Jipang Palace
Pot in the eastern room.

Mini Medal #47 for Dragon Quest 3 HD-2D Remake
Mini Medal #48

πŸͺ½ Shallow Shrine
On a square tile N of the chest.

Mini Medal #48 for Dragon Quest 3 HD-2D Remake
Mini Medal #49

πŸͺ½ Mur πŸ—οΈ
Shops, behind the locked door.

Mini Medal #49 for Dragon Quest 3 HD-2D Remake
Mini Medal #50

πŸͺ½ Romaria πŸ—οΈ
Romaria Castle
Up the western tower, in the jail cell, near the sink.

Mini Medal #50 for Dragon Quest 3 HD-2D Remake
Mini Medal #51

πŸͺ½ Teleportal Shrine
Near the center pool.

Mini Medal #51 for Dragon Quest 3 HD-2D Remake
Mini Medal #52

πŸͺ½ Olivia’s Promontory
Between the Teleportals.

Mini Medal #52 for Dragon Quest 3 HD-2D Remake
Mini Medal #53

πŸͺ½ Shrine of the Everbird
Near the bottom of the ladder.

Mini Medal #53 for Dragon Quest 3 HD-2D Remake
Mini Medal #54

πŸͺ½ Lozamii
Northern flowerbed.

Mini Medal #54 for Dragon Quest 3 HD-2D Remake
Mini Medal #55

πŸͺ½ Pirate’s Den
Northern room, in a barrel.

Mini Medal #55 for Dragon Quest 3 HD-2D Remake
Mini Medal #56

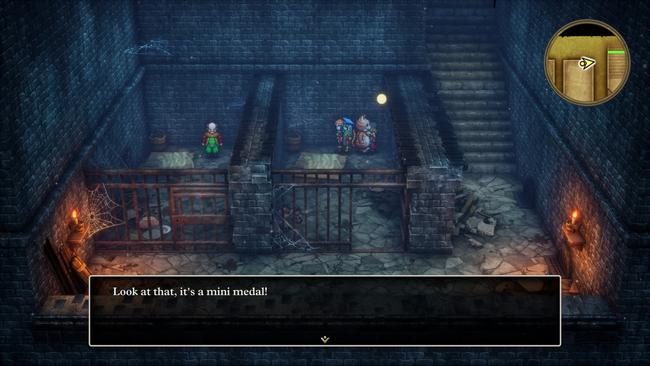
πŸͺ½ Pirate’s Den πŸ™οΈ
In the Eastern jail in the basement.

Mini Medal #56 for Dragon Quest 3 HD-2D Remake
Mini Medal #57

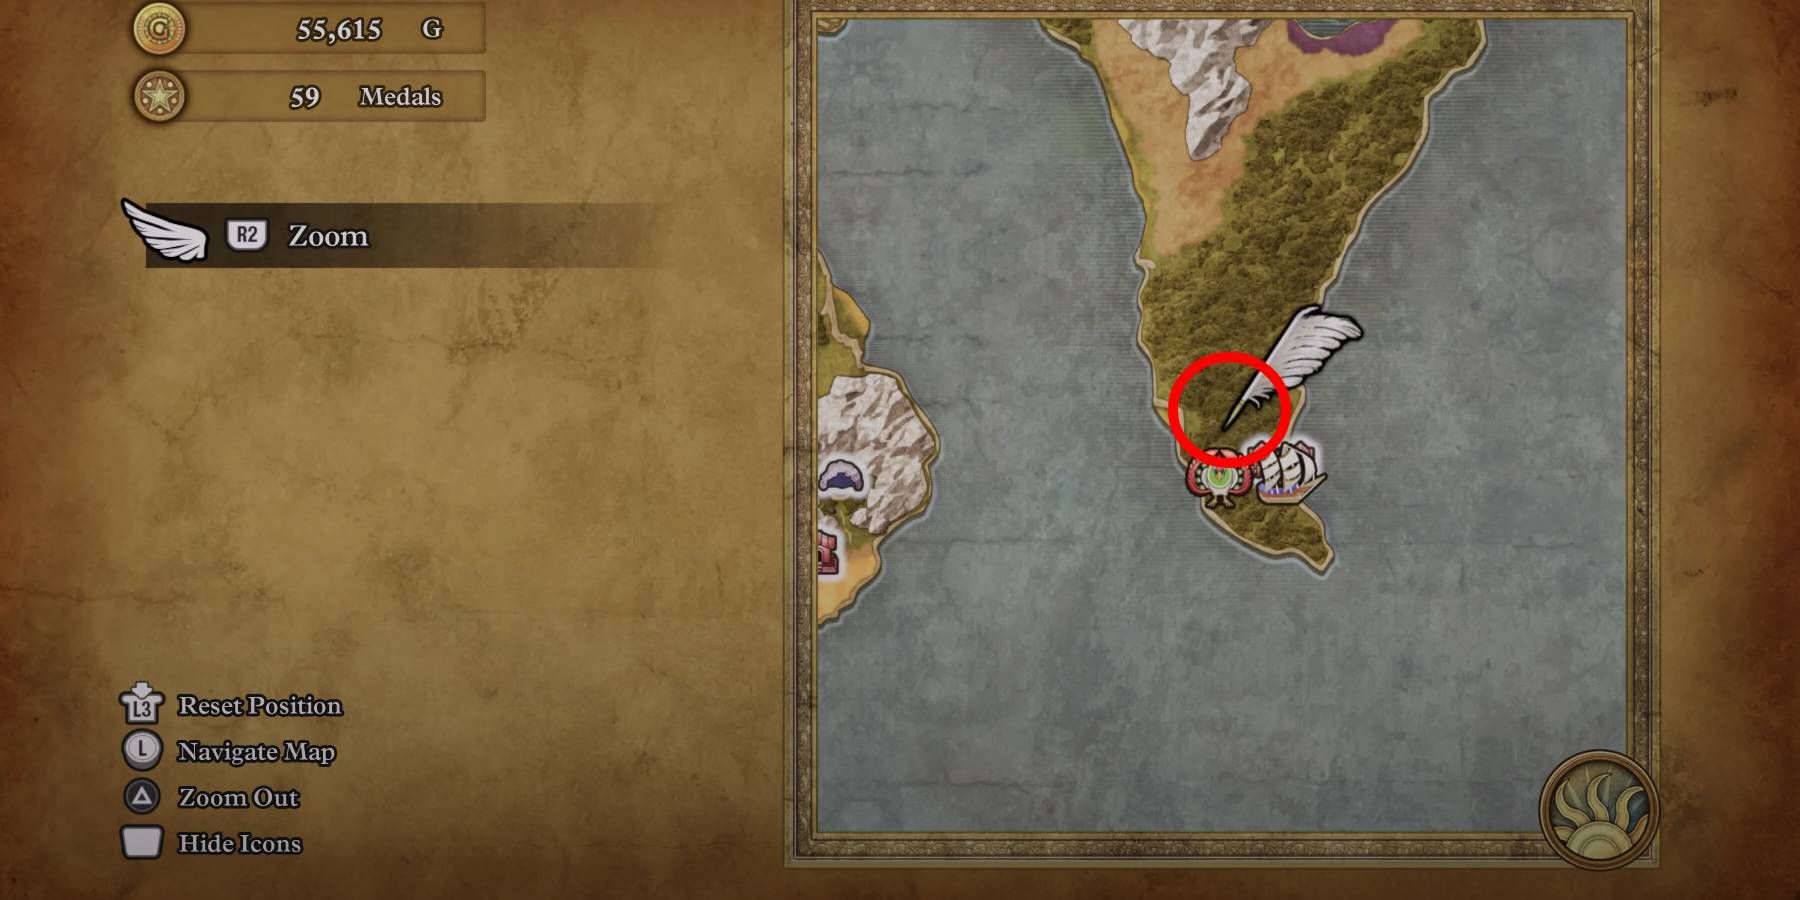
πŸͺ½ Pirate’s Den (Outside)
Secret Spot NW of Pirate’s Den, near the west exit in the middle of the path.

Mini Medal #57 for Dragon Quest 3 HD-2D Remake
Mini Medal #58

πŸͺ½ Persistence
Northern house, in a pot.

Mini Medal #58 for Dragon Quest 3 HD-2D Remake
Mini Medal #59

πŸͺ½ Grimland
In a chest near the SW torch.

Mini Medal #59 for Dragon Quest 3 HD-2D Remake
Mini Medal #60

πŸͺ½ Grimland
NE building, in a drawer.

Mini Medal #60 for Dragon Quest 3 HD-2D Remake
Mini Medal #61

πŸͺ½ Fifer’s Spire (Outside)
Secret Spot north edge of the desert NW of Fifer’s Spire.

Mini Medal #61 for Dragon Quest 3 HD-2D Remake
Mini Medal #62

πŸͺ½ Fifer’s Spire
[3F] at the end of the dungeon.

Mini Medal #62 for Dragon Quest 3 HD-2D Remake
Mini Medal #63

πŸͺ½ Lanson
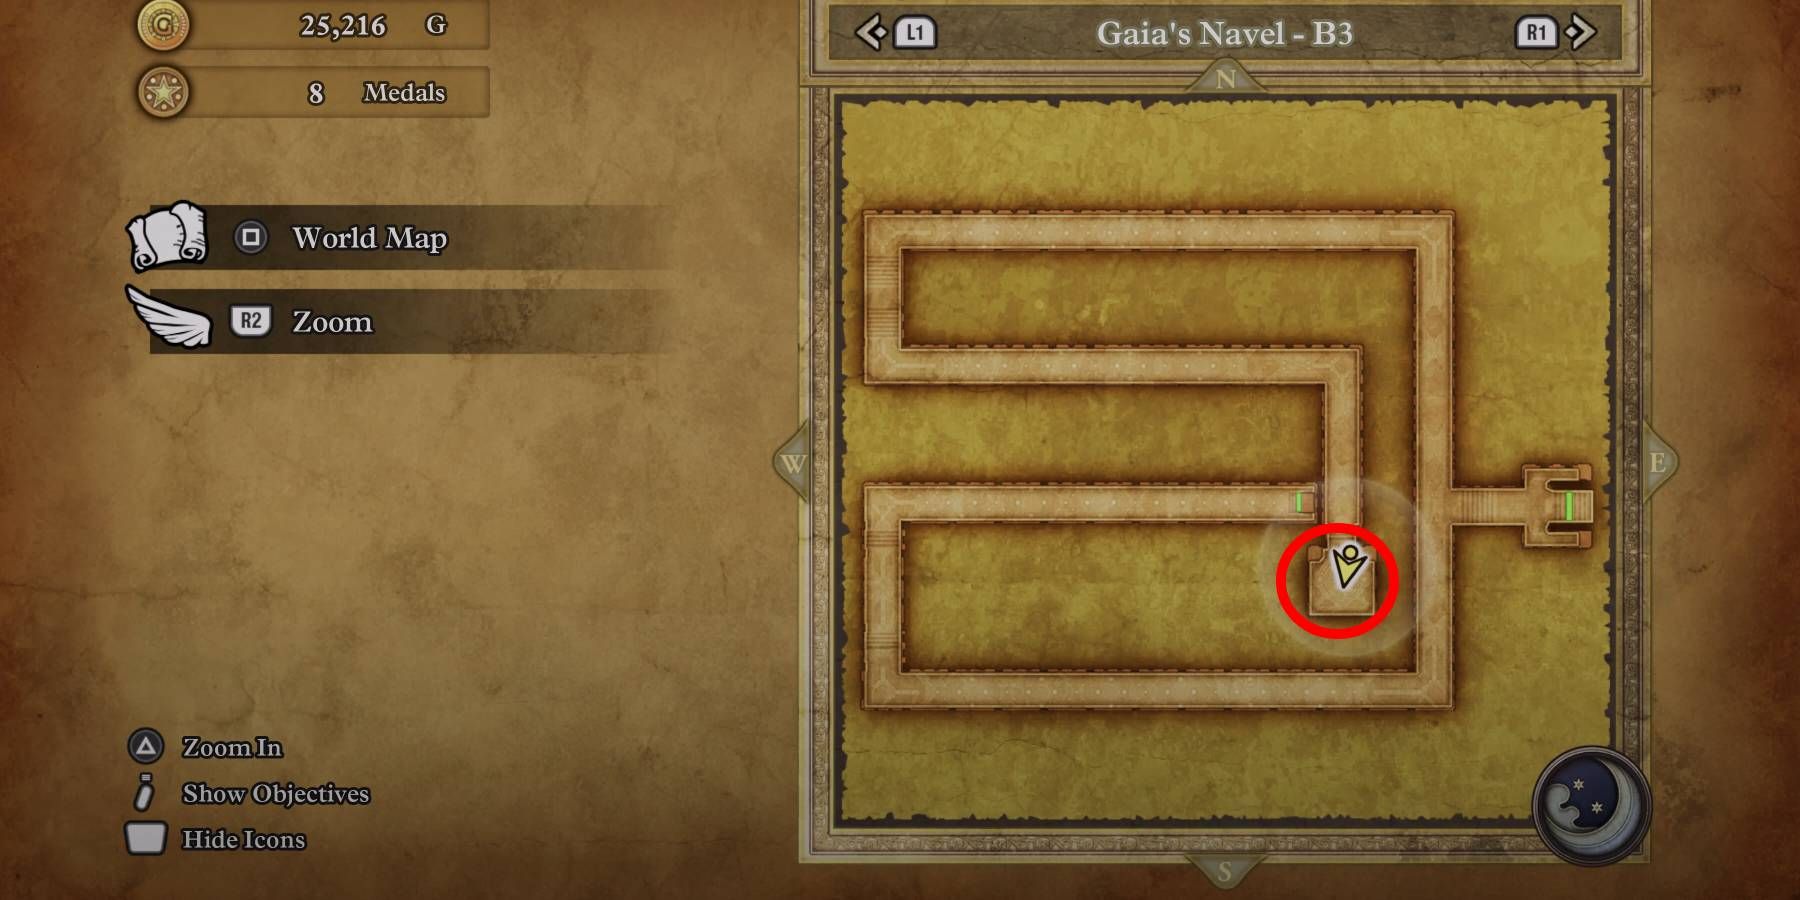
Gaia’s Navel
[B3] In a chest after obtaining the Blue Orb.

Mini Medal #63 for Dragon Quest 3 HD-2D Remake
Mini Medal #64

πŸͺ½ Orochi’s Lair
[B2] In the W chest.

Mini Medal #64 for Dragon Quest 3 HD-2D Remake
Mini Medal #65

πŸͺ½ Wayfarer’s Chapel (Outside)
Secret Spot at the dead end NW of Wayfarer’s Chapel, in the NE tree.

Mini Medal #65 for Dragon Quest 3 HD-2D Remake
Mini Medal #66

πŸͺ½ Manoza
Near a NE gravestone.

Mini Medal #66 for Dragon Quest 3 HD-2D Remake
Mini Medal #67

πŸͺ½ Manoza
Manoza Castle
In the kitchen, in a barrel.

Mini Medal #67 for Dragon Quest 3 HD-2D Remake
Mini Medal #68

πŸͺ½ Manoza
Jail, in a pot.

Mini Medal #68 for Dragon Quest 3 HD-2D Remake
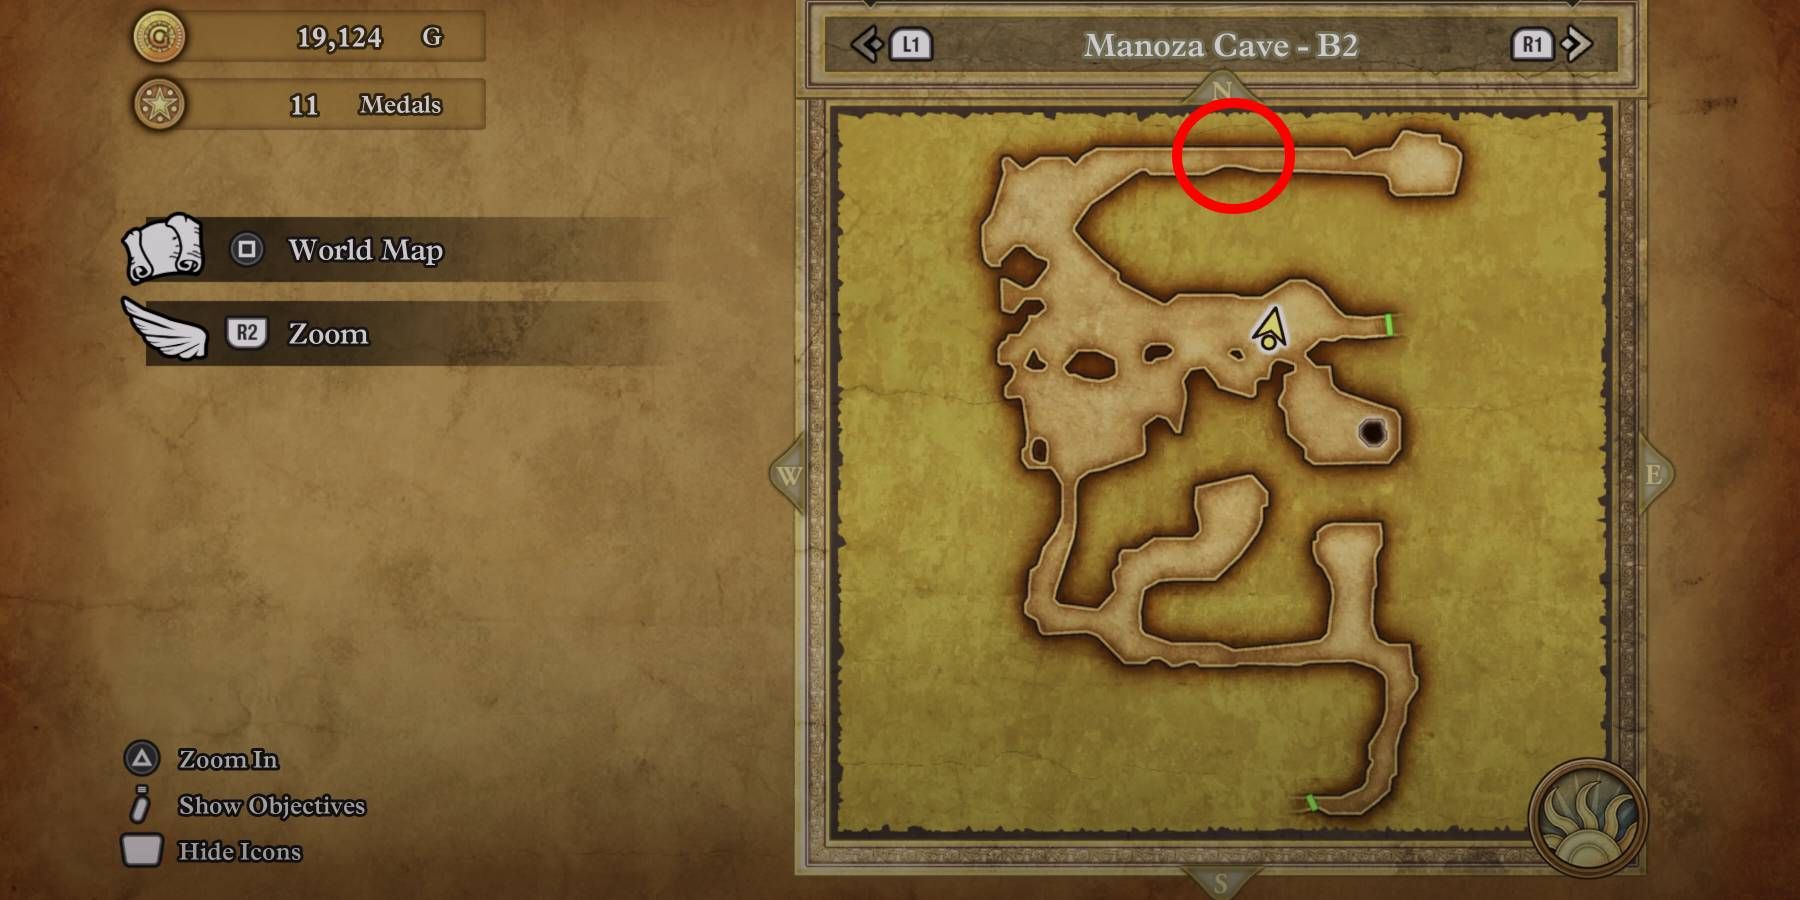
Mini Medal #69

πŸͺ½ Manoza Cave
[B2] In a chest in the northern hallway.

Mini Medal #69 for Dragon Quest 3 HD-2D Remake
Mini Medal #70

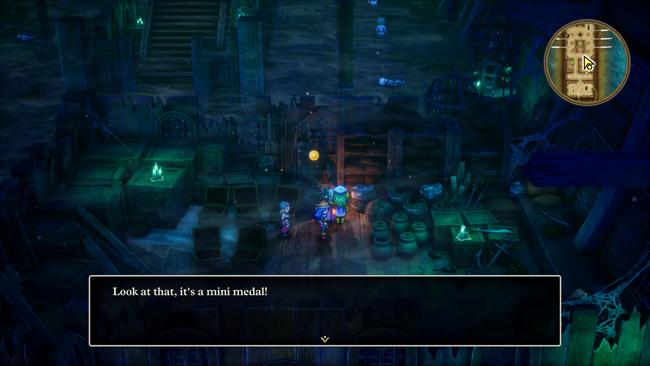
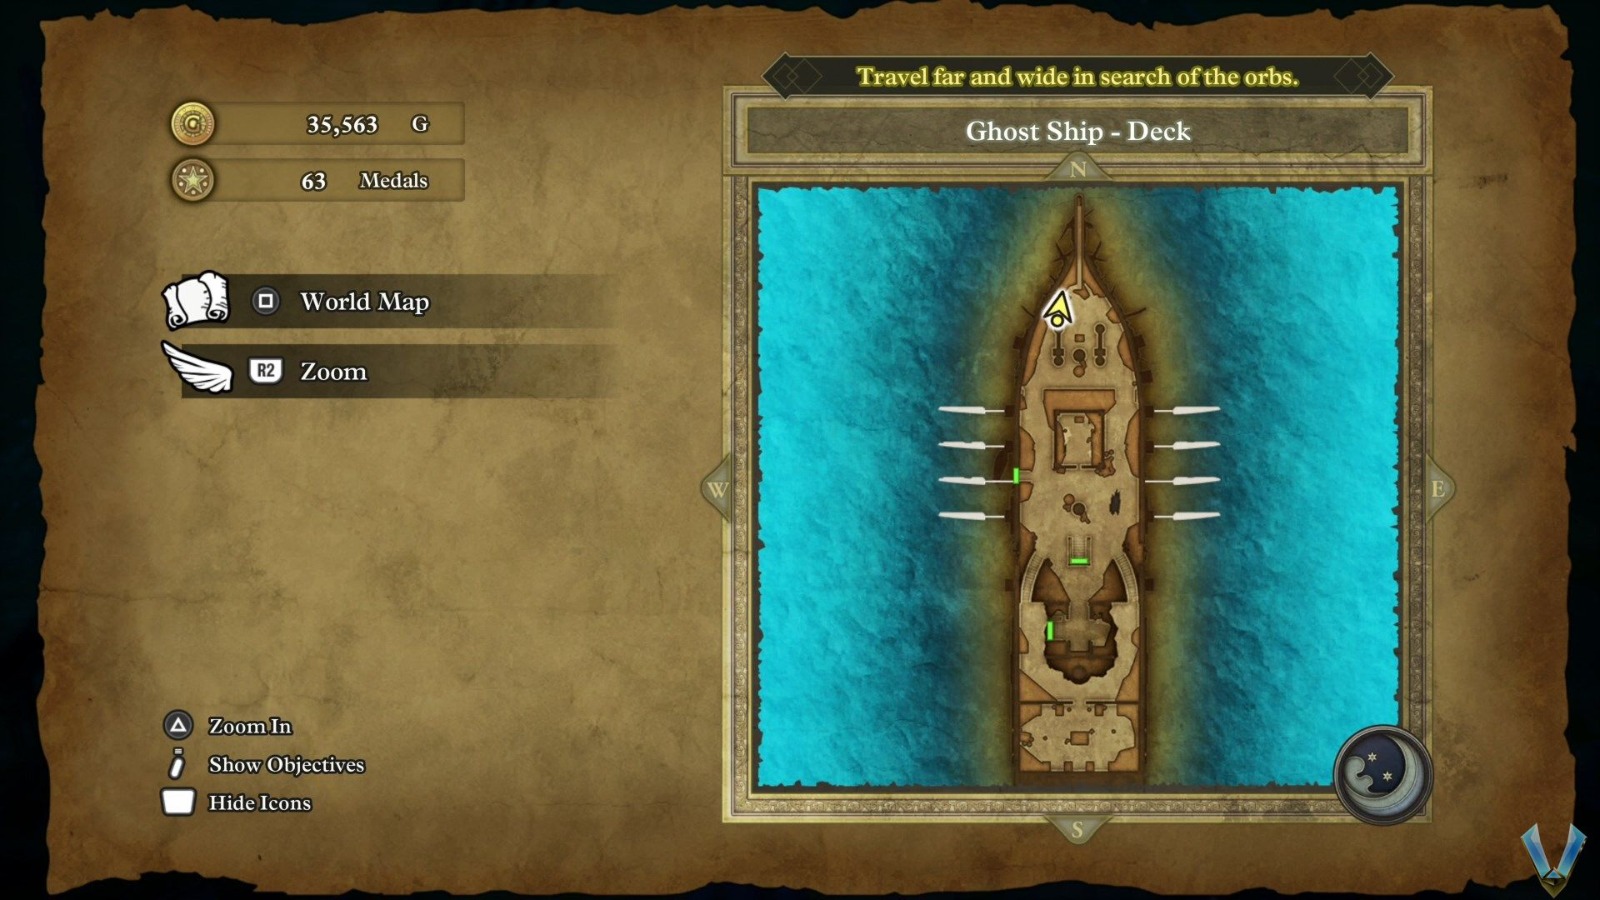
πŸͺ½ Ghost Ship
[B1] In the treasure room.

Mini Medal #70 for Dragon Quest 3 HD-2D Remake
Mini Medal #71

πŸͺ½ Shrine of Shackles
In the NW pot.

Mini Medal #71 for Dragon Quest 3 HD-2D Remake
Mini Medal #72

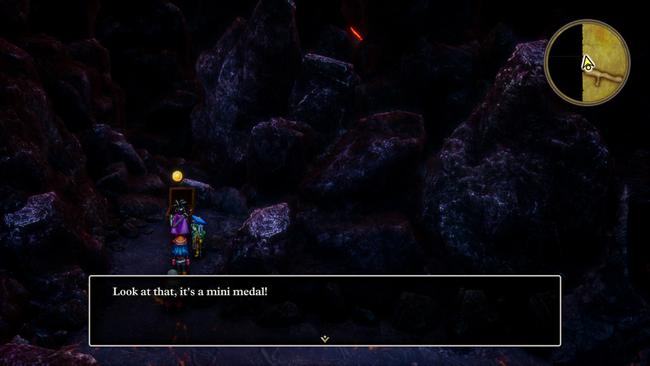
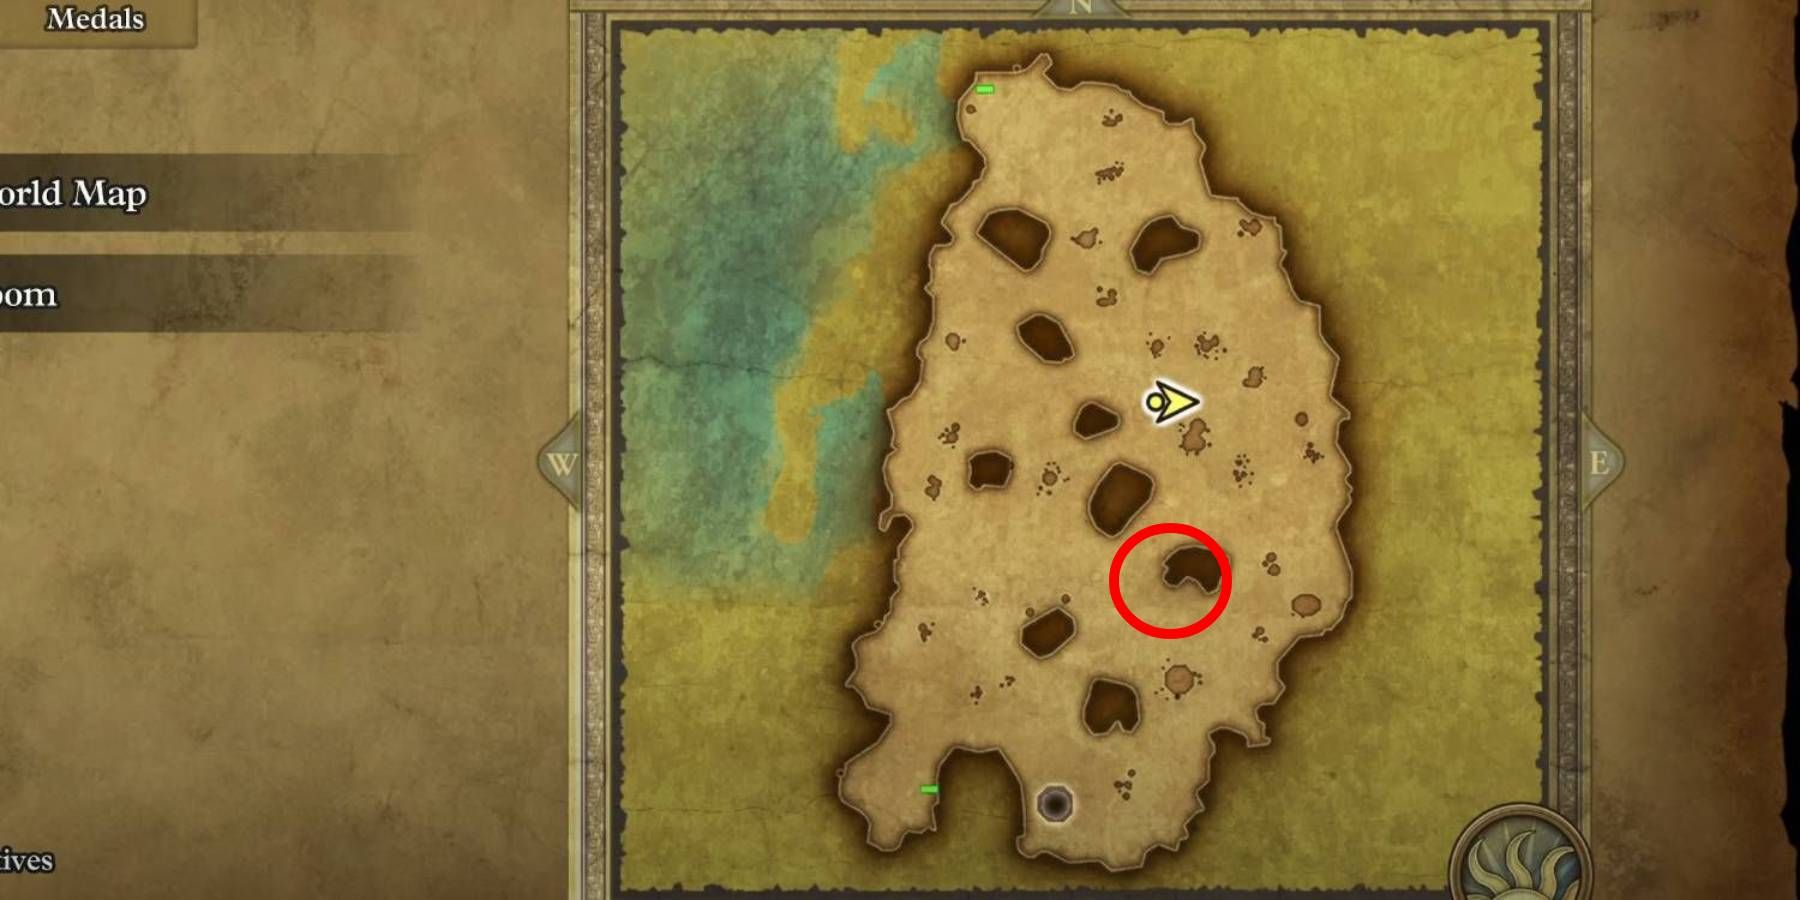
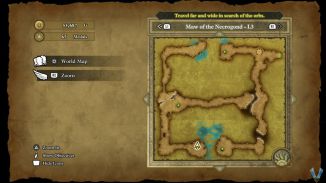
πŸͺ½ Maw of the Necrogond
[L2] In the ‘pit room’, just SE of the big center boulder.

Mini Medal #72 for Dragon Quest 3 HD-2D Remake
Mini Medal #73

πŸͺ½ Necrogond Shrine
Behind the man.

Mini Medal #73 for Dragon Quest 3 HD-2D Remake
Mini Medal #74

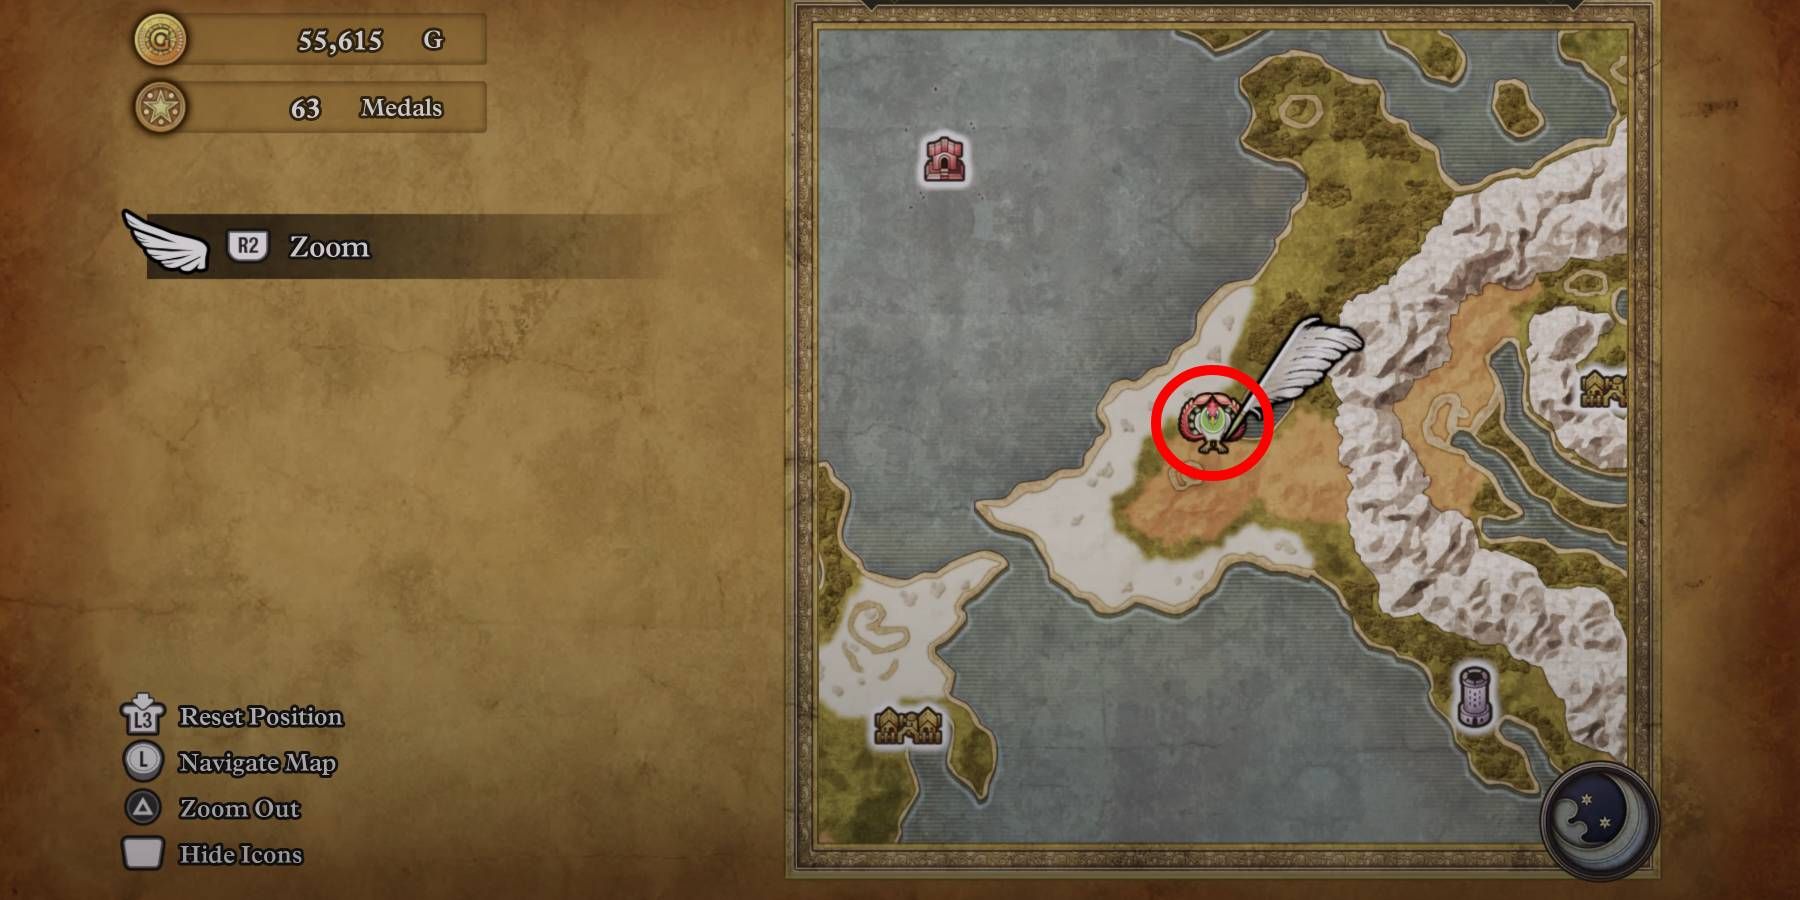
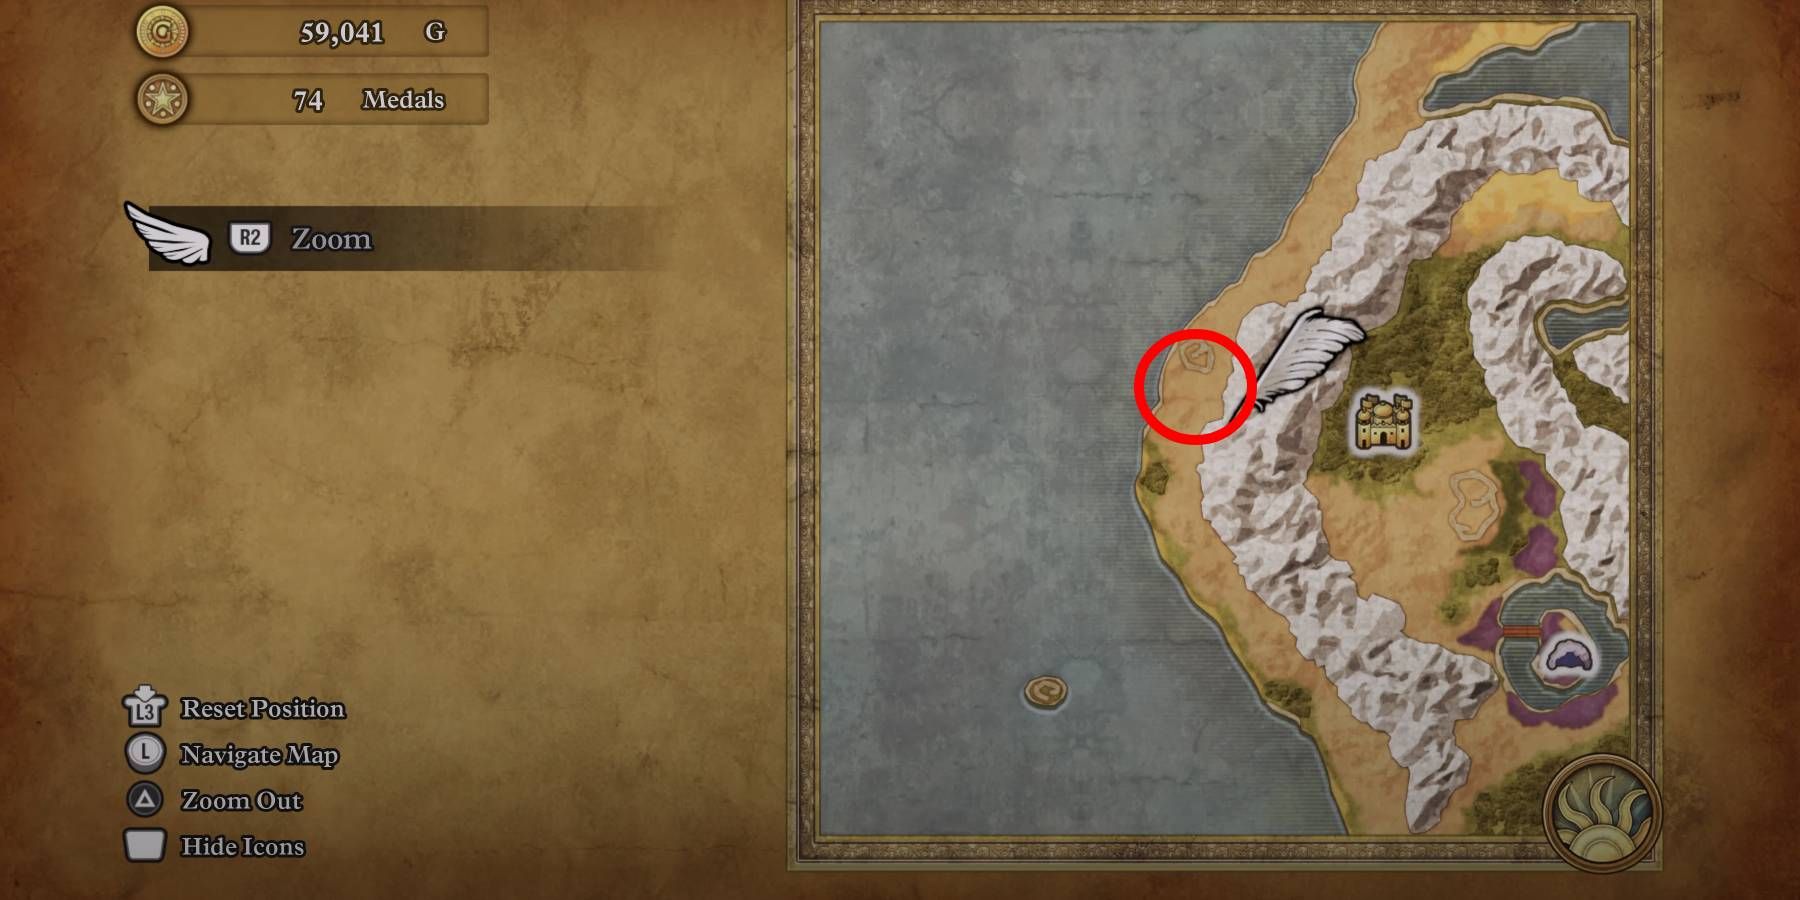
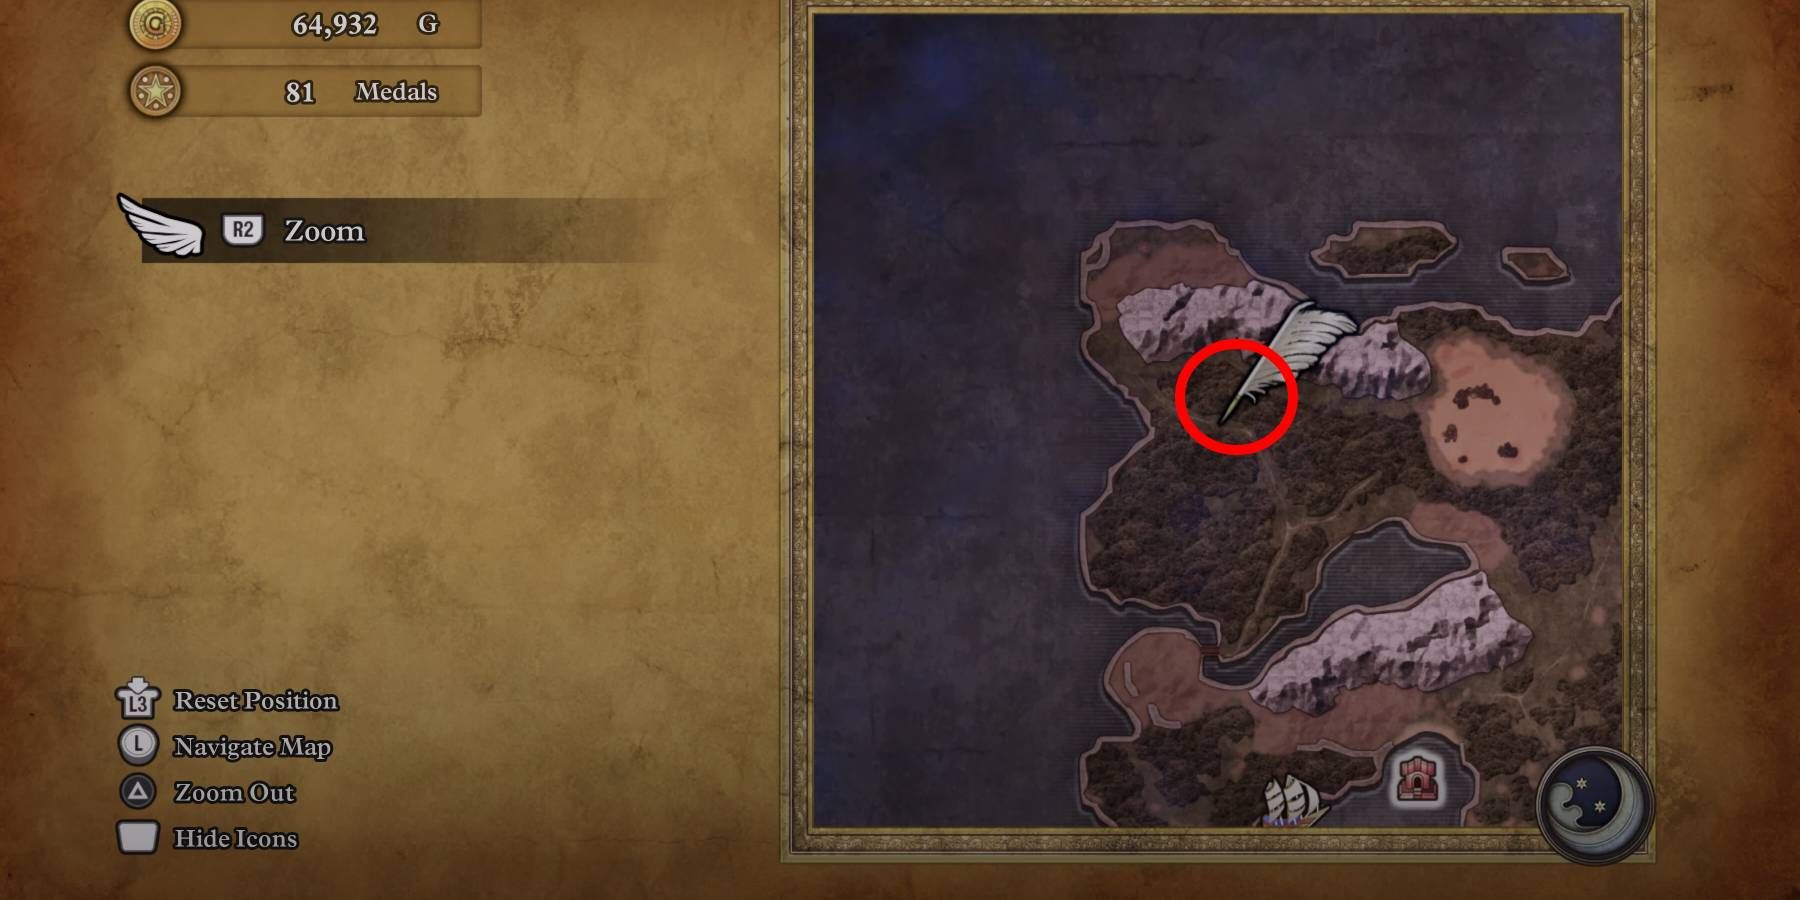
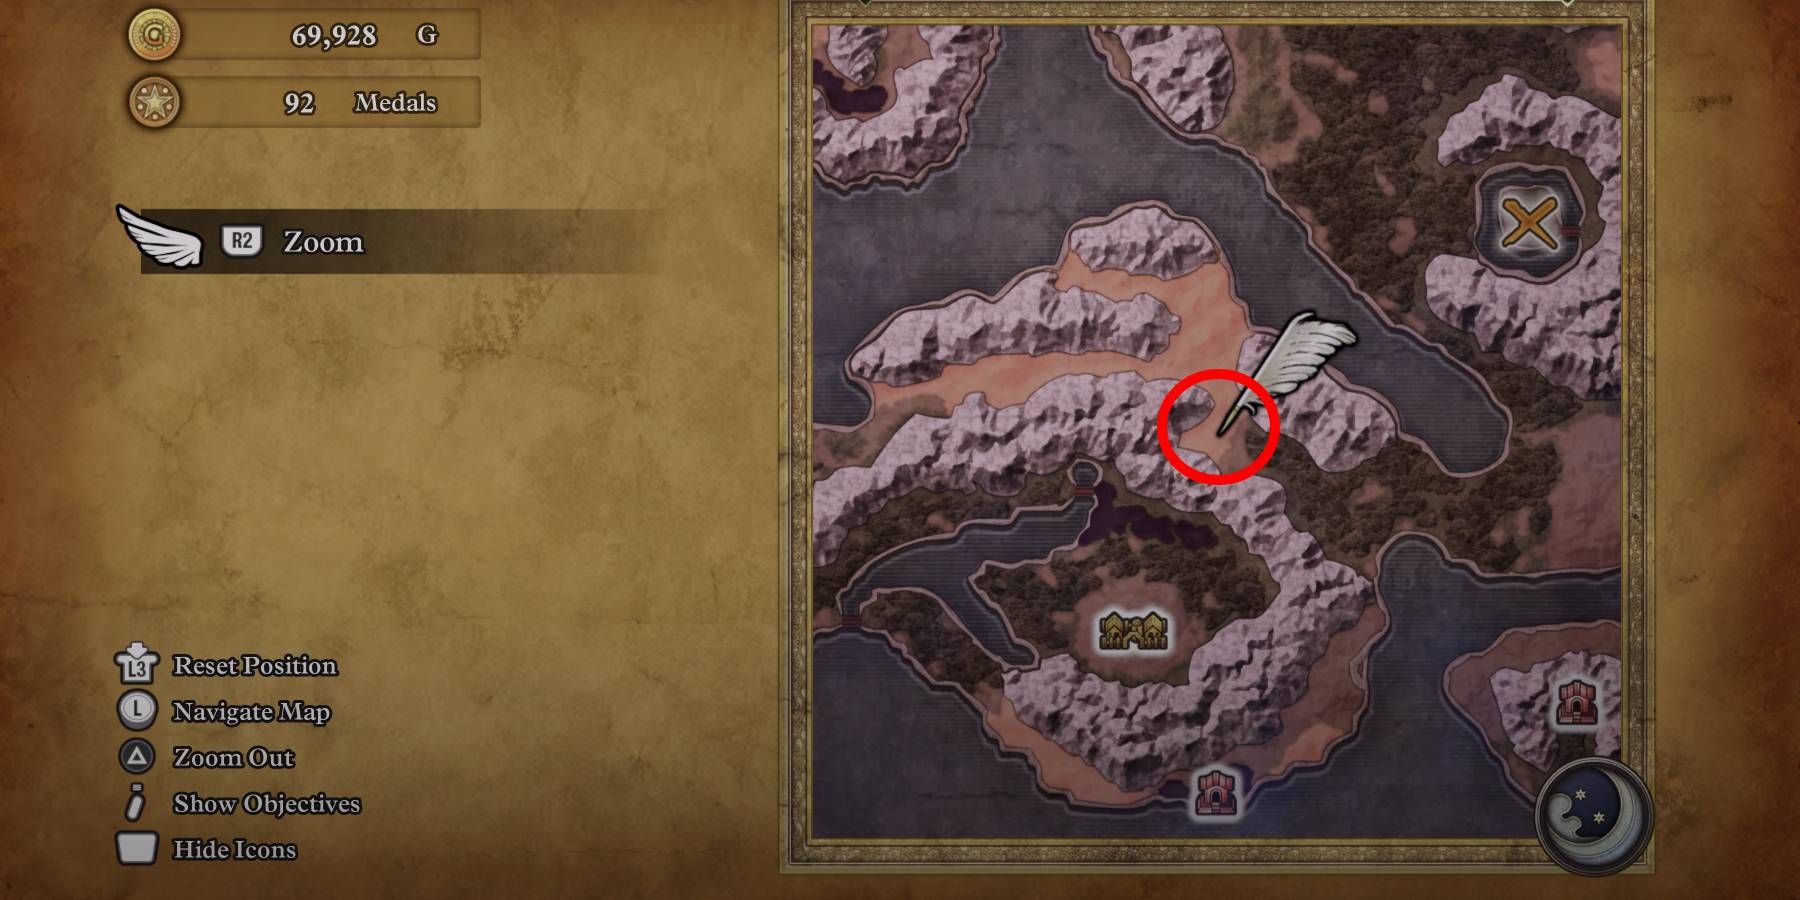
πŸͺ½ Promontory Passage (Outside) 🦜
Secret Spot on the W side of Aliahan island, S side of E boulder.

Mini Medal #74 for Dragon Quest 3 HD-2D Remake
Mini Medal #75

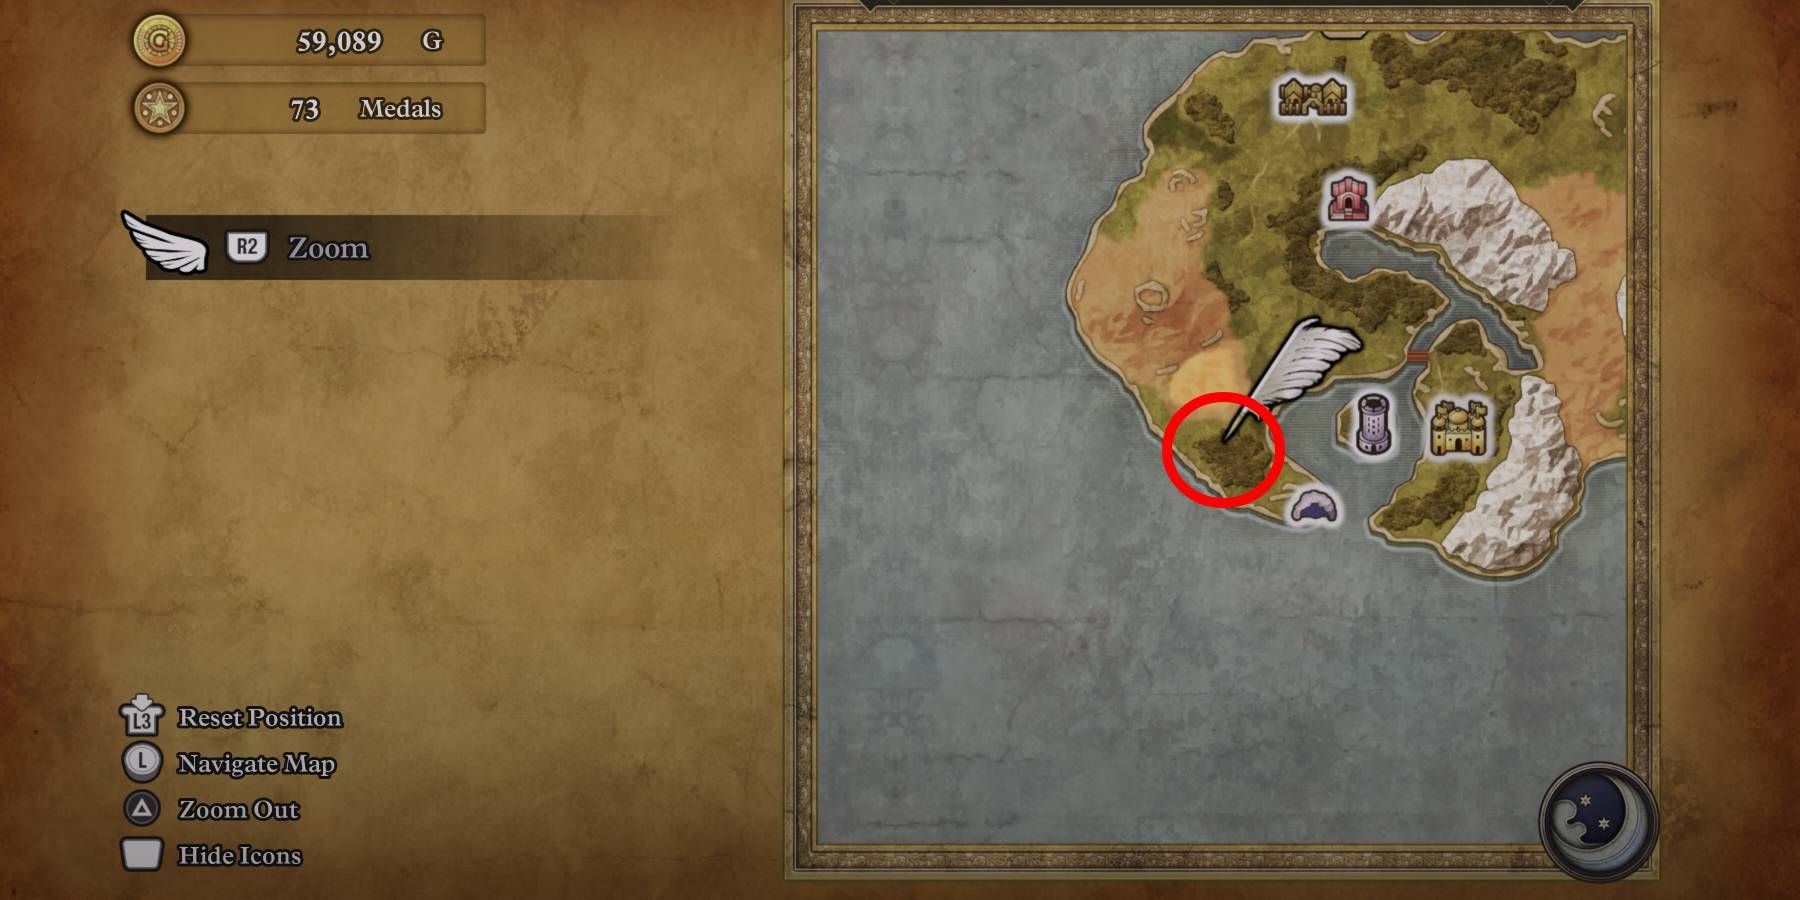
πŸͺ½ Manoza (Outside) 🦜
Secret Spot W of Manoza, near E rock.

Mini Medal #75 for Dragon Quest 3 HD-2D Remake
Mini Medal #76

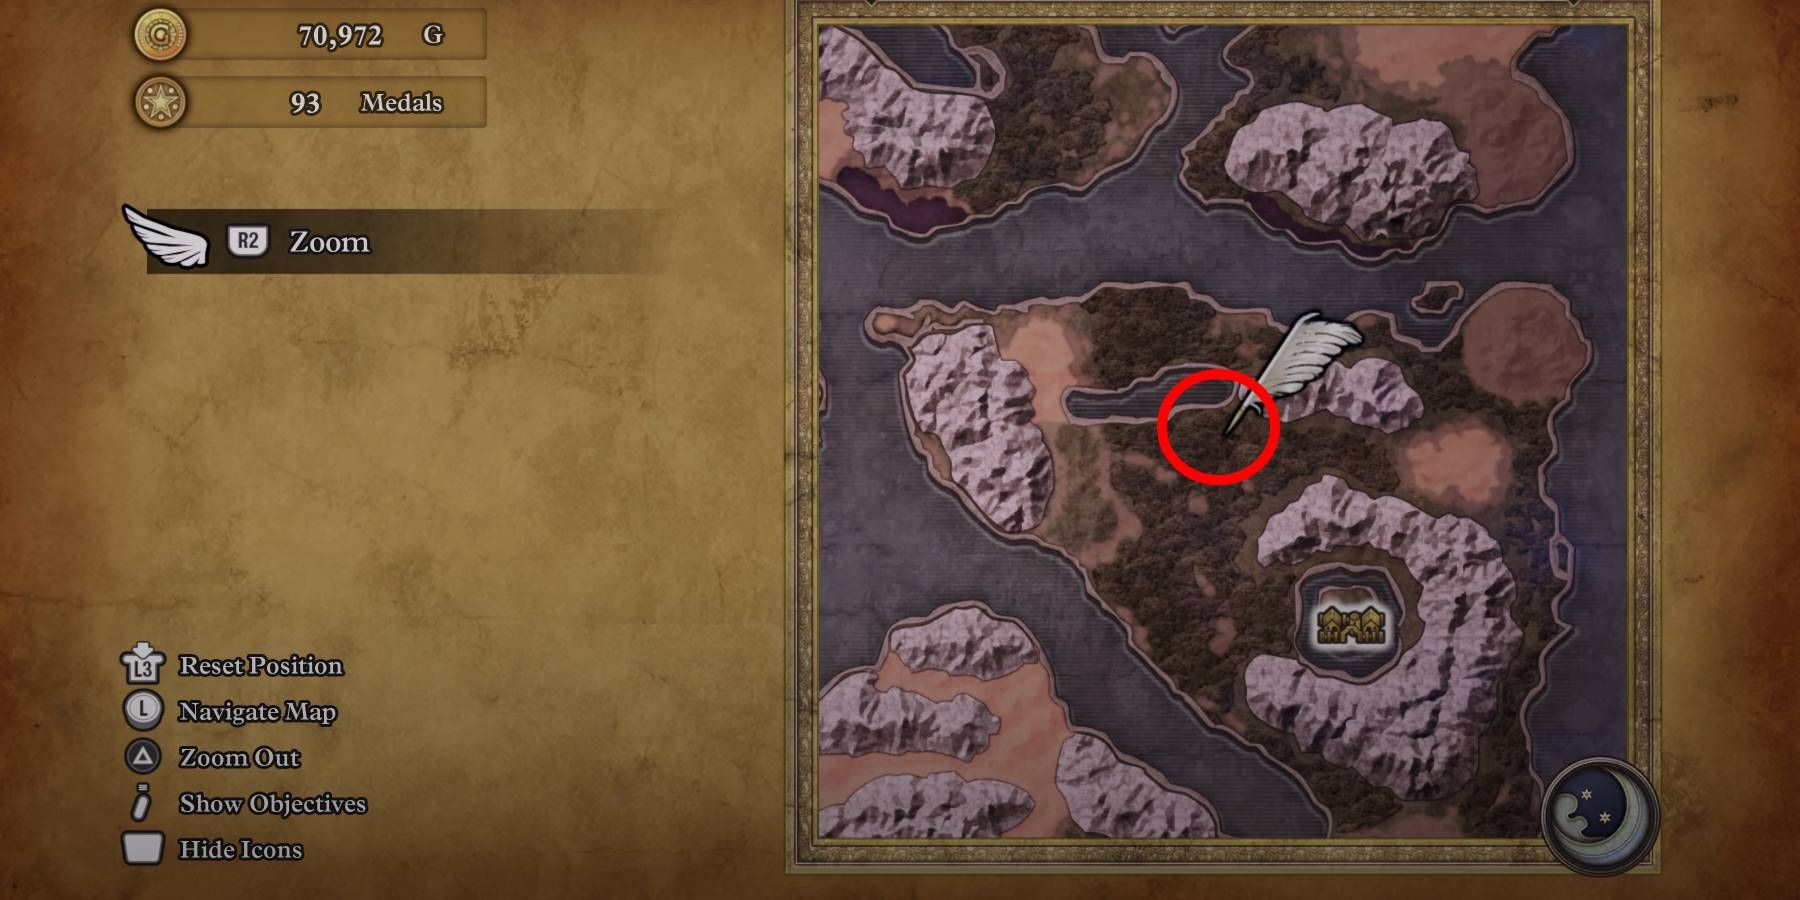
πŸͺ½ Persistence (Outside) 🦜
Secret Spot N of Persistence, SE of the bag.

Mini Medal #76 for Dragon Quest 3 HD-2D Remake
Mini Medal #77

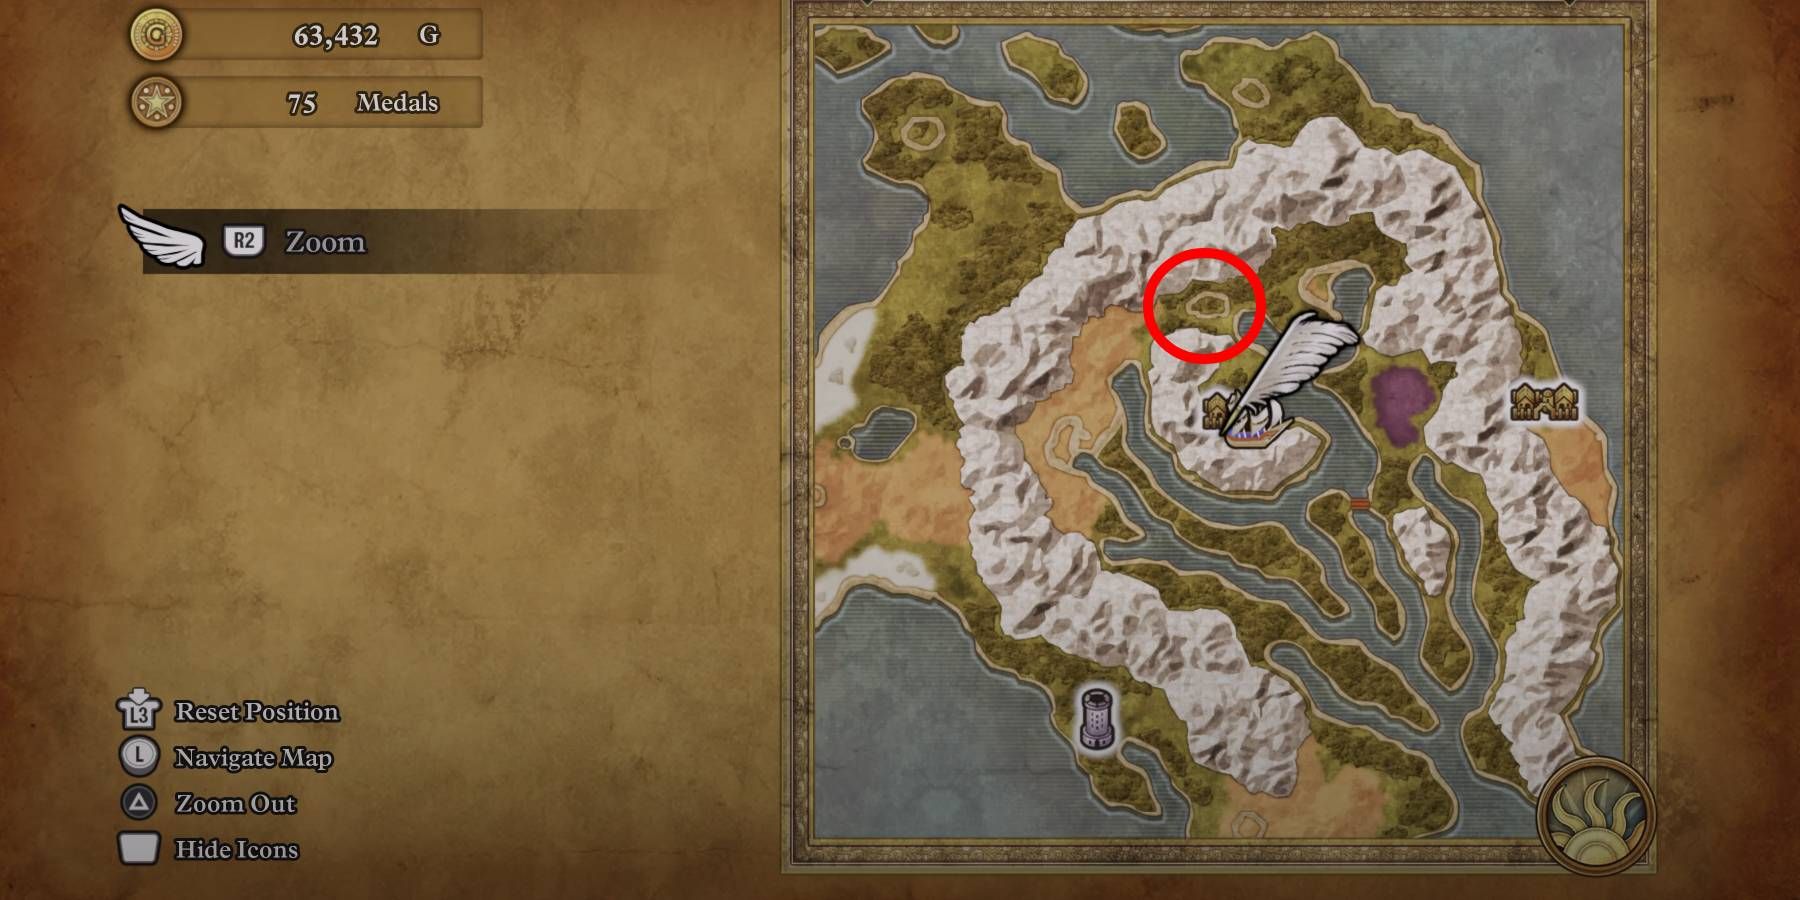
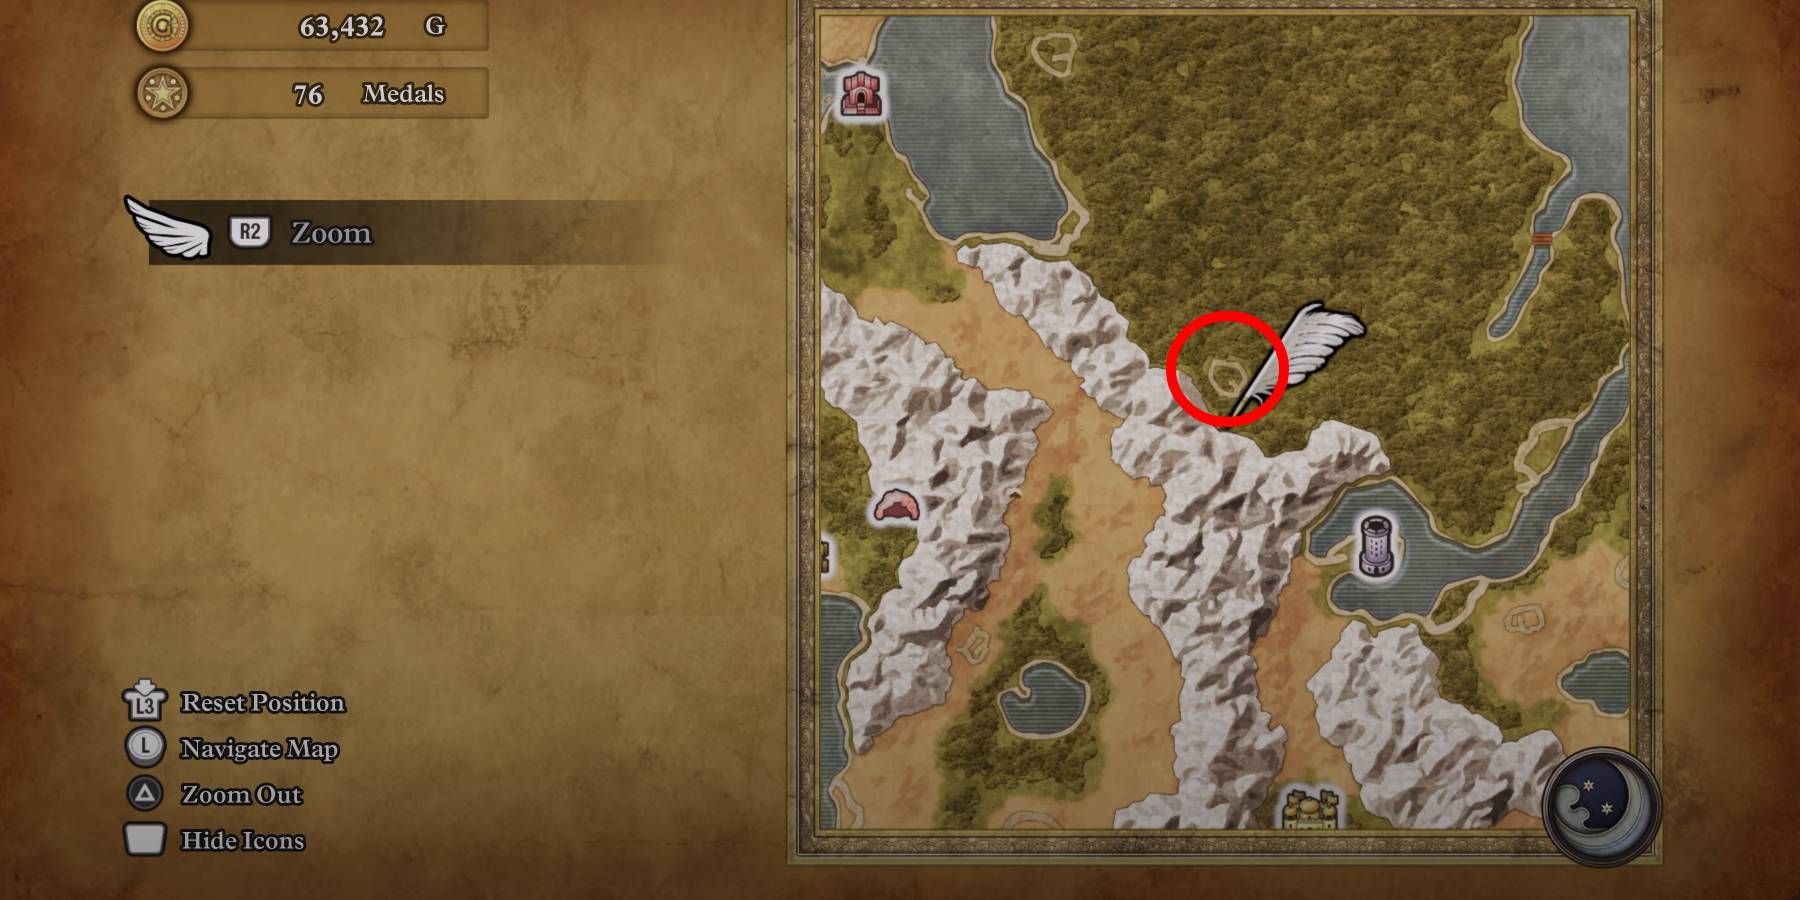
πŸͺ½ Tower of Transcendence (Outside)
Secret Spot on the SW side of the huge forest continent, NW of Tower of Transcendence.

Mini Medal #77 for Dragon Quest 3 HD-2D Remake
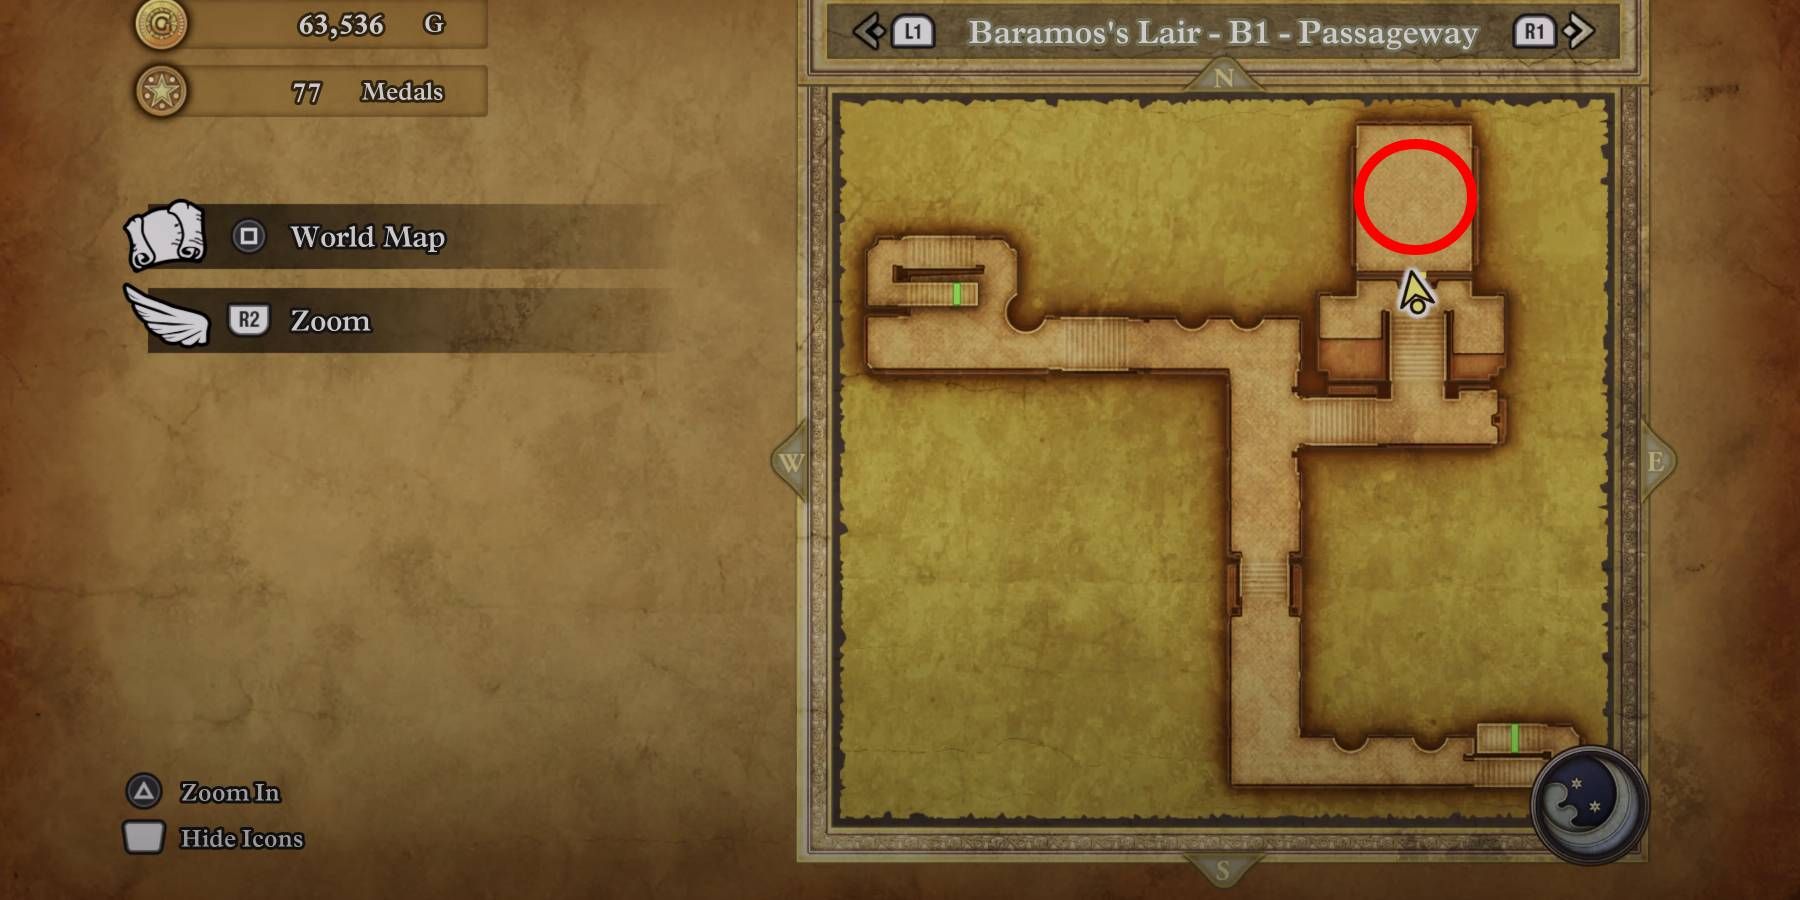
Mini Medal #78

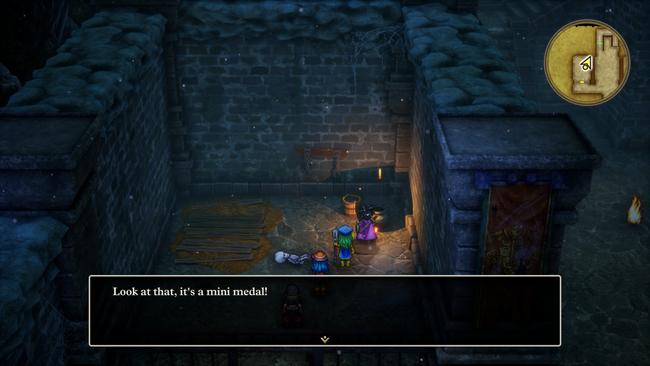
πŸͺ½ Baramos’s Lair
[B1] the NE jail cell.

Mini Medal #78 for Dragon Quest 3 HD-2D Remake
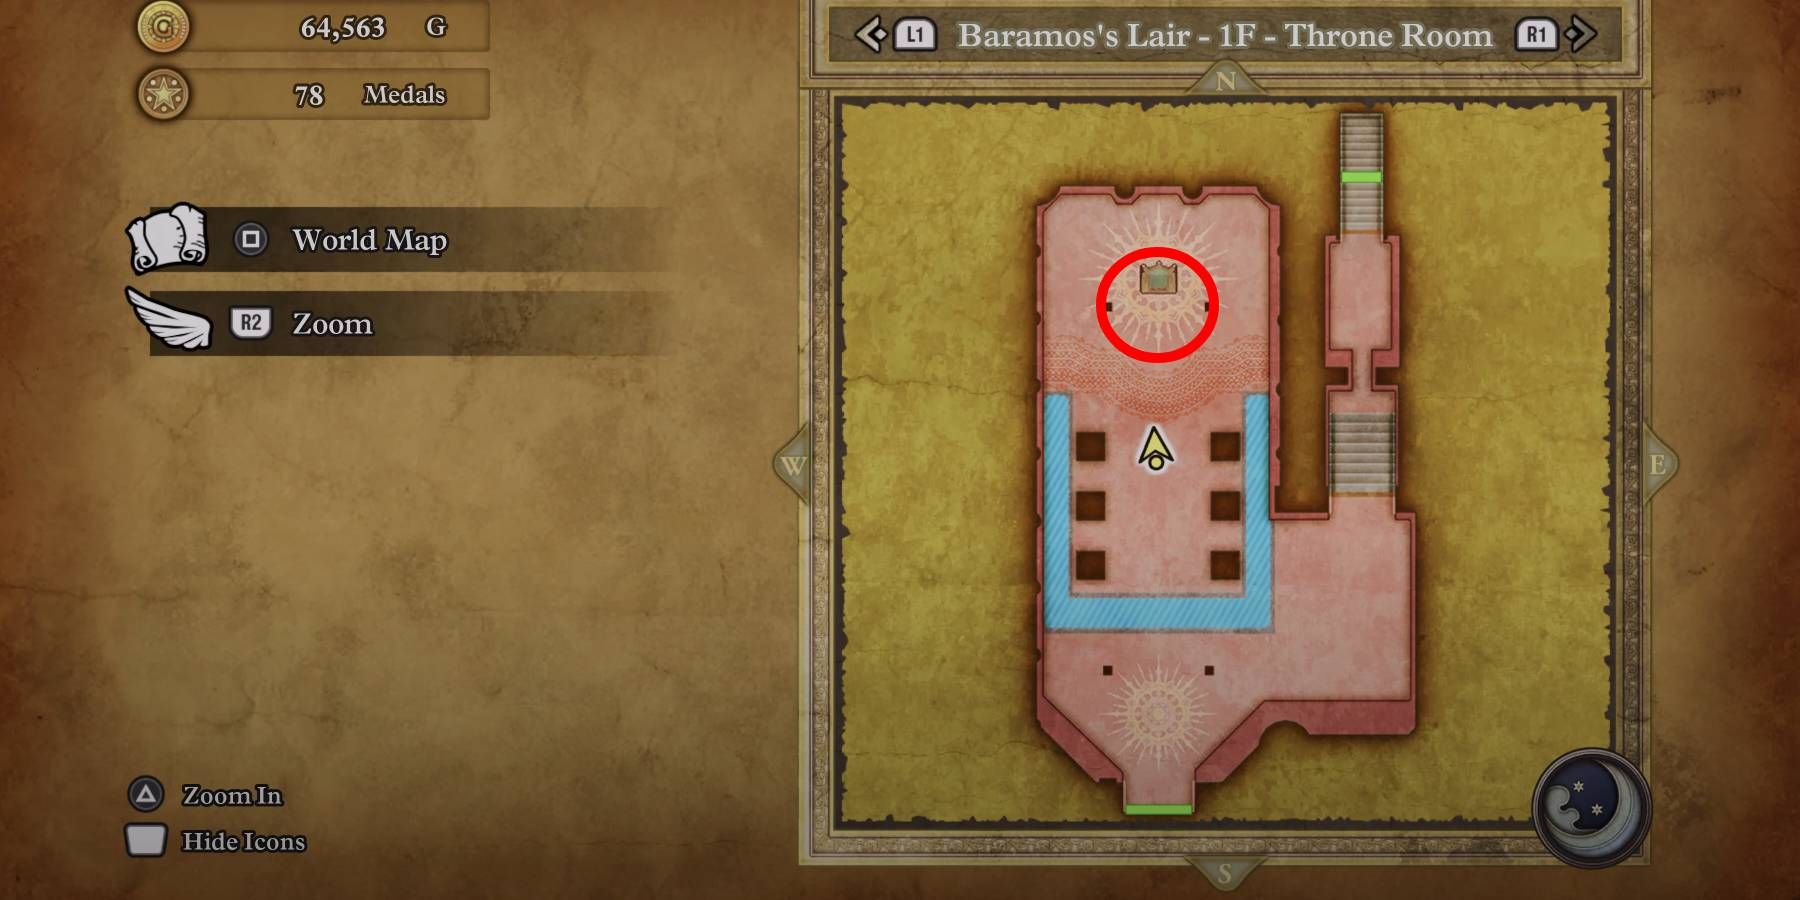
Mini Medal #79

πŸͺ½ Baramos’s Lair
[1F] At the skeleton on the Throne.

Mini Medal #79 for Dragon Quest 3 HD-2D Remake
Mini Medal #80

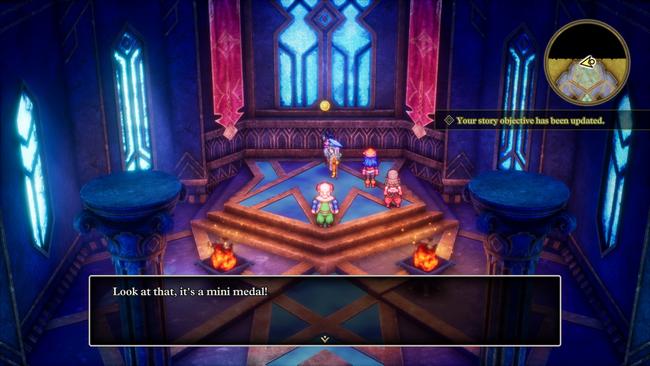
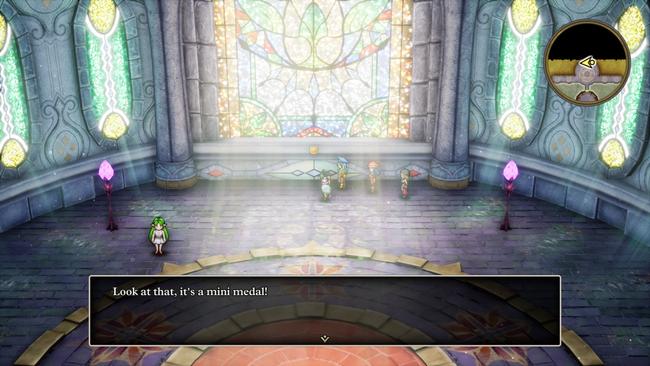
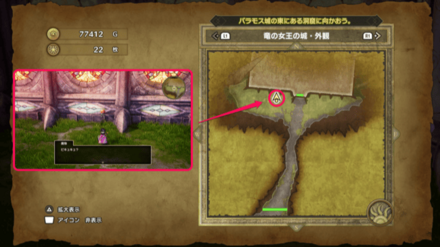
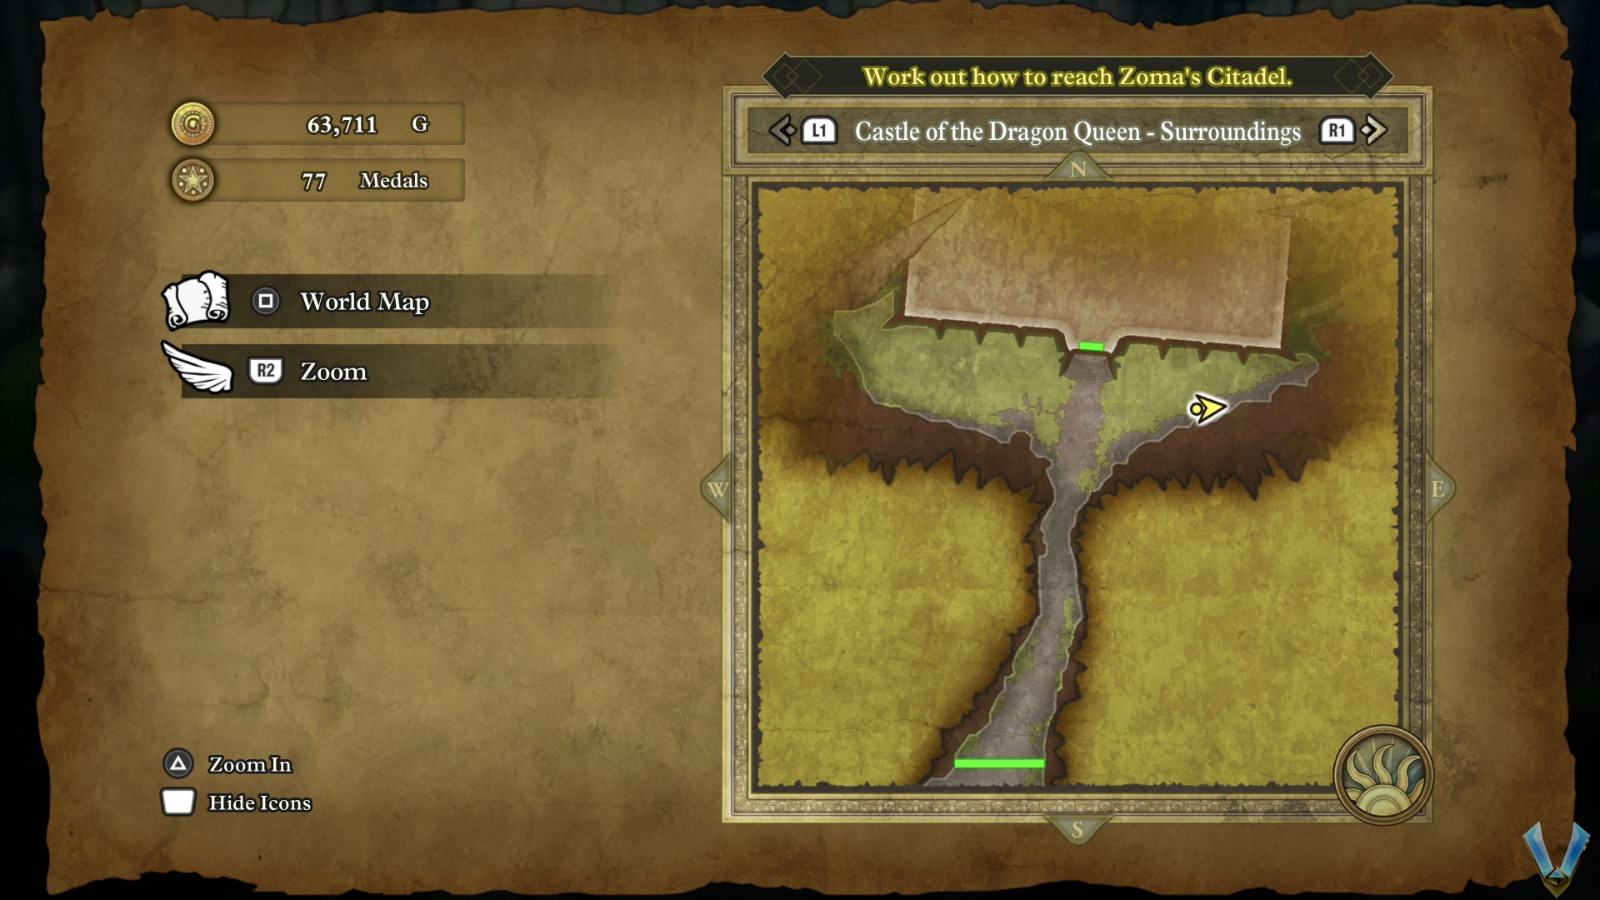
πŸͺ½ Castle of the Dragon Queen
At the back of the castle, behind the beam of light (don’t accidentally enter it), in front of the center stained glass window.

Mini Medal #80 for Dragon Quest 3 HD-2D Remake
Mini Medal #81

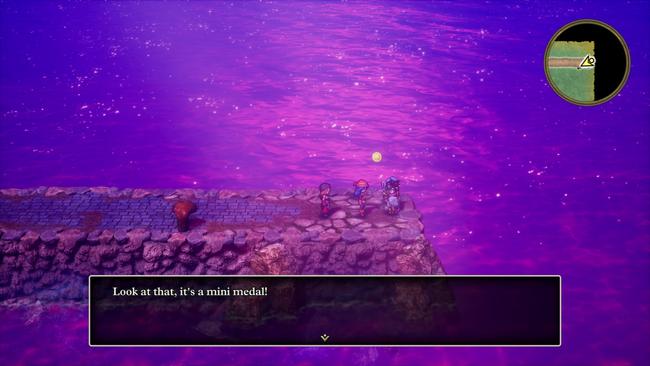
πŸͺ½ West Tantegel Harbor
At the end of the northmost pier.

Mini Medal #81 for Dragon Quest 3 HD-2D Remake
Mini Medal #82

πŸͺ½ Tantegel (Outside)
Secret Spot in the forest NW of Tantegel, at the tree in the center.

Mini Medal #82 for Dragon Quest 3 HD-2D Remake
Mini Medal #83

πŸͺ½ Galen’s House
In a drawer.

Mini Medal #83 for Dragon Quest 3 HD-2D Remake
Mini Medal #84

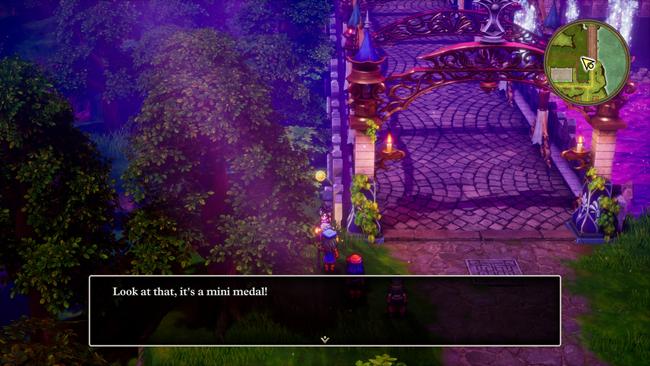
πŸͺ½ Tantegel
Just left of the archway before the bridge leading to the castle.

Mini Medal #84 for Dragon Quest 3 HD-2D Remake
Mini Medal #85

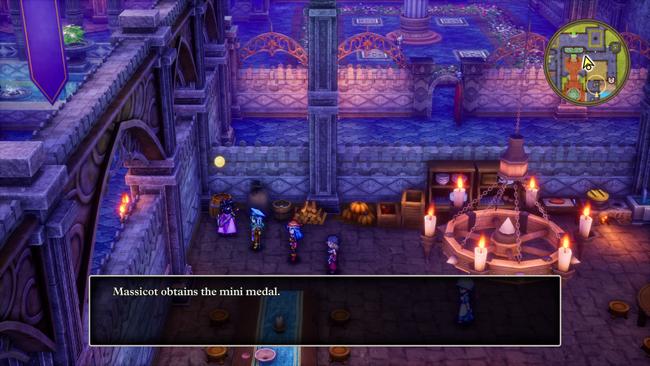
πŸͺ½ Tantegel
Tantegel Castle (side entrance)
NE dining room, in a barrel.

Mini Medal #85 for Dragon Quest 3 HD-2D Remake
Mini Medal #86

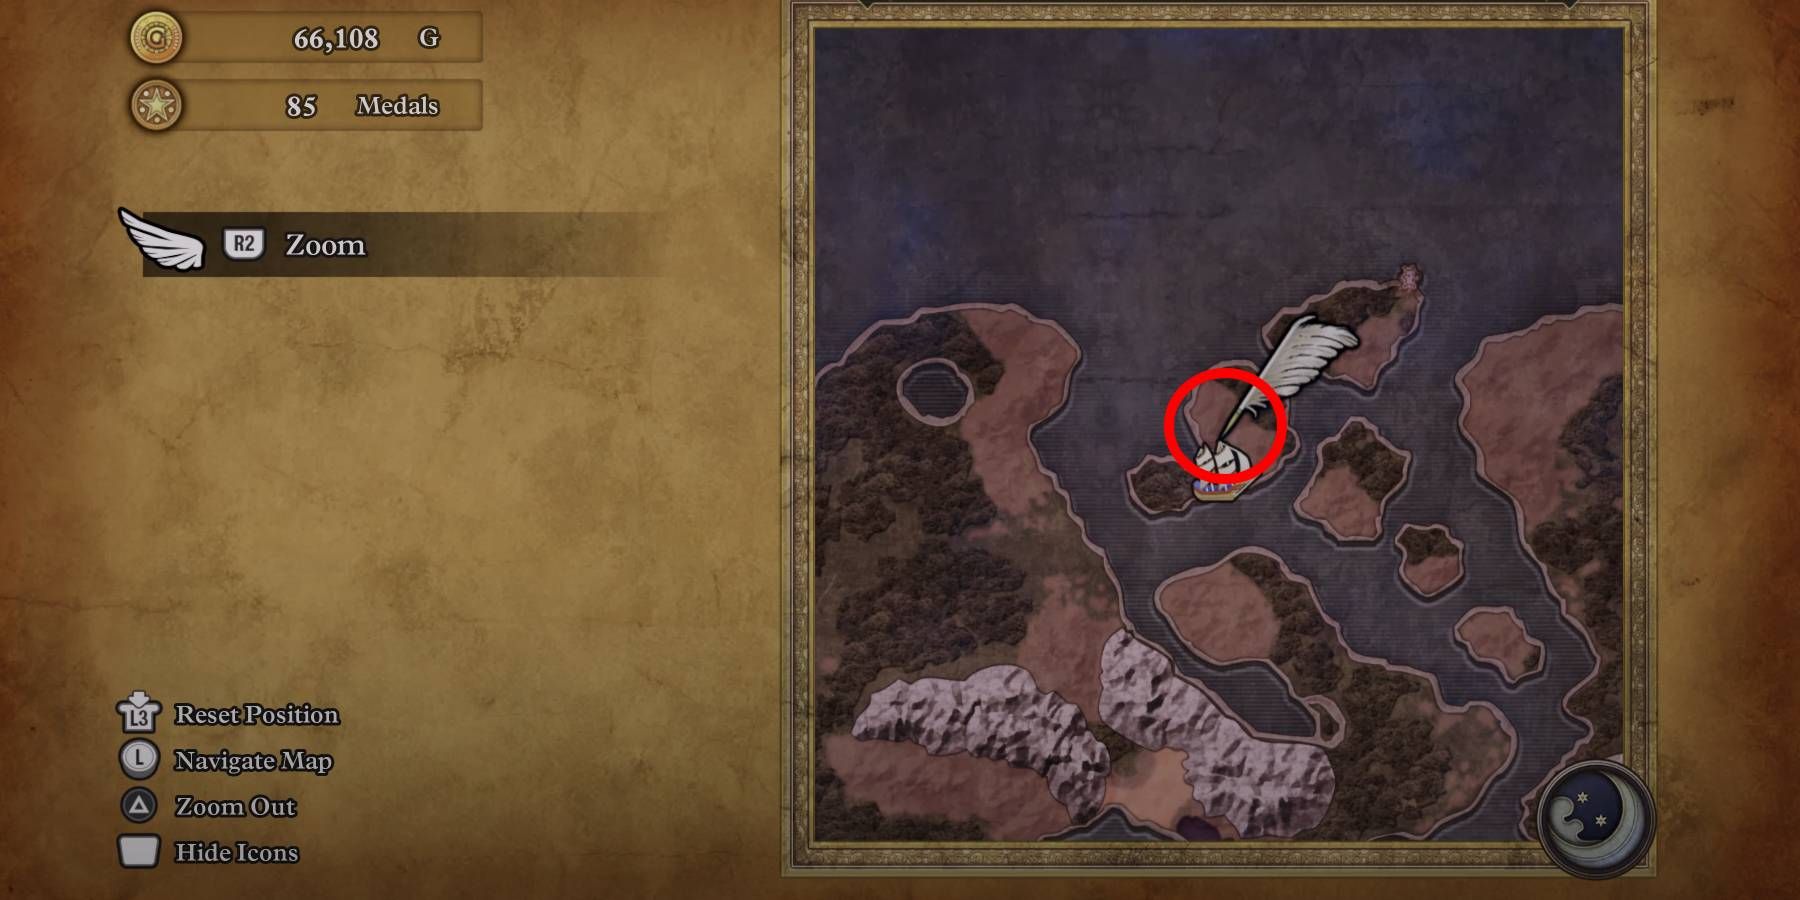
πŸͺ½ Tower of Rubiss (Outside)
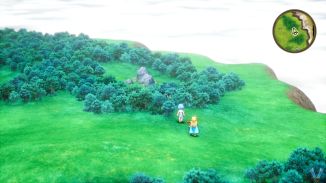
Secret Spot on an island in the archipelago in Northern Alefgard, W of Tower of Rubiss.

Mini Medal #86 for Dragon Quest 3 HD-2D Remake
Mini Medal #87

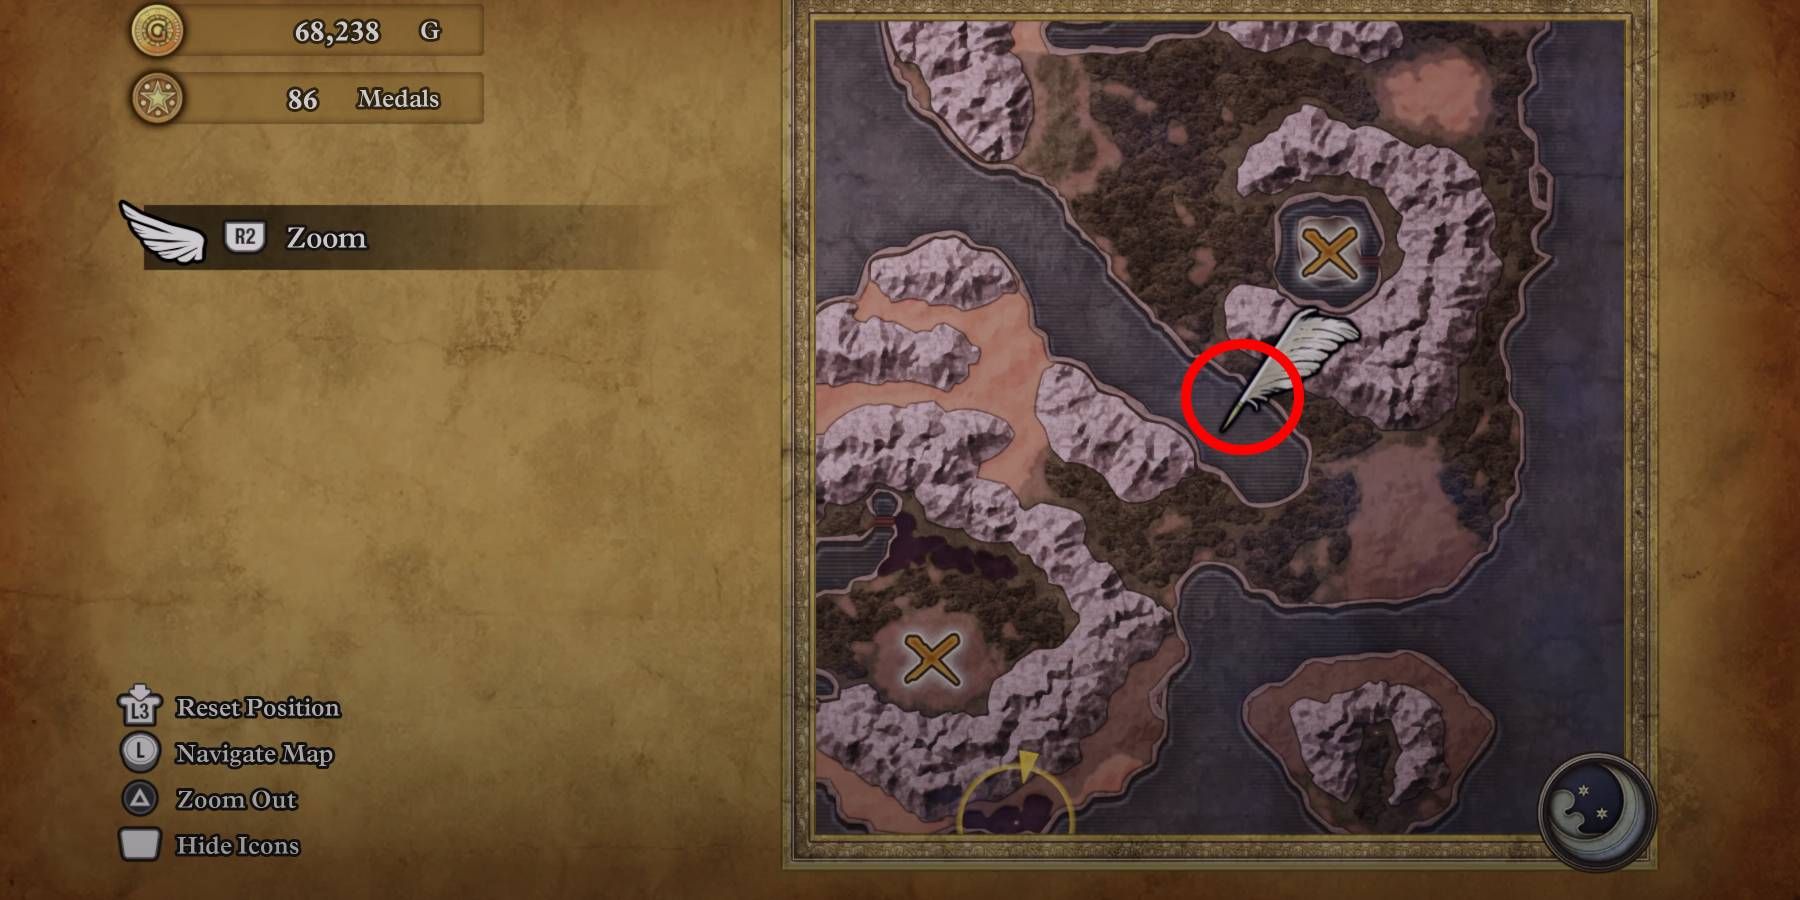
πŸͺ½ Quagmire Cave (Outside)
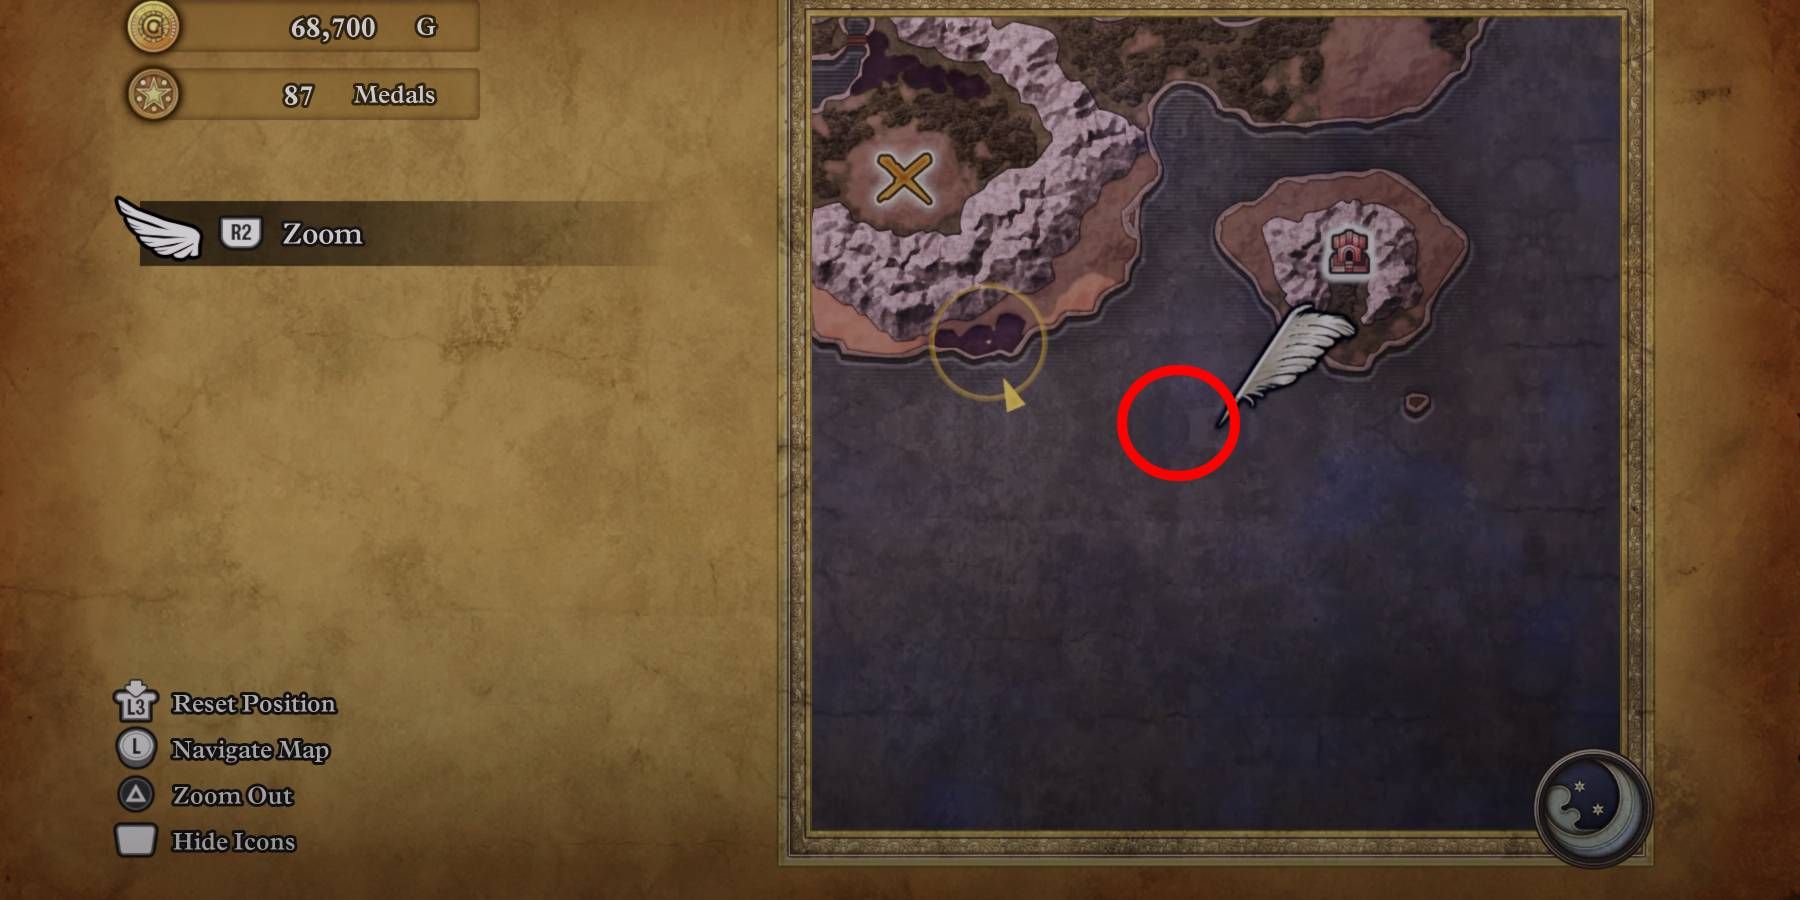
Secret Spot in the SE dead end in the Alefgard inner ocean.

Mini Medal #87 for Dragon Quest 3 HD-2D Remake
Mini Medal #88

πŸͺ½ Sanctum (Outside)
Secret Spot in the ocean SW of the Sanctum island.

Mini Medal #88 for Dragon Quest 3 HD-2D Remake
Mini Medal #89

πŸͺ½ Craggy Cave
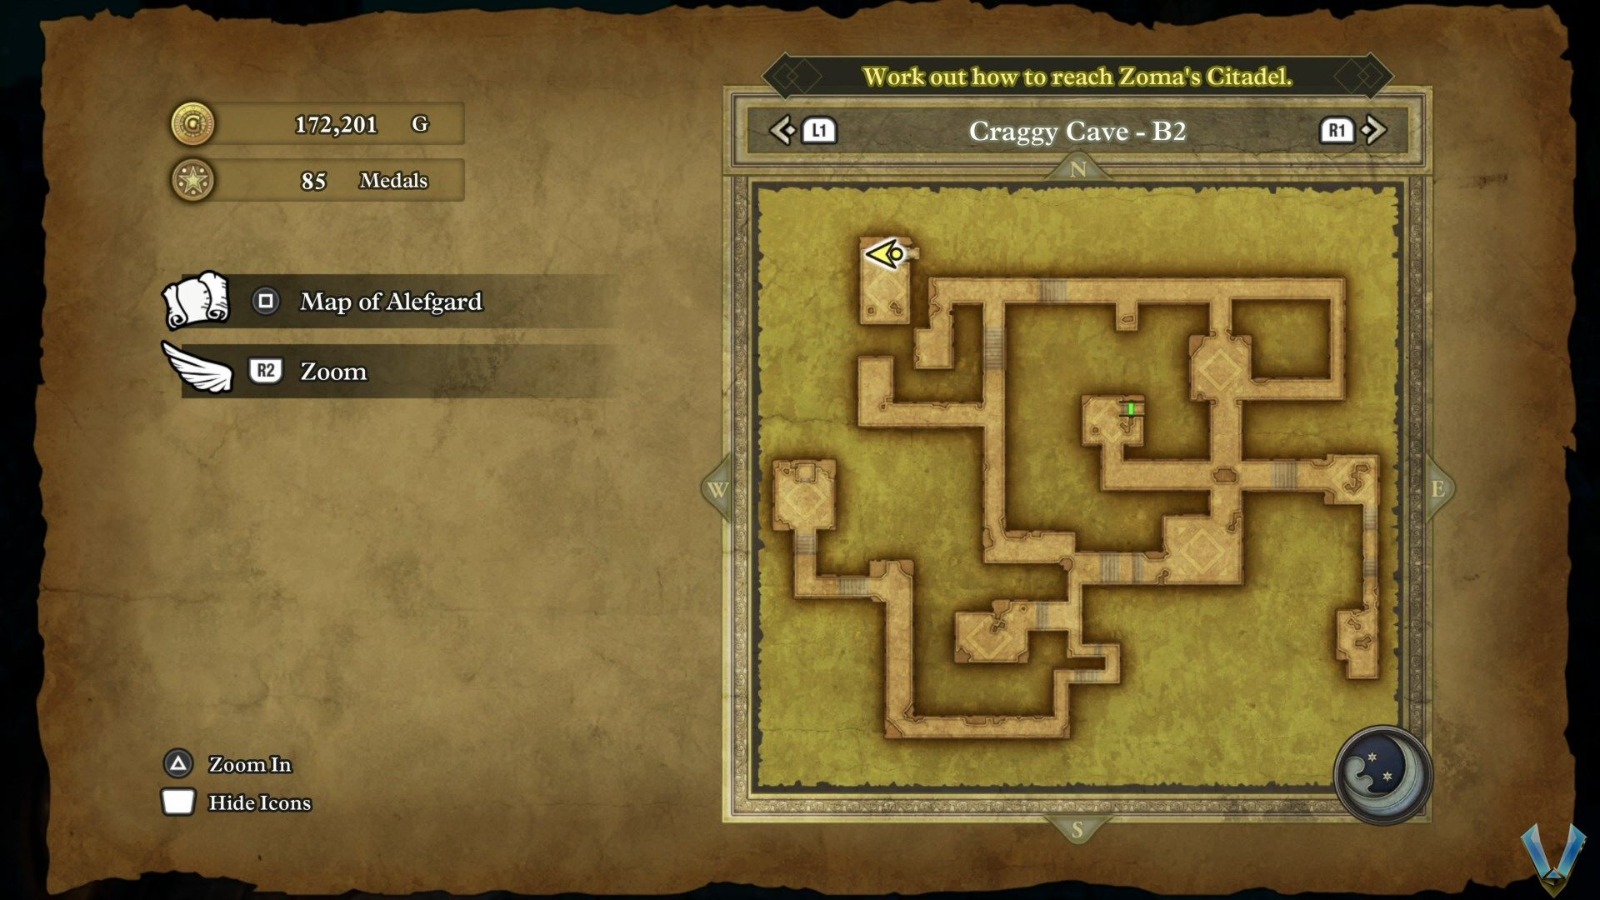
[B2] In the SE dead-end.

Mini Medal #89 for Dragon Quest 3 HD-2D Remake
Mini Medal #90

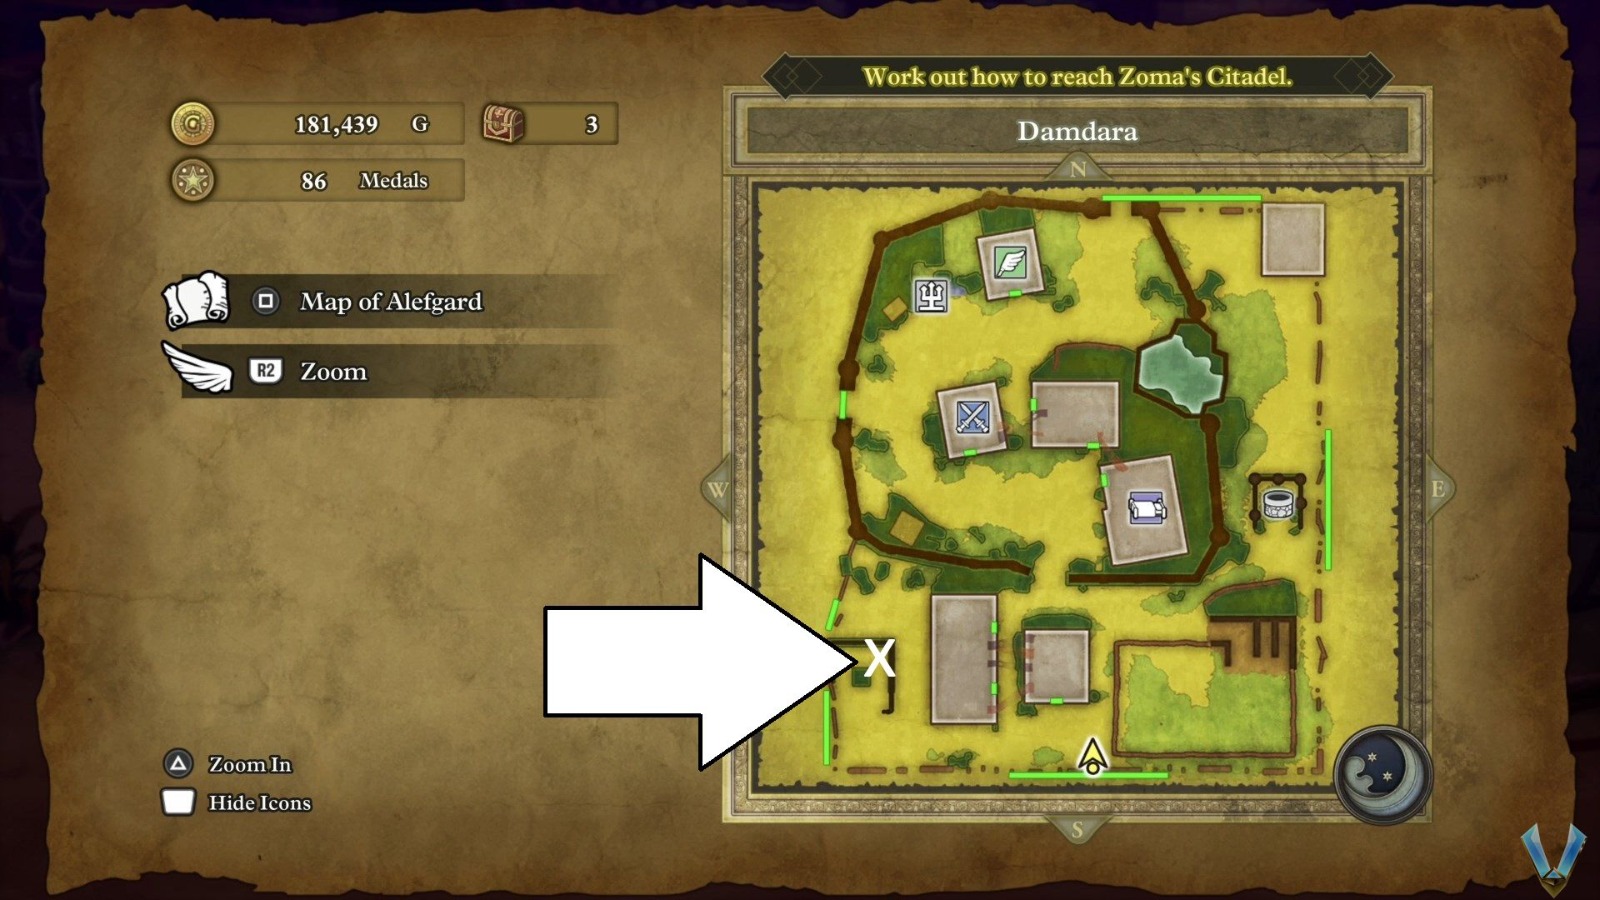
πŸͺ½ Damdara
In the Eastmost stable.

Mini Medal #90 for Dragon Quest 3 HD-2D Remake
Mini Medal #91

πŸͺ½ Cantlin
NW corner of town.

Mini Medal #91 for Dragon Quest 3 HD-2D Remake
Mini Medal #92

πŸͺ½ Shrine of the Spirit
In the middle of the carpet.

Mini Medal #92 for Dragon Quest 3 HD-2D Remake
Mini Medal #93

πŸͺ½ Shrine of the Spirit (Outside)
Secret Spot SE section of the desert N of Cantlin.

Mini Medal #93 for Dragon Quest 3 HD-2D Remake
Mini Medal #94

πŸͺ½ Quagmire Cave (Outside)
Secret Spot NW of Rimuldar.

Mini Medal #94 for Dragon Quest 3 HD-2D Remake
Mini Medal #95

πŸͺ½ Rimuldar
Southern building, rear entrance on W side of the building, [2F] jail cell.

Mini Medal #95 for Dragon Quest 3 HD-2D Remake
Mini Medal #96

πŸͺ½ Kol
Hot Springs, near the entrance to the water.

Mini Medal #96 for Dragon Quest 3 HD-2D Remake
Mini Medal #97

πŸͺ½ Quagmire Cave
At the far south dead end.

Mini Medal #97 for Dragon Quest 3 HD-2D Remake
Mini Medal #98

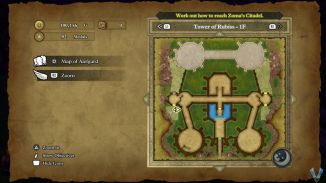
πŸͺ½ Tower of Rubiss
[3F] Near the center rubble.

Mini Medal #98 for Dragon Quest 3 HD-2D Remake
Mini Medal #99

πŸͺ½ Sanctum
Left of the priest.

Mini Medal #99 for Dragon Quest 3 HD-2D Remake
Mini Medal #100

πŸͺ½ Talontear Tunnel
[3F] In a NE chest.

Mini Medal #100 for Dragon Quest 3 HD-2D Remake
Mini Medal #101

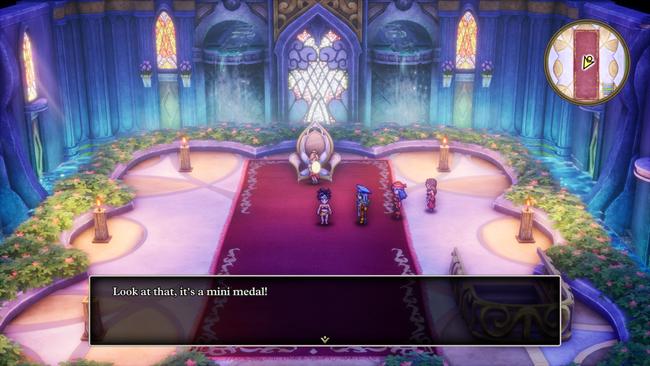
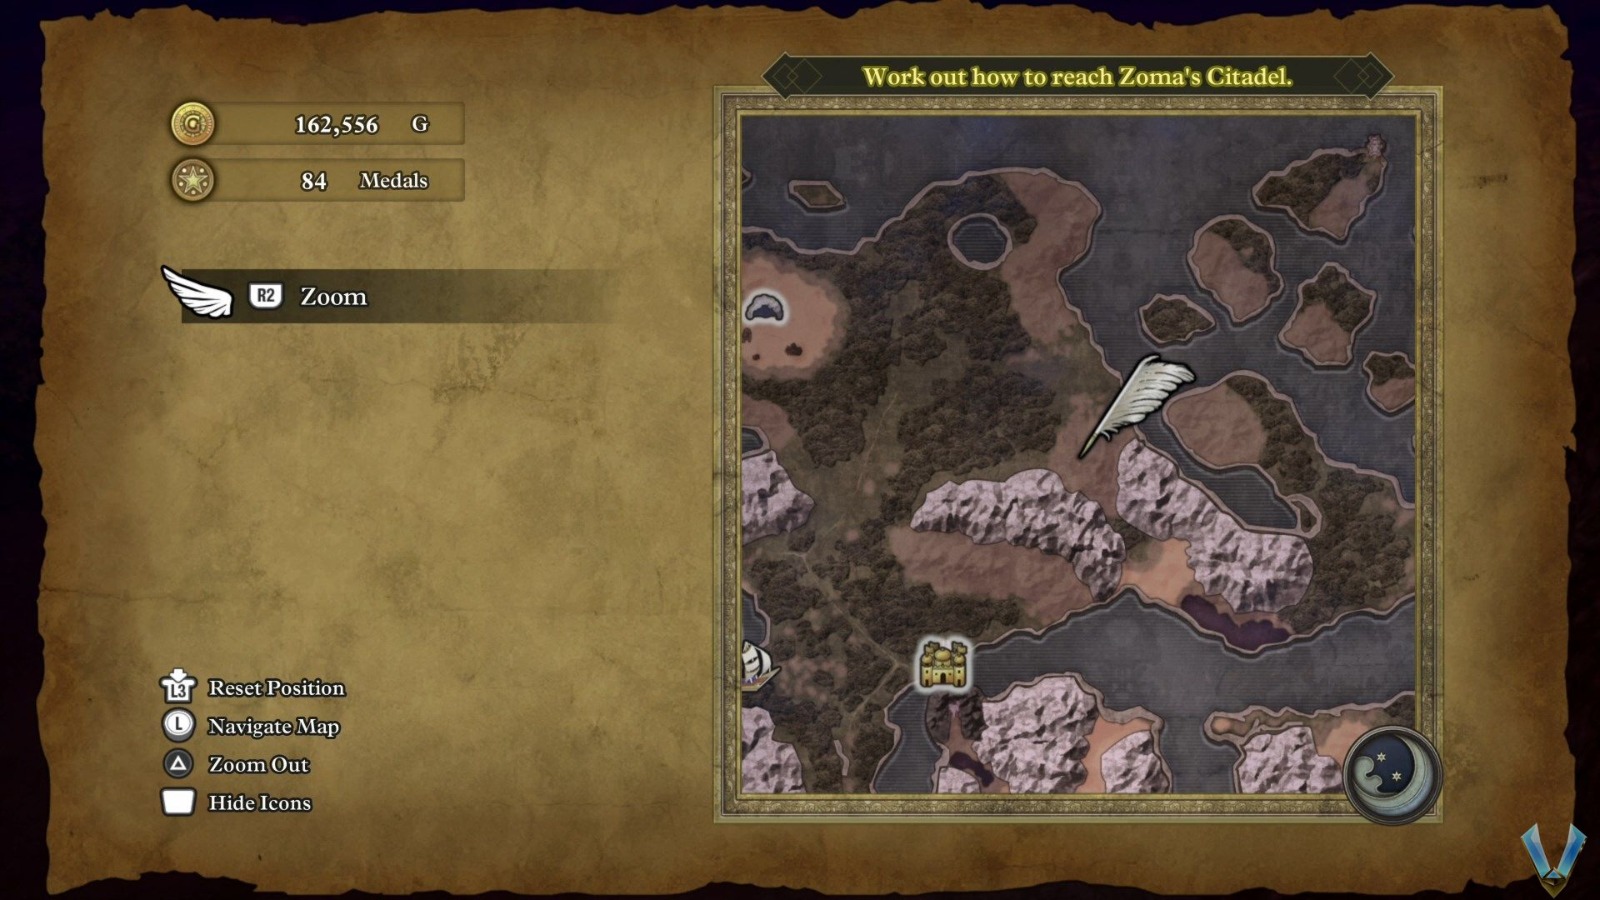
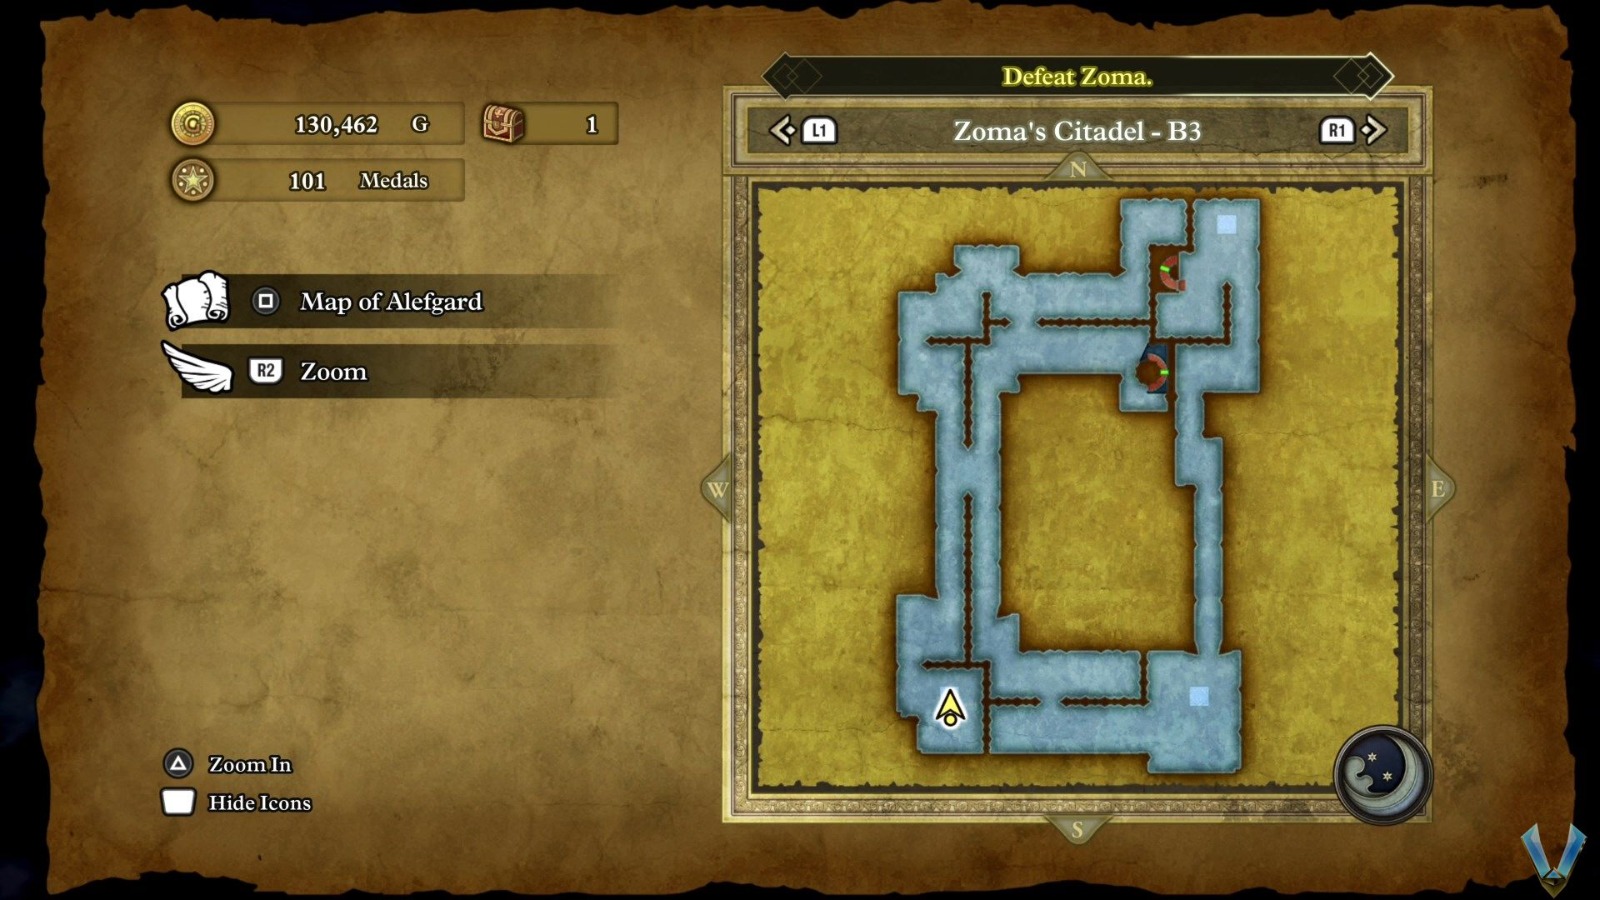
πŸͺ½ Zoma’s Citadel
[1F] In front of the throne.

Mini Medal #101 for Dragon Quest 3 HD-2D Remake
Mini Medal #102

πŸͺ½ Zoma’s Citadel
[B4] Treasure room.

Mini Medal #102 for Dragon Quest 3 HD-2D Remake
Mini Medal #103

πŸͺ½ Heavens (???)
Pyramid Room, in the SW chest.

Mini Medal #103 for Dragon Quest 3 HD-2D Remake
Mini Medal #104

πŸͺ½ Heavens (???)
Underground Lake Room, in the NE dead end.

Mini Medal #104 for Dragon Quest 3 HD-2D Remake
Mini Medal #105

πŸͺ½ Heavens (???)
Jail Room, in the NW cell.

Mini Medal #105 for Dragon Quest 3 HD-2D Remake
Mini Medal #106

πŸͺ½ Cloudsgate Citadel
In a pot in the downstairs cauldron room.

Mini Medal #106 for Dragon Quest 3 HD-2D Remake
Mini Medal #107

πŸͺ½ Citadel Tower
[2F] In the east chest.

Mini Medal #107 for Dragon Quest 3 HD-2D Remake
Mini Medal #108

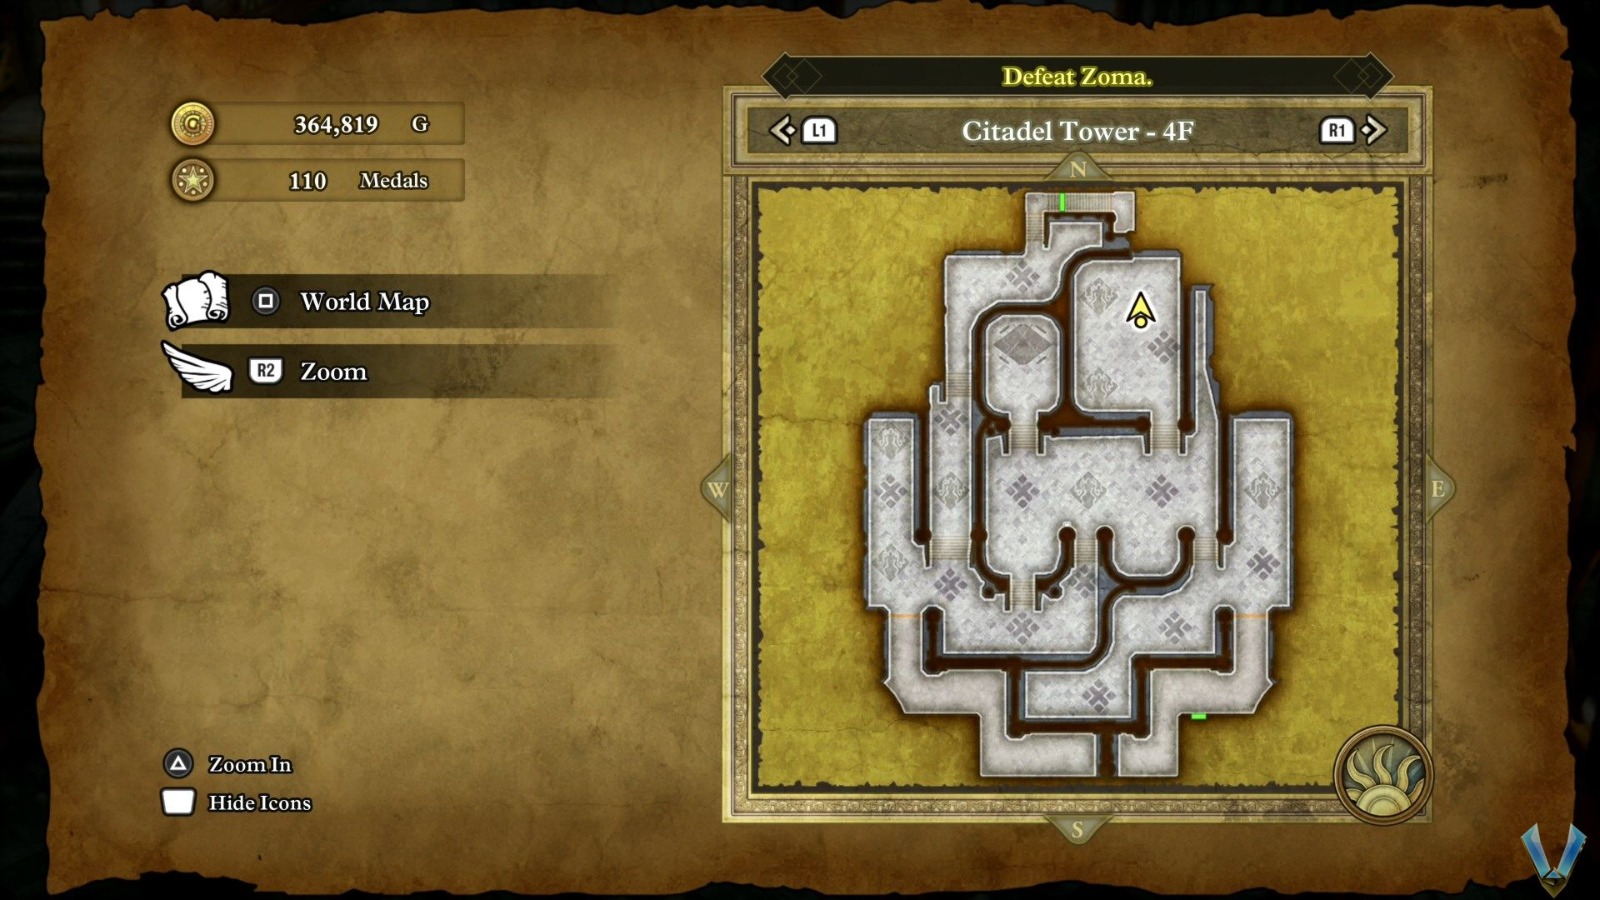
πŸͺ½ Citadel Tower
[4F] In the south chest.

Mini Medal #108 for Dragon Quest 3 HD-2D Remake
Mini Medal #109

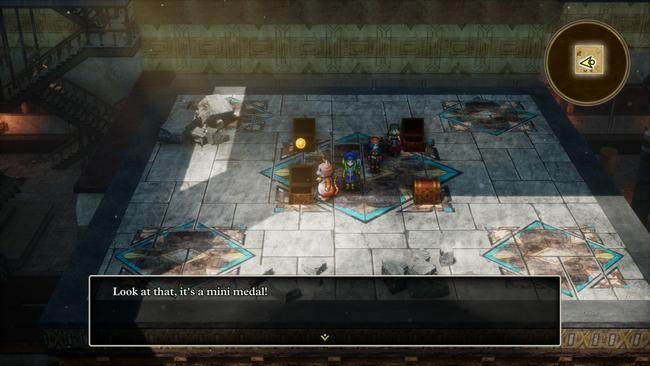
πŸͺ½ Temple of Trials
NW Trial, in the warp south of the 4 chests.

Mini Medal #109 for Dragon Quest 3 HD-2D Remake
Mini Medal #110

πŸͺ½ Temple of Trials
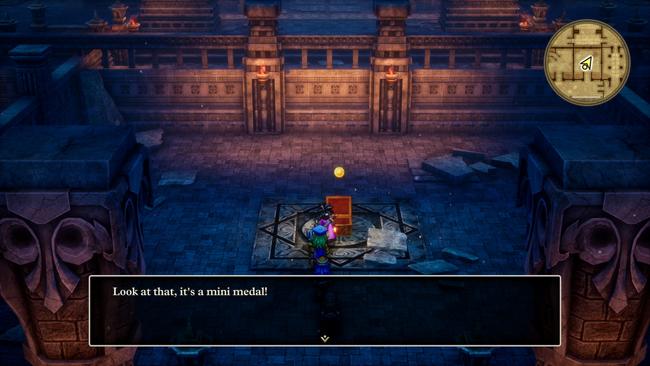
NE Trial.

Mini Medal #110 for Dragon Quest 3 HD-2D Remake

Friendly Monsters

These are sometimes hard to track down because the names aren’t consistent unless we grab them all in the exact order in the list. So if we’re missing some when we talk to Monty we may need to look at each one in that family of monsters to figure out which one was missing.

βš“ Requires Ship
πŸ—οΈ Requires Ultimate Key
πŸͺž Requires Ra’s Mirror
🦜 Requires Everbird

πŸ™οΈ Day
πŸŒ‡ Dusk
πŸŒƒ Night

🦨 Use Musk
πŸ«₯ Use Fade (Fading Jenny)
🦢 Use Padfoot

Family: NameWhereImage
Antgobbler #1:

“Gobblebert”

πŸͺ½ Romaria (Outside)
Secret Spot in a canyon N of Romaria.
Antgobbler #1: Gobblebert Friendly Monster Location for Dragon Quest 3 HD-2D Remake
Antgobbler #2:

“Anthony”

πŸͺ½ Underground Lake B2 East.Antgobbler #2: Anthony Friendly Monster Location for Dragon Quest 3 HD-2D Remake
Armful #1:

“Armstrong”

πŸͺ½ Baramos’s Lair πŸŒƒ
NE dead end near the water.
Armful #1: Armstrong Friendly Monster Location for Dragon Quest 3 HD-2D Remake

Armful #2:

“Armadeus”

πŸͺ½ Craggy Cave
[B2] NW room.

Armful #2: Armadeus Friendly Monster Location for Dragon Quest 3 HD-2D Remake
Bag O’ Laughs #1:

“Smiley”

Asham NW. πŸ™οΈBag O' Laughs #1: Smiley Friendly Monster Location for Dragon Quest 3 HD-2D Remake
Bag O’ Laughs #2:

“Sir Laugh-a-Lot”

Theddon Inn. πŸ™οΈBag O' Laughs #2: Sir Laugh-a-Lot Friendly Monster Location for Dragon Quest 3 HD-2D Remake
Bag O’ Laughs #3:

“Chortley”

Reeve. πŸ™οΈπŸͺžBag O' Laughs #3: Chortley Friendly Monster Location for Dragon Quest 3 HD-2D Remake
Baramonster:

“Barry Moss”

In the NW warp portal dungeon in Temple of Trials.Baramonster Barry Moss Friendly Monster Location for Dragon Quest 3 HD-2D Remake
Boreal Serpent:

“Boris”

Secret Spot NE of Khoryv 🦜Boreal Serpent: Boris Friendly Monster Location for Dragon Quest 3 HD-2D Remake
Bubble Slime #1:

“Bub”

Skyfell Tower near 2F east chestBubble Slime #1: Bub Friendly Monster Location for Dragon Quest 3 HD-2D Remake
Bubble Slime #2:

“Anjellica”

Ibis Castle 2F west πŸŒƒBubble Slime #2: Anjellica Friendly Monster Location for Dragon Quest 3 HD-2D Remake
Cannibox #1:

“Lecter”

Kidnapper’s Cave, Straight west from entrance, 3rd room over 🦢Cannibox #1: Lecter Friendly Monster Location for Dragon Quest 3 HD-2D Remake
Cannibox #2:

“Yum-Yum”

End of Fifer’s Spire dungeonCannibox #2: Yum-Yum Friendly Monster Location for Dragon Quest 3 HD-2D Remake
Catula #1:

“Alutac”

Western staircase 2F in Tower of TranscendenceCatula #1: Alutac Friendly Monster Location for Dragon Quest 3 HD-2D Remake
Catula #2:

“Luna”

NE side of Jipang πŸŒ‡Catula #2: Luna Friendly Monster Location for Dragon Quest 3 HD-2D Remake
Chimaera #1:

“Polly”

Secret spot in desert SW of Damdara πŸŒ‡πŸ«₯Chimaera #1: Polly Friendly Monster Location for Dragon Quest 3 HD-2D Remake
Chimaera #2:

“Buddy”

NW corner of RimuldarChimaera #2: Buddy Friendly Monster Location for Dragon Quest 3 HD-2D Remake
Chimaera #3:

“Slinky”

4th floor center room, on the upper path in Rubiss TowerChimaera #3: Slinky Friendly Monster Location for Dragon Quest 3 HD-2D Remake
Crone Ranger #1:

“Hagatha”

Dreamer’s Tower, near Inn πŸͺžCrone Ranger #1: Hagatha Friendly Monster Location for Dragon Quest 3 HD-2D Remake
Crone Ranger #2:

“Sabrina”

Guy on the east side of Quagmire Cave. πŸŒƒCrone Ranger #2: Sabrina Friendly Monster Location for Dragon Quest 3 HD-2D Remake
Cumaulus #1:

“Cloud”

Secret spot on snow coast NE of Khoryu. πŸŒƒCumaulus #1: Cloud Friendly Monster Location for Dragon Quest 3 HD-2D Remake
Cumaulus #2:

“Rainey”

E side of Edina rooftop πŸ™οΈCumaulus #2: Rainey Friendly Monster Location for Dragon Quest 3 HD-2D Remake
Cumaulus #3:

“Fluffy”

Secret spot SW of Olivia’s PromontoryCumaulus #3: Fluffy Friendly Monster Location for Dragon Quest 3 HD-2D Remake
Cureslime #1:

“Curie”

NE part of Lanson, east of shrine πŸŒ‡Cureslime #1: Curie Friendly Monster Location for Dragon Quest 3 HD-2D Remake
Cureslime #2:

“Meddie”

West side of Castle of the Dragon Queen πŸŒ‡Cureslime #2: Meddie Friendly Monster Location for Dragon Quest 3 HD-2D Remake
Cureslime #3:

“Mendy”

Cloudsgate Citadel near SE fountainCureslime #3: Mendy Friendly Monster Location for Dragon Quest 3 HD-2D Remake
Elysium Bird #1:

“Beaker”

Secret Spot west side of Aliahan Island. 🦜Elysium Bird #1: Beaker Friendly Monster Location for Dragon Quest 3 HD-2D Remake
Elysium Bird #2:

“Cronus”

Small island in between large NE and large SE continents in Alefgard.Elysium Bird #2: Cronus Friendly Monster Location for Dragon Quest 3 HD-2D Remake
Firn Fiend:

“Frosty”

Secret Spot iceberg west of SW ice island in ocean. πŸŒ‡πŸŒƒFirn Fiend: Frosty Friendly Monster Location for Dragon Quest 3 HD-2D Remake
Franticore:

“Frantico”

Citadel Tower 4F. 🦨Franticore: Frantico Friendly Monster Location for Dragon Quest 3 HD-2D Remake
Gold Golem:

“Goldirox”

Secret in southern plain of eastern continent in Alefgard.Gold Golem: Goldirox Friendly Monster Location for Dragon Quest 3 HD-2D Remake
Goodybag #1:

“Jules”

Talk to man north of fountain in the fully built Merchantburg. πŸŒƒπŸͺžGoodybag #1: Jules Friendly Monster Location for Dragon Quest 3 HD-2D Remake
Goodybag #2:

“Pearl”

NE corner of Talontear Tunnel.Goodybag #2: Pearl Friendly Monster Location for Dragon Quest 3 HD-2D Remake
Great Keeper:

“Goldie”

Temple of Trials NW corner of NE trial.Great Keeper: Goldie Friendly Monster Location for Dragon Quest 3 HD-2D Remake
Green Dragon #1:

“Green Giant”

Secret Spot on peninsula SE of Craggy Cave.Green Dragon #1: Green Giant Friendly Monster Location for Dragon Quest 3 HD-2D Remake
Green Dragon #2:

“Scales”

North center room in 3rd level of the Heavens (???) post game dungeon.Green Dragon #2: Scales Friendly Monster Location for Dragon Quest 3 HD-2D Remake
Handsome Crab #1:

“Snapper”

Secret Spot at Iceberg in ocean east of the big circular mountains of the NW continent. πŸŒƒHandsome Crab #1: Snapper Friendly Monster Location for Dragon Quest 3 HD-2D Remake
Handsome Crab #2:

“Pinchy”

E island in Lozamii. πŸŒ‡Handsome Crab #2: Pinchy Friendly Monster Location for Dragon Quest 3 HD-2D Remake
Healslime #1:

“Healie”

Khoryv, near Inn. πŸŒ‡Healslime #1: Healie Friendly Monster Location for Dragon Quest 3 HD-2D Remake
Healslime #2:

“Fixer”

Secret Spot in SW desert near Ibis. πŸŒ‡Healslime #2: Fixer Friendly Monster Location for Dragon Quest 3 HD-2D Remake
Healslime #3:

“Healiza”

Secret Spot rocks SE of Lanson in ocean.Healslime #3: Healiza Friendly Monster Location for Dragon Quest 3 HD-2D Remake
Heedoo Voodoo #1:

“Whodoo”

Secret Spot west of Theddon, across river. πŸŒƒHeedoo Voodoo #1: Whodoo Friendly Monster Location for Dragon Quest 3 HD-2D Remake
Heedoo Voodoo #2:

“Youdoo”

Secret Spot NW of Wafarer’s Chapel.Heedoo Voodoo #2: Youdoo Friendly Monster Location for Dragon Quest 3 HD-2D Remake
Hocus-Poker:

“Mike”

Talk to the woman in the SW corner of Damdara. πŸͺžHocus-Poker: Mike Friendly Monster Location for Dragon Quest 3 HD-2D Remake
Hoodlum #1:

“Hoodwink”

Secret Spot oasis near lake on NW side of NE continent.Hocus-Poker #1: Mike Friendly Monster Location for Dragon Quest 3 HD-2D Remake
Hoodlum #2:

“Hoodunnit”

North Secret Spot in huge forest continent. πŸͺžHoodlum #2: Hoodunnit Friendly Monster Location for Dragon Quest 3 HD-2D Remake
Imp #1:

“Forker”

NE room in Edina. πŸŒƒImp #1: Forker Friendly Monster Location for Dragon Quest 3 HD-2D Remake
Imp #2:

“Prongley”

NW room of Pirate’s Den. πŸ™οΈImp #2: Prongley Friendly Monster Location for Dragon Quest 3 HD-2D Remake
Imp #3:

“Shellvey”

Girl on Pyramid 3F to the NW. πŸͺžImp #3: Shellvey Friendly Monster Location for Dragon Quest 3 HD-2D Remake
Imp #4:

“Damon”

Secret Spot Rocks NE of NE continent. πŸͺžImp #4: Damon Friendly Monster Location for Dragon Quest 3 HD-2D Remake
Infernal Serpent:

“Soaron”

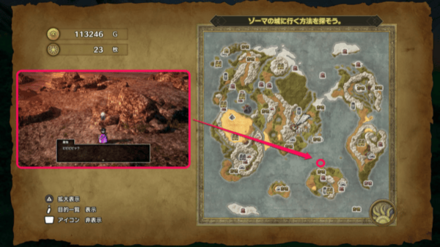
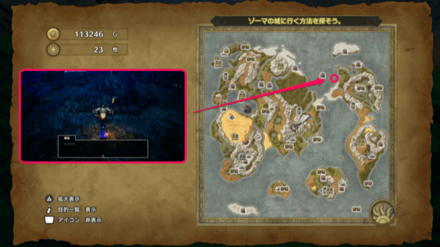
Secret Spot near Zoma’s Citadel.Infernal Serpent: Soaron Friendly Monster Location for Dragon Quest 3 HD-2D Remake
Liquid Metal Slime:

“Quicksilver”

B3 Pit Room in Zoma’s Citadel.Liquid Metal Slime: Quicksilver Friendly Monster Location for Dragon Quest 3 HD-2D Remake
Lump Shaman #1:

“Manny”

Just south of the land bridge connecting the Eastern continents. πŸŒƒLump Shaman #1: Manny Friendly Monster Location for Dragon Quest 3 HD-2D Remake
Lump Shaman #2:

“Genghis”

Woman north room in Pirate Den. πŸŒƒπŸͺžLump Shaman #2: Genghis Friendly Monster Location for Dragon Quest 3 HD-2D Remake
Magmalice #1:

“Alice”

Orochi’s Lair at south dead end.Magmalice #1: Alice Friendly Monster Location for Dragon Quest 3 HD-2D Remake
Magmalice #2:

“Bernie”

Top of Mt. Necrogond after defeating Garboyle.Magmalice #2: Bernie Friendly Monster Location for Dragon Quest 3 HD-2D Remake
Man O’ War #1:

“Jellie”

Secret Spot beach west of Asham. βš“Man O' War #1: Jellie Friendly Monster Location for Dragon Quest 3 HD-2D Remake
Man O’ War #2:

“Sting”

Secret Spot rocks N of Reeve in ocean. πŸŒ‡Man O' War #2: Sting Friendly Monster Location for Dragon Quest 3 HD-2D Remake
Mermaniac #1:

“Mercurio”

Secret Spot rocks north of the snow-peninsula of the NE continent in ocean. πŸŒƒMermaniac #1: Mercurio Friendly Monster Location for Dragon Quest 3 HD-2D Remake
Mermaniac #2:

“Merida”

Secret Spot Island West of Romaria (woman). πŸͺžMermaniac #2: Merida Friendly Monster Location for Dragon Quest 3 HD-2D Remake
Mermaniac #3:

“Triton”

Talk to NPC through the SW locked door in Rubiss Tower.Mermaniac #3: Triton Friendly Monster Location for Dragon Quest 3 HD-2D Remake
Metal Slime #1:

“Steelie”

Romaria Outpost. πŸ—οΈMetal Slime #1: Steelie Friendly Monster Location for Dragon Quest 3 HD-2D Remake
Metal Slime #2:

“Alloy”

Secret Spot in Heavens (???).Metal Slime #2: Alloy Friendly Monster Location for Dragon Quest 3 HD-2D Remake
Mimic #1:

“Death”

L3 south dead end in Maw of the Necrogond.Mimic #1: Death Friendly Monster Location for Dragon Quest 3 HD-2D Remake
Mimic #2:

“Famine”

Secret Spot E of Ibis. 🦜Mimic #2: Famine Friendly Monster Location for Dragon Quest 3 HD-2D Remake
Minidemon #1:

“Lucy”

Rooftop of Manoza Castle.Minidemon #1: Lucy Friendly Monster Location for Dragon Quest 3 HD-2D Remake
Minidemon #2:

“Balam”

Persistence (east horse). πŸŒƒπŸͺžMinidemon #2: Balam Friendly Monster Location for Dragon Quest 3 HD-2D Remake
Minidemon #3:

“Lilith”

Hiding behind sign south of west building in Cantlin. πŸŒƒMinidemon #3: Lilith Friendly Monster Location for Dragon Quest 3 HD-2D Remake
Mummy #1:

“Mumsy”

Near Church in Ibis. πŸŒƒMummy #1: Mumsy Friendly Monster Location for Dragon Quest 3 HD-2D Remake
Mummy #2:

“Imhopep”

Guy in Manoza graveyard. πŸŒƒπŸͺžMummy #2: Imhopep Friendly Monster Location for Dragon Quest 3 HD-2D Remake
Mushroom Mage #1:

“Mush”

Secret Spot NW of Kidnapper’s Cave. πŸŒƒMushroom Mage #1: Mush Friendly Monster Location for Dragon Quest 3 HD-2D Remake
Mushroom Mage #2:

“Schroominger”

Secret Spot SW of Portoga Lighthouse.Mushroom Mage #2: Schroominger Friendly Monster Location for Dragon Quest 3 HD-2D Remake
Overtoad #1:

“Ribbert”

SW exit of Baharata. πŸ™οΈOvertoad #1: Ribbert Friendly Monster Location for Dragon Quest 3 HD-2D Remake
Overtoad #2:

“Amphoebe”

SE rice field in Jipgang. πŸŒƒOvertoad #2: Amphoebe Friendly Monster Location for Dragon Quest 3 HD-2D Remake
Overtoad #3:

“Croaker”

Secret Spot west of Gaia’s Navel (for the solo dungeon trial, set a Monster Wrangler or a character with 🦢 Padfoot in the first slot).Overtoad #3: Croaker Friendly Monster Location for Dragon Quest 3 HD-2D Remake
Prestidigitator #1:

“Trixie”

Secret spot tree west of Khoryv. πŸŒƒPrestidigitator #1: Trixie Friendly Monster Location for Dragon Quest 3 HD-2D Remake
Prestidigitator #2:

“Hoodini”

Secret Spot north of Portoga.Prestidigitator #2: Hoodini Friendly Monster Location for Dragon Quest 3 HD-2D Remake
Prestidigitator #3:

“Maggie”

Path of Promise, guy near pits. πŸͺžPrestidigitator #3: Maggie Friendly Monster Location for Dragon Quest 3 HD-2D Remake
Prestidigitator #4:

“Spellie”

East side of Castle of the Dragon Queen. πŸ™οΈπŸ«₯Prestidigitator #4: Spellie Friendly Monster Location for Dragon Quest 3 HD-2D Remake
Rampage #1:

“Baatholomewe”

Secret Spot far north of Pirate’s Den, south of mountains. πŸ™οΈRampage #1: Baatholomewe Friendly Monster Location for Dragon Quest 3 HD-2D Remake
Rampage #2:

“Ramsdale”

At the NW side of Grimland. πŸ«₯Rampage #2: Ramsdale Friendly Monster Location for Dragon Quest 3 HD-2D Remake
Raven Lunatic #1:

“Edgar”

Faerie Village on the SW side. πŸŒƒπŸ¦¨Raven Lunatic #1: Edgar Friendly Monster Location for Dragon Quest 3 HD-2D Remake
Raven Lunatic #2:

“Allan”

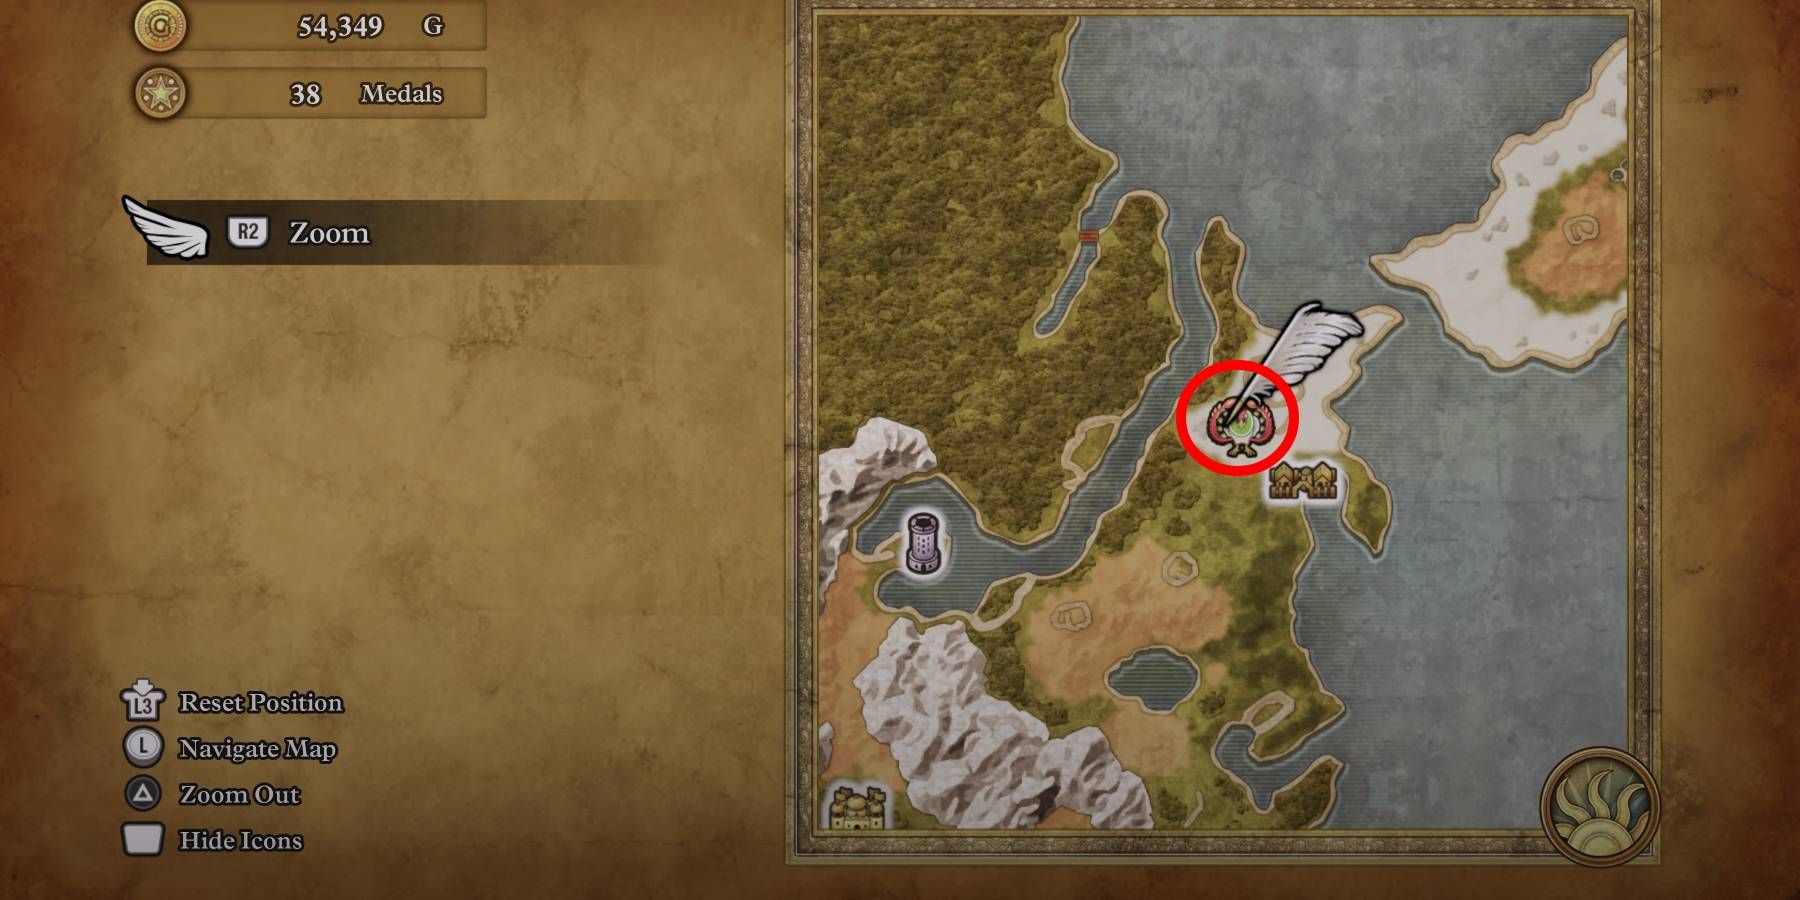
Secret Spot SE of Baharata.Raven Lunatic #2: Allan Friendly Monster Location for Dragon Quest 3 HD-2D Remake
Restless Armour #1:

“Arthur”

Secret Spot far south of Asham. πŸŒƒRestless Armour #1: Arthur Friendly Monster Location for Dragon Quest 3 HD-2D Remake
Restless Armour #2:

“Percival”

Secret Spot Far SE of Alltrades Abbey. πŸŒƒRestless Armour #2: Percival Friendly Monster Location for Dragon Quest 3 HD-2D Remake
Restless Armour #3:

“Bedivere”

B1 side path in Gaia’s Navel. 🦨Restless Armour #3: Bedivere Friendly Monster Location for Dragon Quest 3 HD-2D Remake
Restless Armour #4:

“Galahad”

Secret Spot N of Persistence. 🦜Restless Armour #4: Galahad Friendly Monster Location for Dragon Quest 3 HD-2D Remake
Rockbomb #1:

“Rocky”

Manoza Cave B2. πŸ«₯Rockbomb #1: Rocky Friendly Monster Location for Dragon Quest 3 HD-2D Remake
Rockbomb #2:

“Blasty”

Norvik (guy west of inn). πŸͺžRockbomb #2: Blasty Friendly Monster Location for Dragon Quest 3 HD-2D Remake
Seaslime #1:

“Marin”

Portoga, eastern pier. πŸŒƒSeaslime #1: Marin Friendly Monster Location for Dragon Quest 3 HD-2D Remake
Seaslime #2:

“Schwimmer”

Secret Spot Rock formation NW of Edina in ocean.Seaslime #2: Schwimmer Friendly Monster Location for Dragon Quest 3 HD-2D Remake
Seaslime #3:

“Shelley”

Secret Spot in water inlet on west side of the SW continent in Alefgard. πŸŒƒSeaslime #3: Shelley Friendly Monster Location for Dragon Quest 3 HD-2D Remake
Shell Slime #1:

“Shella”

NE pier in Mur.Shell Slime #1: Shella Friendly Monster Location for Dragon Quest 3 HD-2D Remake
Shell Slime #2:

“Oozey”

Necrogond Shrine, NE side. πŸŒƒShell Slime #2: Oozey Friendly Monster Location for Dragon Quest 3 HD-2D Remake
Shell Slime #3:

“Spiner”

West lawn of Galen’s House.Shell Slime #3: Spiner Friendly Monster Location for Dragon Quest 3 HD-2D Remake
She-Slime #1:

“Shiela”

Tantegel Gardens behind castle. πŸŒƒShe-Slime #1: Shiela Friendly Monster Location for Dragon Quest 3 HD-2D Remake
She-Slime #2:

“Abigoo”

Sanctum NW.She-Slime #2: Abigoo Friendly Monster Location for Dragon Quest 3 HD-2D Remake
She-Slime #3:

“Oozebeth”

Jail section of Cloudsgate Citadel.She-Slime #3: Oozebeth Friendly Monster Location for Dragon Quest 3 HD-2D Remake
Silhouette #1:

“Silly”

Teleportal Shrine, Priest. πŸͺžSilhouette #1: Silly Friendly Monster Location for Dragon Quest 3 HD-2D Remake
Silhouette #2:

“Casper”

In the well in Kol.Silhouette #2: Casper Friendly Monster Location for Dragon Quest 3 HD-2D Remake
Slime #1:

“Splatrick”

Automatic at Shrine of Promise.Slime #1: Splatrick Friendly Monster Location for Dragon Quest 3 HD-2D Remake
Slime #2:

“Slimon”

NE side of Alltrades Abbey. πŸŒƒSlime #2: Slimon Friendly Monster Location for Dragon Quest 3 HD-2D Remake
Slime #3:

“Torijammer”

Aliahan Prison. πŸŒƒπŸ—οΈSlime #3: Torijammer Friendly Monster Location for Dragon Quest 3 HD-2D Remake
Slime #4:

“Gootrude”

Secret Spot (boulder) NE of Tantegel. πŸŒƒSlime #4: Gootrude Friendly Monster Location for Dragon Quest 3 HD-2D Remake
Slime #5:

“Goobert”

South end of Temple of Trials.Slime #5: Goobert Friendly Monster Location for Dragon Quest 3 HD-2D Remake
Soaring Scourger:

“Sky”

SW dead end of main path B3 in Zoma’s Citadel.Soaring Scourger: Sky Friendly Monster Location for Dragon Quest 3 HD-2D Remake
Spiked Hare #1:

“Harry”

NE of fountain in Romaria. πŸŒƒSpiked Hare #1: Harry Friendly Monster Location for Dragon Quest 3 HD-2D Remake
Spiked Hare #2:

“Hornbert”

Secret spot between Norvik and Faerie Village, to the south. πŸ™οΈSpiked Hare #2: Hornbert Friendly Monster Location for Dragon Quest 3 HD-2D Remake
Squidzilla #1:

“Tenda”

North end of Ghost Ship. πŸŒƒSquidzilla #1: Tenda Friendly Monster Location for Dragon Quest 3 HD-2D Remake
Squidzilla #2:

“Inky”

Secret Spot rock in water in SE dead end in inner ocean in Alefgard. πŸŒƒSquidzilla #2: Inky Friendly Monster Location for Dragon Quest 3 HD-2D Remake
Troll:

“Trevor”

L2 east room in Maw of the Necrogond.Troll: Trevor Friendly Monster Location for Dragon Quest 3 HD-2D Remake
Ursa Major:

“Bobo”

West side of Castle of the Dragon Queen. πŸŒƒUrsa Major: Bobo Friendly Monster Location for Dragon Quest 3 HD-2D Remake
Walking Corpse #1:

“Hel”

Secret Spot Near poison swamp in Inlet maze in NE continent, East of Persistence. πŸŒƒWalking Corpse #1: Hel Friendly Monster Location for Dragon Quest 3 HD-2D Remake
Walking Corpse #2:

“Hades”

Basement of NE building in Theddon. πŸŒƒWalking Corpse #2: Hades Friendly Monster Location for Dragon Quest 3 HD-2D Remake
Walking Corpse #3:

“Grim”

B1, NE side of Ghost Ship. πŸŒƒWalking Corpse #3: Grim Friendly Monster Location for Dragon Quest 3 HD-2D Remake
Whackanape #1:

“King Strong”

Secret Spot NW of Mur. πŸŒƒπŸ¦ΆWhackanape #1: King Strong Friendly Monster Location for Dragon Quest 3 HD-2D Remake
Whackanape #2:

“Joe”

Secret spot N of Wayfarer Shrine. βš“Whackanape #2: Joe Friendly Monster Location for Dragon Quest 3 HD-2D Remake
Wyrtle #1:

“Zippy”

Secret Spot rocks in east ocean in between two continents.Wyrtle #1: Zippy Friendly Monster Location for Dragon Quest 3 HD-2D Remake
Wyrtle #2:

“Turgon”

NW island in Lozamii. πŸŒƒWyrtle #2: Turgon Friendly Monster Location for Dragon Quest 3 HD-2D Remake
Wyrtoise:

“Torgon”

Secret Spot on small NW island in Alefgard.Wyrtoise: Torgon Friendly Monster Location for Dragon Quest 3 HD-2D Remake
Xenlon:

“Xenwrong”

On the final path in Temple of Trials.Xenlon: Xenwrong Friendly Monster Location for Dragon Quest 3 HD-2D Remake

Hidden Achievements

Puff-Puff

Ripped Off

Reference Links

Not-Shitty Sites I got info and images from:

Shitty SEO trap sites I grabbed info and images from:

These sites aren’t entirely shitty — just mostly shitty. They frequently DO have solid info. They just make that info really difficult to use because of their site structure.

Ads are everywhere and they pop-in constantly so we can’t keep it open on our phone where we left off and go back to it without it totally losing our place.

They also don’t actually have the info sometimes. They just do all the SEO stuff and lead us to just a stub of a page without answering the question it claims to.

On top of that, because this game is a remake of an existing game, many of them just grab info from the original NES game and paste it in without verifying it on the remake version.

My website may not be ideal for this stuff, but at least I’ll never do any of that crap.